Introduction
If your display has dark spots, non responsive to touches, only showing black, and needs to be replaced. Then this is the guide for you. In order to remove the display, you will need the blue opening tool and the suction cup.
What you need
-
-
Flip the laptop over to expose the underside.
-
Remove the two grip pads with blue plastic opening tool by inserting the tool between the laptop and the pads and slowly lifting up.
-
-
-
Use the nylon spudger to pop off the bottom cover by inserting it into the heat vent and twisting to the left or right.
The case is secured by plastic hooks at 1” intervals. Use the nylon spudger and the opening tool to lever around the rim of the case. Start at the edge of the heat vent and work around the rim. Each plastic fastener will make a popping noise as they release.
-
-
-
-
Disconnect the battery port from the motherboard by gently lifting it on both sides with the plastic opening tool.
-
Lift up the port with the tool.
Backup battery is a CR2032 Lithium button cell. Might as well replace it while you’re in there…
-
-
-
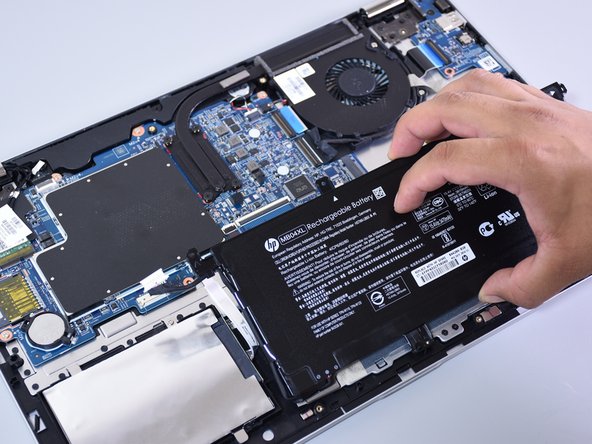
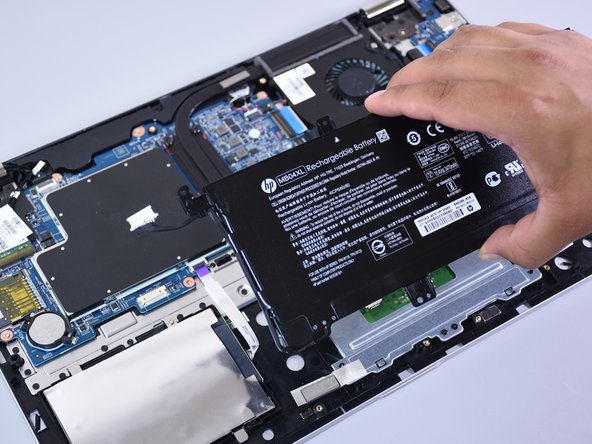
Lift the battery out of the laptop with your hands.
After the battery is replaced, snap the case back together. Work around the rim from the front edge toward the heat vent. Squeeze firmly and make sure each plastic catch is engaged. Use the nylon spudger as needed to make sure each catch is closed before replacing screws.
-
-
-
Click the back cover on so none of the internal components are damaged during the following steps.
-
Open the display, so it is flat and the screen is facing up.
-
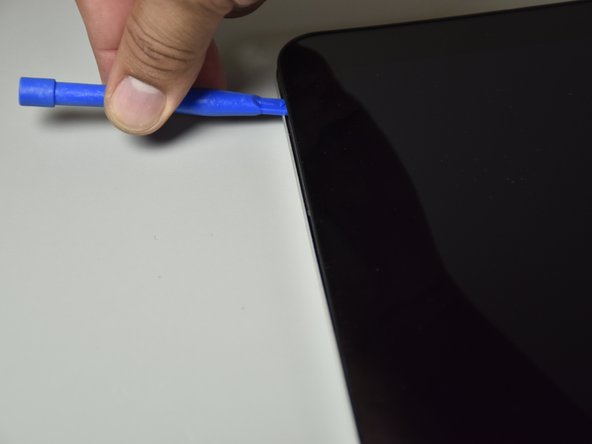
Put the suction cup in the middle of the screen.
-
-
-
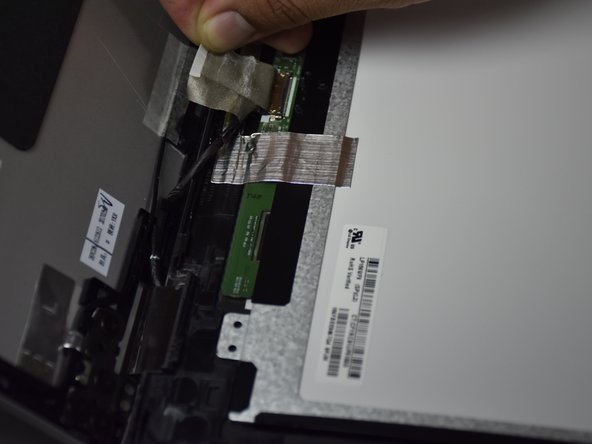
Remove the grey tape covering the wires by pulling on the tab slowly (located at the bottom of the display.
-
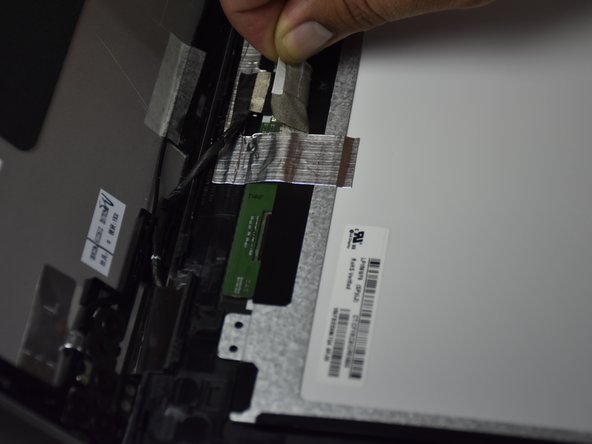
Detach the grey tape and the clear tape by wedging the small blue opening tool under the tape enough to raise a corner and pull the tape off with your hand.
-
Do this for both pieces of tape that cover wires.
-
-
-
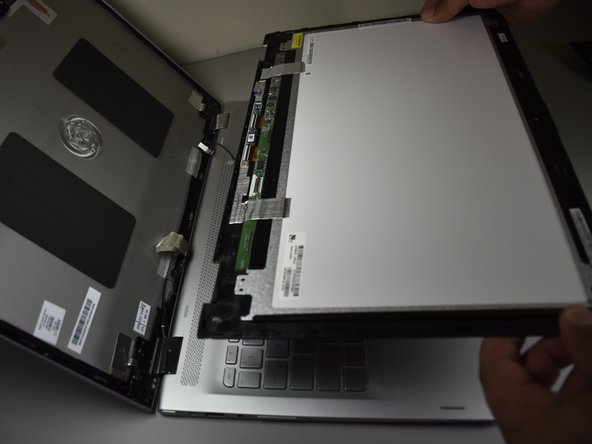
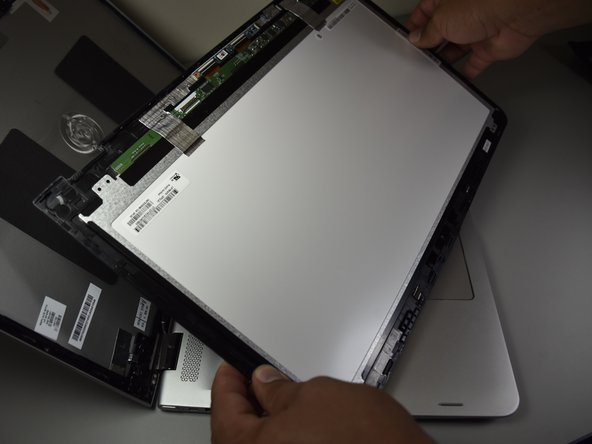
Lift the screen up with your hands.
Can you please add the additional steps along with photos, that are required when the new screen doesn’t include the two little circuit boards at the bottom of the screen that needs to be transferred to the new screen which includes peeling up additional tape and disconnecting + reconnecting the two screen cable connectors?
-


To reassemble your device, follow these instructions in reverse order.
To reassemble your device, follow these instructions in reverse order.
Cancel: I did not complete this guide.
11 other people completed this guide.
Team

Cal Poly, Team S4-G3, Livingston Fall 2017 Member of Cal Poly, Team S4-G3, Livingston Fall 2017
CPSU-LIVINGSTON-F17S4G3
4 Members
9 Guides authored
8 Comments
Thank you for this. I was getting REAL nervous as I got to the bottom portion of the screen. It really looks like the bottom is a separate panel (with screws under it) - Your photos assured me that it was not, so I gave it a little more and she came right off. Excellent work and photos!
[Only edit would be, no need to take the battery out, just disconnect]
Amazon or Ebay work. Just be sure your getting a screen with the proper resolution. You can inspect the connector to see what one you have if you dont know (the pin configuration is slightly diferent)
which resolution requires what pins
do you know the part number of the display for this laptop?
Hi, I replaced my entire display assembly, now my keyboard and touchpad only work in bios(the touchpad sort of works with the basic non-synaptics driver.). Do you think this has anything to do with the G-sensor or what else could be the problem?
I broke one of the connector on the ribbon, there are total 5 connections, the 2 in center one out of these looks torn, please let me know can I replace that and from where I can get that small chip board?