Introduction
Use this guide to correctly apply replacement adhesive to your Pixel or Pixel XL display after a repair.
Some replacement displays do not come with an earpiece speaker grille. If your replacement screen doesn't have one, be sure to transfer the grille from your old display to the new one before you install it. Alternatively, you can buy a new one here.
Before you begin, you should have already removed your Pixel’s display assembly and set it aside. Detailed instructions for each model can be found at the following links:
What you need
-
-
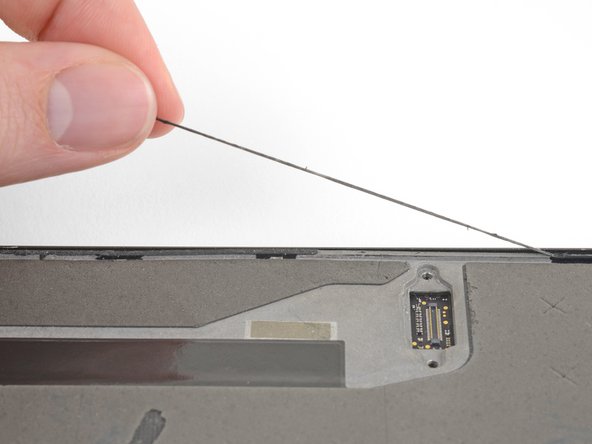
Peel away and remove all the old display adhesive from the body of your phone.
-
Use the point of your spudger to scour away and remove any lingering adhesive.
-
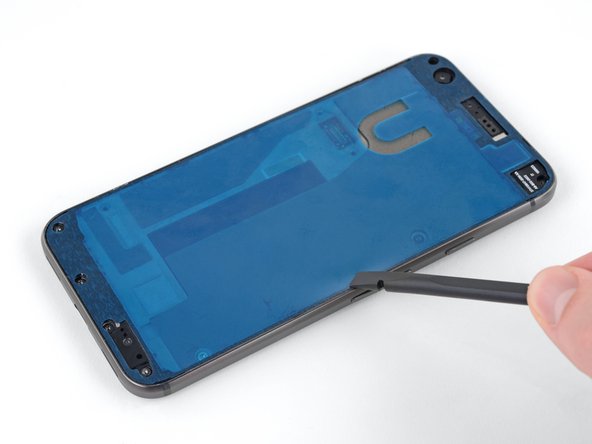
For best results, clean the area underneath the removed adhesive with 90% or greater isopropyl alcohol to prep the surface for the new adhesive.
-
-
-
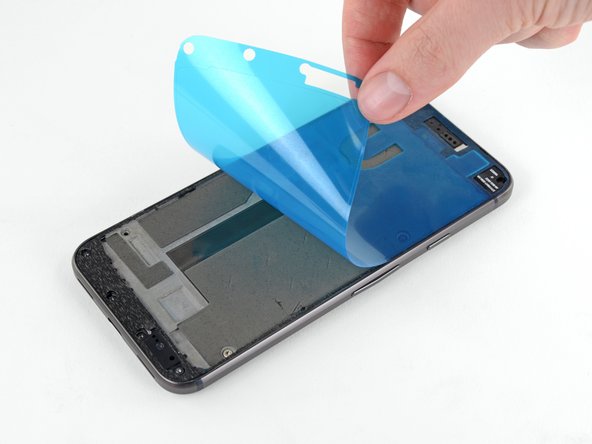
The replacement adhesive should only be applied to the edges of the frame, but may come with the center filled in.
-
To remove the unnecessary center section of the adhesive strip, carefully peel away the center portion of both the white (paper) and black (adhesive) layers, starting with the U-shaped cutout.
-
-
-
-
Hold the adhesive sheet with the exposed adhesive facing down, and carefully align it into the lower edge of the phone.
-
When it's correctly aligned, lower the rest of the adhesive sheet into the phone.
-
-
-
Re-attach the display cable connector.
-
Screw the connector bracket back in place.
-
Power on your phone to make sure your repair was successful.
-
-
-
Once you are sure the display is functioning properly, carefully align it with the chassis and firmly press it into place.
-