Introduction
Use this guide to replace the rear camera in a Pixel 2 XL.
What you need
-
-
Your replacement display may not come with pre-installed speaker grilles or a front-facing camera gasket. If that is the case, use tweezers to carefully remove these parts from your old display and follow the rest of the guide to install them on a new display.
-
Clean any adhesive residue off of the parts before reinstalling them.
-
Cut a strip of 1 mm wide double-sided tape to be about 3 cm (1.25 inches) long.
-
Lay the adhesive strip along the upper edge of the earpiece speaker slot in your new display so that it's centered over the slot and touching the upper edge.
-
Gently press the adhesive strip into place on the display with your finger or a spudger.
-
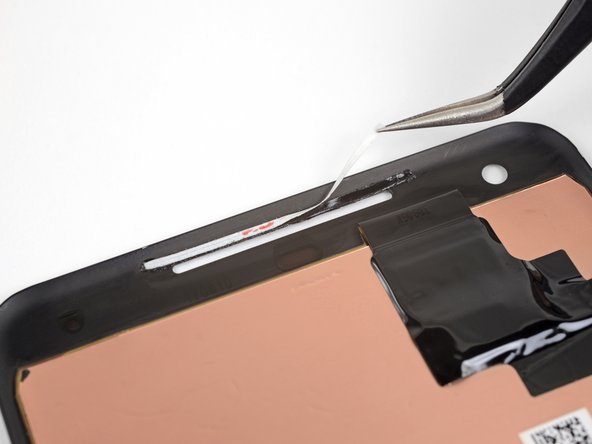
Peel the white backing away from the adhesive strip.
-
-
-
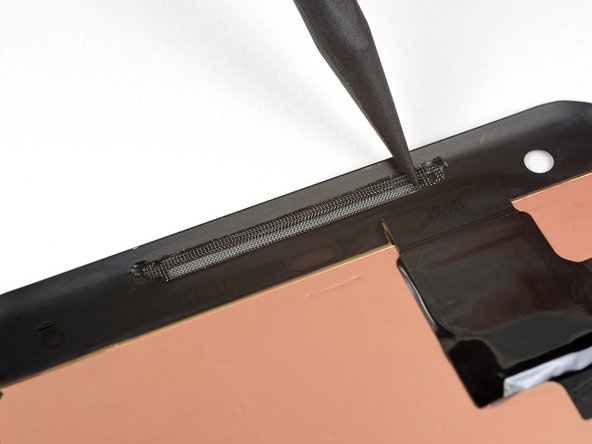
Lightly set the speaker grille into its slot so that the indented half of the grille sits inside the slot, and the flat, unindented half of the grille is above the slot on top of the adhesive. Do not push it onto the adhesive yet.
-
Use the point of a spudger to gently push the edges of the grille against the edges of the slot, centering the grille in the slot.
-
-
-
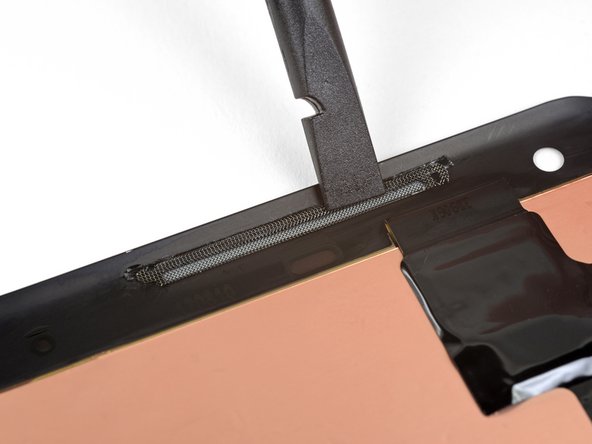
Use the flat end of a spudger to push the top of the grille down against the adhesive strip.
-
Repeat the last three steps to install the lower speaker grille.
-
When installing the lower speaker grille, apply the adhesive strip to the lower edge of the speaker slot, and position the grille with the flat half below the slot.
-
-
-
Cut one strip of 1 mm wide adhesive to be 6 mm (1/4") long.
-
Place the adhesive underneath the front-facing camera hole, parallel to the top edge of the display.
-
Cut two 3 mm (1/8") strips of 1 mm wide adhesive.
-
Place the adhesive strips to the left and right of the camera hole, perpendicular to the bottom adhesive strip.
-
Gently press the adhesive strips into place on the display with your finger or a spudger.
-
-
-
-
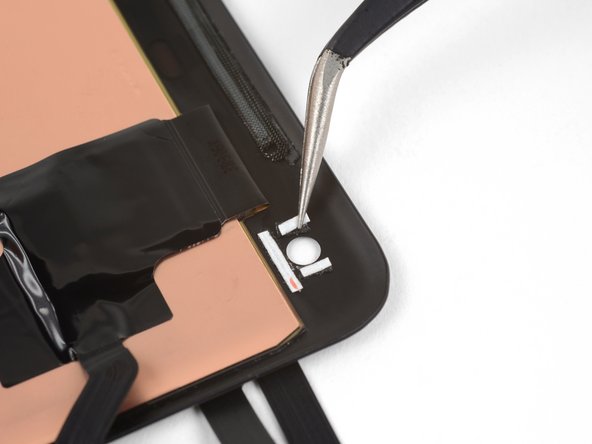
Carefully place the front-facing camera gasket down on top of the adhesive.
-
Make sure that the gasket is centered around the camera hole. If it overlaps the hole at all, it will disrupt the function of the camera.
-
Press the gasket down against the adhesive with your finger or a spudger.
-
-
-
Remove eleven 3.8 mm Phillips screws securing the midframe.
-
-
-
Insert an opening tool into the notch in the midframe near the volume buttons and pry the midframe up and away from the rest of the phone.
-
Remove the midframe.
-