
Google Nest Doorbell WiFi GWX3T Battery Replacement

Last updated on Oct 16, 2025
Views: 1.7K
View statistics:
- Past 24 Hours:
- 15
- Past 7 Days:
- 94
- Past 30 Days:
- 358
- All Time:
- 1,735
Comments: 0
No one has left comments on this guide. Will you be first?
Go to guide commentsCompleted: 2 3
2 people have marked this guide "completed." Will you be next?
3 people have marked this guide "completed." Including you — great job!
Favorites: 1 2
1 person has favorited (and subscribed to) this guide. Will you be next?
2 people have favorited (and subscribed to) this guide — including you!
Community-Contributed Guide
An awesome member of our community made this guide. It was not created by iFixit staff.
Introduction
Go to step 1 ↓Replacing the Google Nest Doorbell (GWX3T) battery is possible, but the process is tricky and delicate. The battery is glued, so take your time and use care to avoid damage. Most of the time and difficulty in this repair comes from removing the heavily glued battery. Be patient and work slowly to avoid damage.
What you need


-
-
-
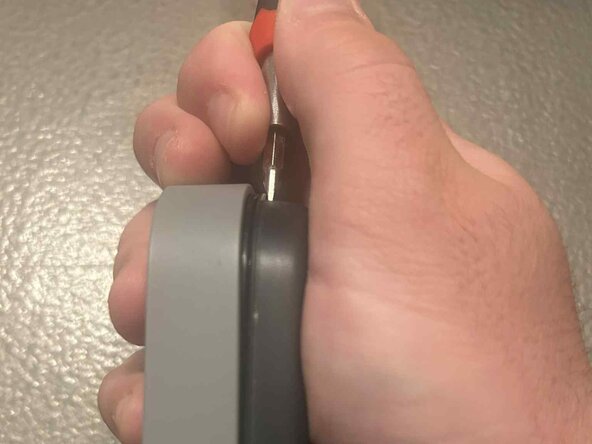
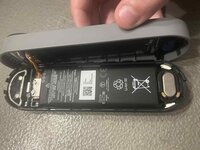
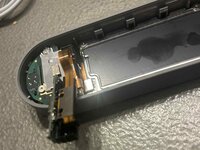
Insert a flathead screwdriver into the top edge of the doorbell and gently pry to begin separating the housing.
-
-
-
-
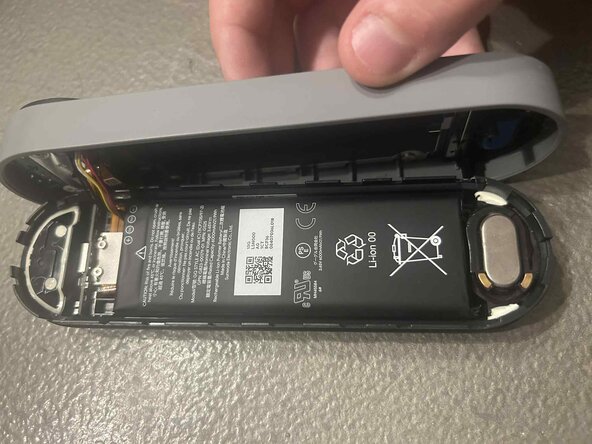
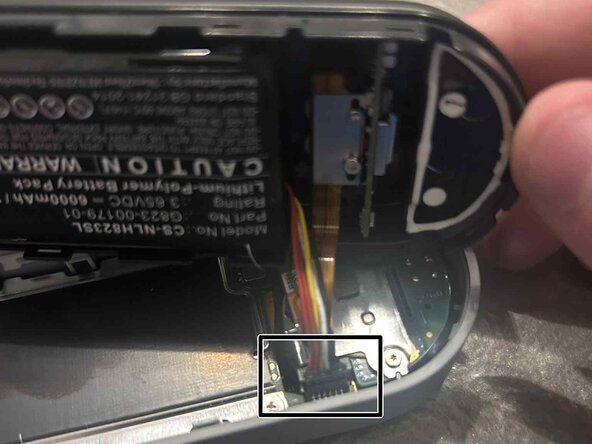
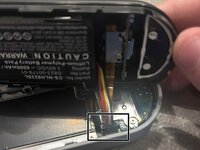
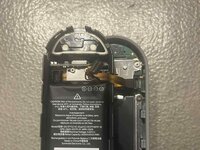
Use a pair of tweezers to carefully disconnect the battery connector from its socket.
-
-
-
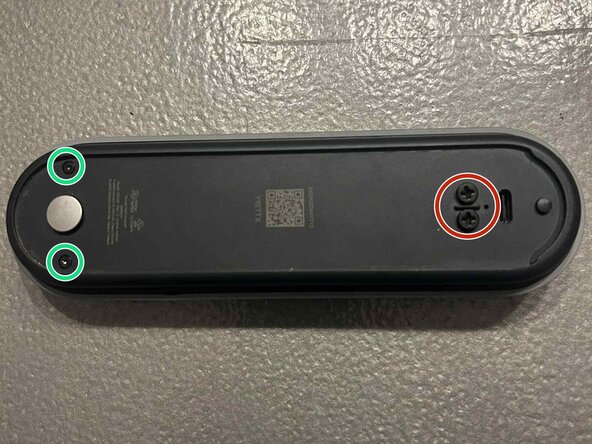
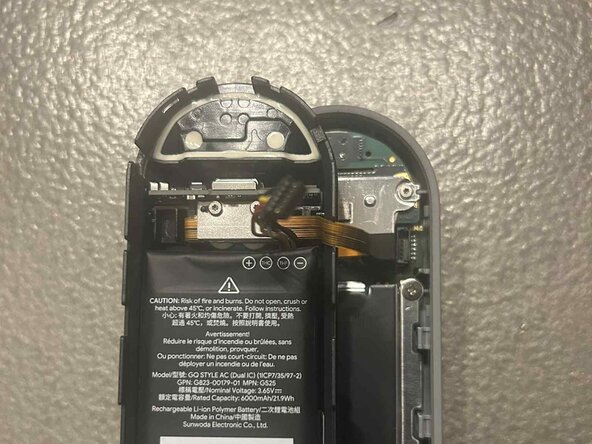
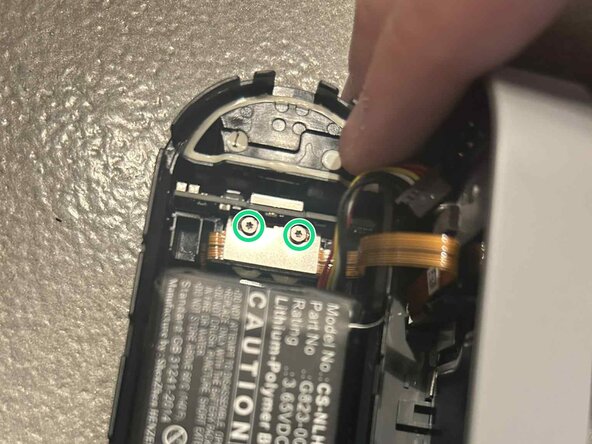
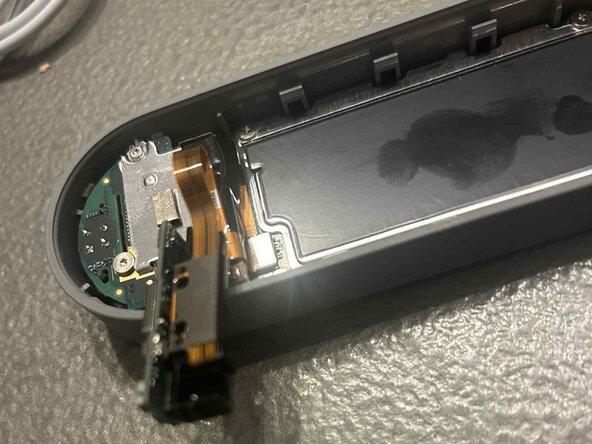
Remove the two screws with a T5 Torx driver. Then, use tweezers to carefully lift out the USB-C connector assembly.
-
-
-
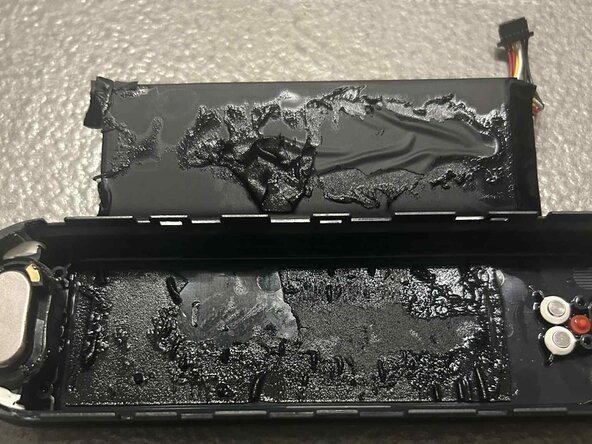
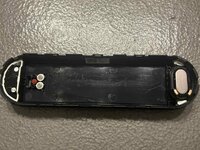
Apply isopropyl alcohol 99% around the casing to weaken the adhesive. The battery is held with a lot and strong glue, so be patient. Once loosened, gently pry the battery out.
-
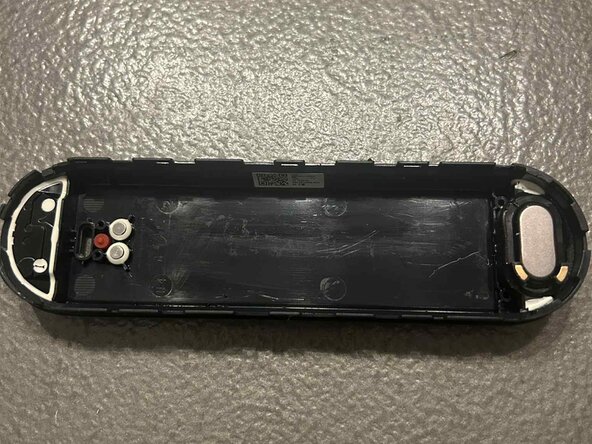
Clean the housing with the isopropyl alcohol
-
-
-
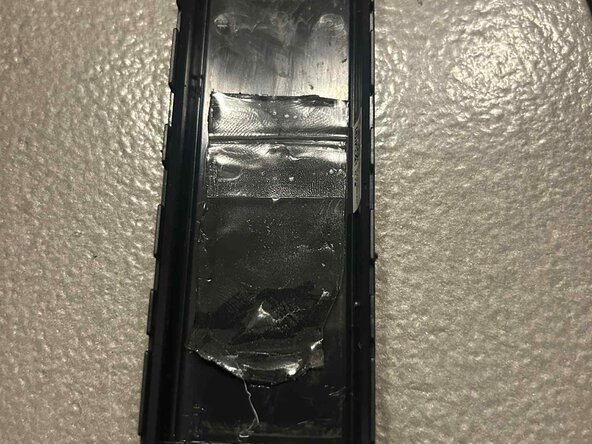
Place a piece of double-sided tape in the battery compartment, then press the new battery firmly into place.
-
To reassemble your device, follow these instructions in reverse order.
-
 Ask FixBot
To reassemble your device, follow these instructions in reverse order.
Cancel: I did not complete this guide.
2 other people completed this guide.
