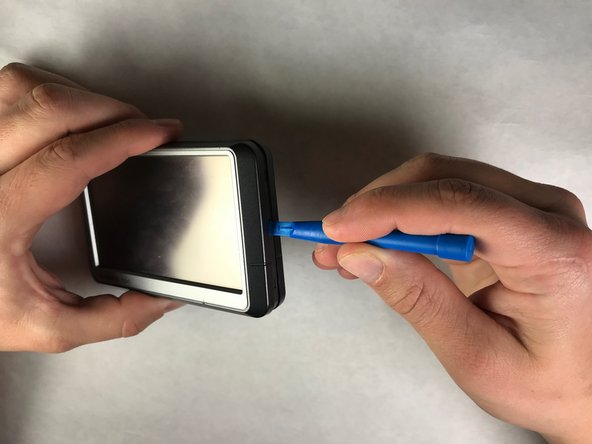
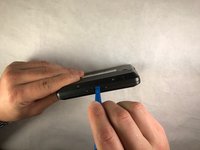
Garmin Nuvi 260W Screen Replacement

What you need

  1. Garmin Nuvi 260W Screen Replacement, Screen: step 1, image 1 of 1
    • Carefully remove model/serial number sticker.

  2. Garmin Nuvi 260W Screen Replacement: step 2, image 1 of 1
    • Remove two 4mm T5 Torx screws located under the sticker.

  3. Garmin Nuvi 260W Screen Replacement: step 3, image 1 of 2 Garmin Nuvi 260W Screen Replacement: step 3, image 2 of 2
    • Once the screws are removed, use the plastic opening tool to carefully separate the body from the screen encasing.

  4. Garmin Nuvi 260W Screen Replacement: step 4, image 1 of 1
    • Once the body of the nüvi is separated, carefully flip the tabs on the motherboard that secure the ribbon cable to the motherboard and disconnect.

  5. Garmin Nuvi 260W Screen Replacement: step 5, image 1 of 1
    • Use a plastic opening tool to loosen the three clips located on the top of the screen encasing to a position that loosens the hold on the screen.

  6. Garmin Nuvi 260W Screen Replacement: step 6, image 1 of 1
    • Use a plastic opening tool to loosen the two clips on the short sides of the Nuvi screen encasing to a position that allows the removal of the screen.

Conclusion

To reassemble your device, follow these instructions in reverse order.

Hunter Johnson

Member since: 03/27/18

327 Reputation

2 Guides authored

Team

IUPUI, Team S3-G5, Harley Spring 2018 Member of IUPUI, Team S3-G5, Harley Spring 2018

IUPUI-HARLEY-S18S3G5

3 Members

2 Guides authored

0 Comments

Add Comment

View Statistics:

Past 24 Hours: 0

Past 7 Days: 1

Past 30 Days: 3

All Time: 292