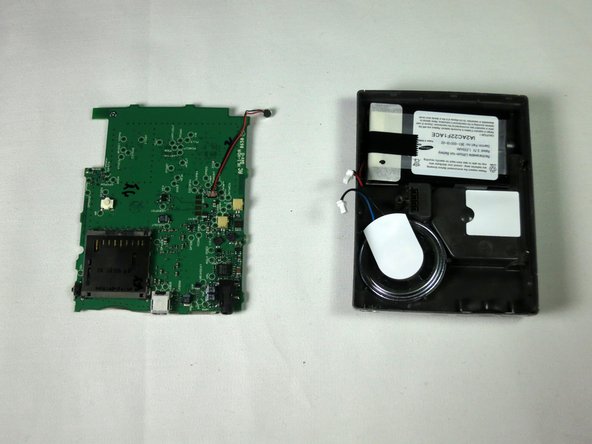
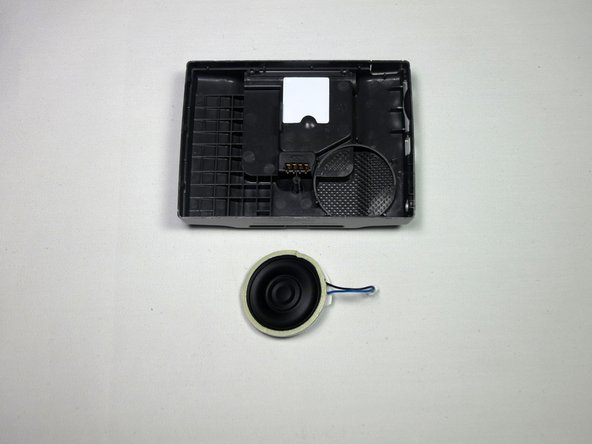
Garmin Nüvi 370 Speaker Replacement

What you need

  1. Garmin Nüvi 370 Speaker Replacement, Speaker: step 1, image 1 of 1
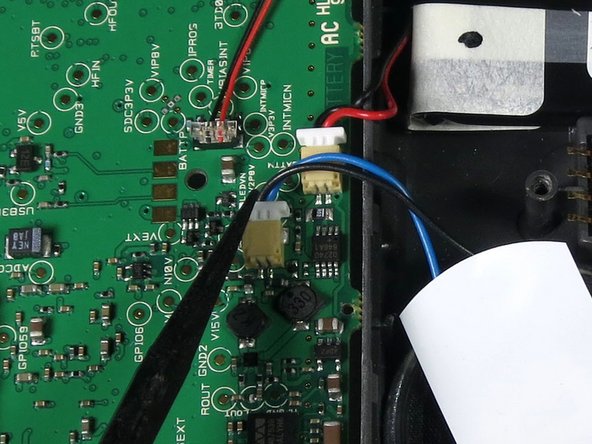
    • After following the instructions in the main dis-assembly guide, you should have the screen detached from the motherboard.

  2. Garmin Nüvi 370 Speaker Replacement: step 2, image 1 of 3 Garmin Nüvi 370 Speaker Replacement: step 2, image 2 of 3 Garmin Nüvi 370 Speaker Replacement: step 2, image 3 of 3
    • Use the tweezers or the spudger to lift the tan latch off the ribbon cable (ZIF connector)and gently pull out the ZIF connector and cable from underneath the opened latch.

  3. Garmin Nüvi 370 Speaker Replacement: step 3, image 1 of 2 Garmin Nüvi 370 Speaker Replacement: step 3, image 2 of 2
    • The motherboard will now freely separate from the back casing; lay it flat next to the housing.

  4. Garmin Nüvi 370 Speaker Replacement: step 4, image 1 of 3 Garmin Nüvi 370 Speaker Replacement: step 4, image 2 of 3 Garmin Nüvi 370 Speaker Replacement: step 4, image 3 of 3
    • Detach blue speaker cable from motherboard.

    • Battery cable is detached in this picture, and it is not required to do so to install a new speaker.

  5. Garmin Nüvi 370 Speaker Replacement: step 5, image 1 of 2 Garmin Nüvi 370 Speaker Replacement: step 5, image 2 of 2
    • Detach speaker from casing and insert new, functional speaker.

    • Battery is removed in the picture and is not required for the installation of a new speaker.

Conclusion

To reassemble your device, follow these instructions in reverse order.

Matt West

Member since: 04/18/13

31 Reputation

4 Guides authored

Team

Cal Poly, Team 13-65, Johann Spring 2013 Member of Cal Poly, Team 13-65, Johann Spring 2013

CPSU-JOHANN-S13S13G65

3 Members

6 Guides authored

0 Comments

Add Comment

View Statistics:

Past 24 Hours: 0

Past 7 Days: 0

Past 30 Days: 1

All Time: 302