Dremel 4000 Back Case Replacement

Prerequisite Only
This guide is only intended to be used as a prerequisite for other guides. It's incomplete by itself.

What you need

  1. Dremel 4000 Back Case Replacement, Dremel 4000 Back Case Replacement: step 1, image 1 of 2 Dremel 4000 Back Case Replacement, Dremel 4000 Back Case Replacement: step 1, image 2 of 2
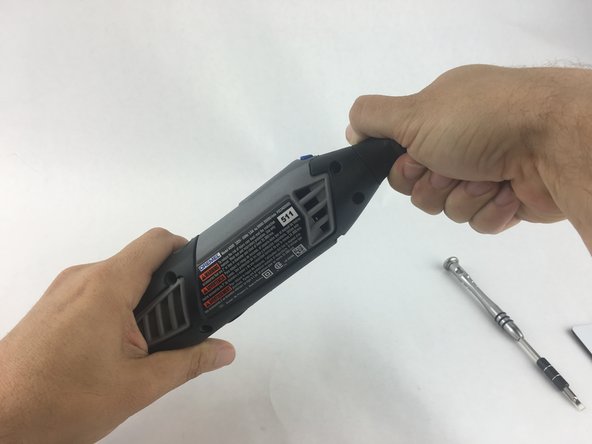
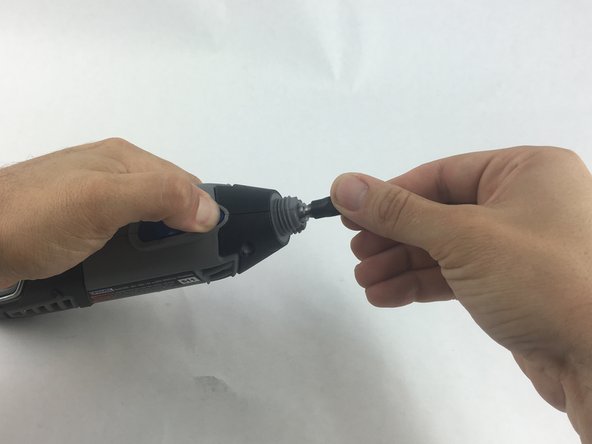
    • Start by removing the housing cap by unscrewing it.

    • Next, unscrew the now exposed collet nut while holding down the shaft lock button.

    • To remove the collet nut, you may need to use the small open-end wrench provided with the Dremel.

  2. Dremel 4000 Back Case Replacement: step 2, image 1 of 1
    • Using your hands, carefully remove hanger from casing.

  3. Dremel 4000 Back Case Replacement: step 3, image 1 of 2 Dremel 4000 Back Case Replacement: step 3, image 2 of 2
    • Remove the brush caps (one on each side) by using a flathead screwdriver bit.

    • The brush caps are spring loaded.

  4. Dremel 4000 Back Case Replacement: step 4, image 1 of 1
    • Using the Torx 15 screwdriver tip, remove the 5 screws (12.5 mm) that hold the casing together.

  5. Dremel 4000 Back Case Replacement: step 5, image 1 of 1
    • Use a plastic opening tool to gently wedge apart the hard plastic threads.

  6. Dremel 4000 Back Case Replacement: step 6, image 1 of 1
    • Use your hands to carefully remove the back casing so that none of the components fall out.

John Cobb

Member since: 01/20/16

1,689 Reputation

4 Guides authored

Team

USF Tampa, Team 15-4, Remmell Spring 2016 Member of USF Tampa, Team 15-4, Remmell Spring 2016

USFT-REMMELL-S16S15G4

4 Members

13 Guides authored

View Statistics:

Past 24 Hours: 0

Past 7 Days: 1

Past 30 Days: 8

All Time: 1,657