This translation was generated by a machine and has not been reviewed by a person yet. Speak this language? Review it.

Disassemble and clean the Panasonic Lumix DMC TZ5 Leica lens unit

VauWeh and
Last updated on Sep 2, 2026
Views: 1K
View statistics:
- Past 24 Hours:
- 5
- Past 7 Days:
- 27
- Past 30 Days:
- 135
- All Time:
- 1,023
Comments: 0
No one has left comments on this guide. Will you be first?
Go to guide commentsCompleted: 1 2
1 person has marked this guide "completed." Will you be next?
2 people have marked this guide "completed." Including you — great job!
Favorites: 0 1
No one has favorited (and subscribed to) this guide. Will you be the first?
1 person has favorited (and subscribed to) this guide — and that's you!
Community-Contributed Guide
An awesome member of our community made this guide. It was not created by iFixit staff.
Introduction
Go to step 1 ↓If the Leica lens has trapped some dirt or grains of dust, it can cause several problems: the lens may not extend smoothly, or there may be shadows or spots on your images. You can try to disassemble the lens and remove any obstructing foreign objects. This repair is complex and requires a lot of patience and a steady hand.
Leica lenses in Panasonic cameras have a similar construction; this guide might also help you with other devices.
What you need

-
-
-
Remove 4 screws from the right side of the camera.
-
There are two 3.4mm screws at the top.
-
There are two 2.2mm screws at the bottom.
-
-
-
Remove 5 screws from the base of the camera.
-
There are two 2.2mm screws next to the battery compartment.
-
There are three 4mm screws around the tripod mount.
-
-
-
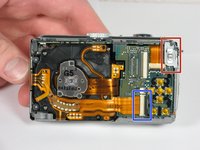
Detach both ribbon cables using a spudger.
-
Use the tip of the spudger to lift the black clip upward, unlocking the ribbon cable.
-
-
-
-
-
Use the spudger to remove the ribbon cable connecting the lens casing to the circuit board by lifting up the black clip.
-
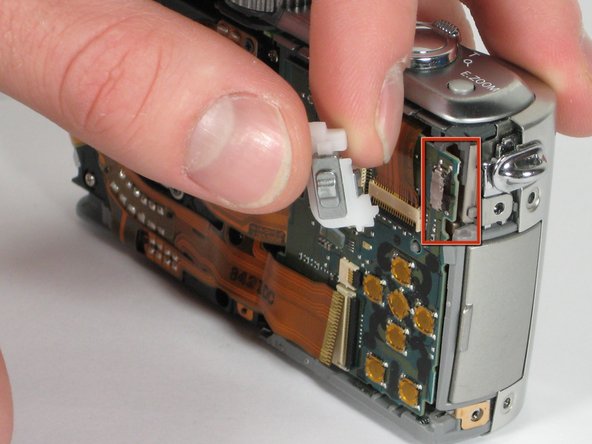
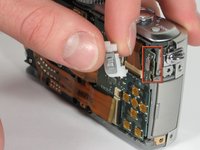
Carefully remove the function switch cover. This unit snaps on and off.
-
-
-
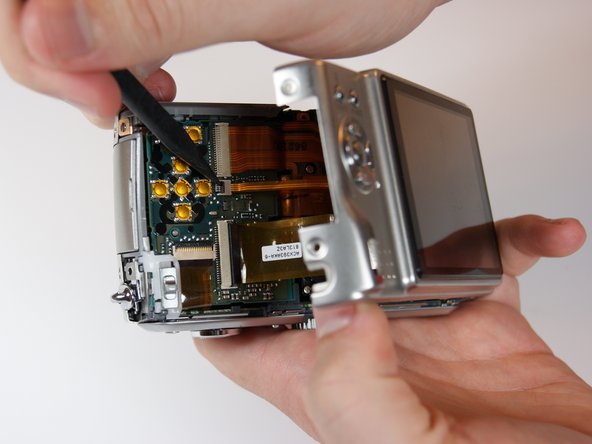
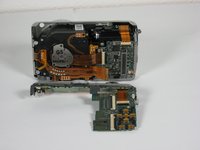
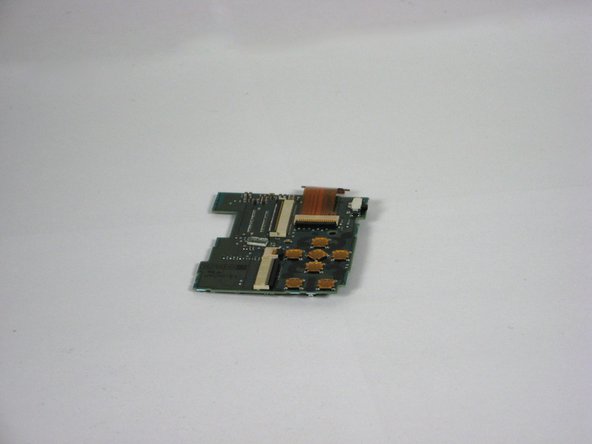
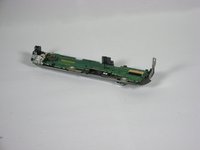
Carefully unsnap the front logic board from the rear logic board using a spudger.
-
-
-
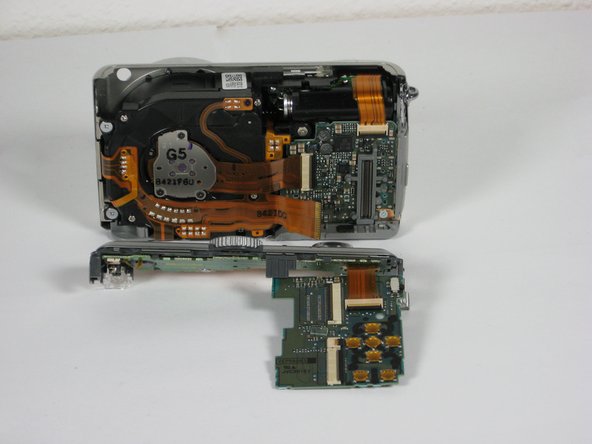
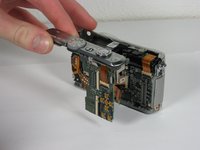
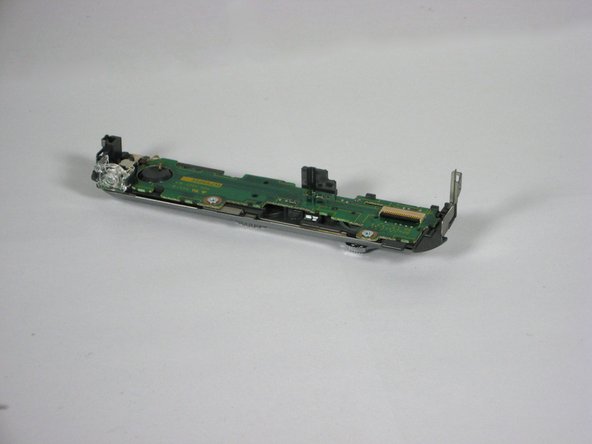
Slide the entire top part of the camera that is attached to the logic board, horizontally away from the camera.
-
-
-
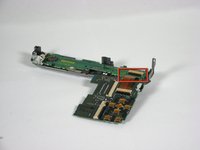
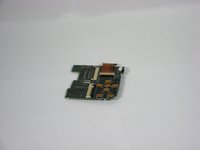
Remove the ribbon cable from the top connection panel by unlocking the black clip with a spudger.
-
This leaves you with the logic board and the top connection panel separate and free from the camera
-
-
-
-
-
Use a spudger to detach the ribbon cable from the circuit board. Lift the black clip up to unlock it as before.
-
-
-
Remove the 3 screws holding the lens assembly in place.
-
The two screws on the left are 4.5mm with washers.
-
The single screw on the right is 4mm.
-
-
-
Push the lens assembly slightly toward the circuit board, and pull the left side out of the casing first. You will have to wiggle this out gently.
-
-
-
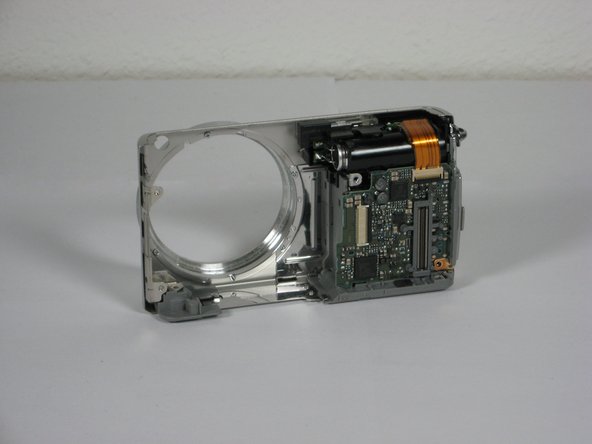
Remove the entire assembly out of the casing.
-
The ribbons on the left and bottom of the assembly simply rest on the camera housing.
-
-
-
-
-
Note how the two grounding contacts of the lens unit are hooked into the body.
-
The CCD is secured with three screws. You only need to unscrew it if there is dust on it. Normally, you can leave it screwed in.
-
The motor for the zoom is located on the side. You will need to unscrew it very carefully later.
-
The motor for the focus normally remains screwed in.
-
-
-
Remove the four Phillips screws securing the rear cover.
-
Remove the two screws securing the zoom motor. The second screw is hidden underneath the large ribbon cable.
-
Very carefully detach the zoom motor. Watch out for the ribbon cables.
-
Very carefully lift the rear cover and place it slightly elevated next to the lens cover. Release the ribbon cables from their fastenings and ensure that the sensitive ribbon cables are not pulled too tightly.
-
Note how the two narrow ribbon cables are tucked into a pocket in the body of the lens unit.
-
-
-
Mark the position of the parts so you can reinsert them in the exact same orientation later.
-
Grasp the outer ring—firmly but carefully—and rotate it a few millimeters clockwise. Metal pins should become visible in the three notches.
-
-
-
Mark the parts again so you can put them back together correctly later.
-
Rotate the silver metal housing with the front lens and the leaf shutter counter-clockwise. It will detach from the inner lens assembly.
-
If the blades are no longer moving easily, you can move the black pin inside next to the lens back and forth using a spudger. The blades will open and close until all the dirt has loosened.
-
-
Tool used on this step:Dust Blower$5.99
-
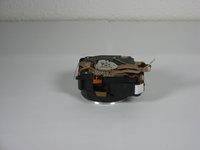
The lens unit is largely disassembled. Remove all dust from the lenses and the interior using a lint-free microfiber cloth. Do not blow with your mouth, but instead use a dust blower.
-
-

 Ask FixBot









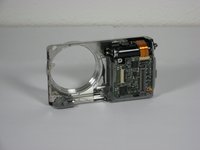


Follow the steps in reverse order to reassemble your device. After reassembly, the lens may have trouble focusing. If you are lucky, you can resolve this by turning the device on and off repeatedly; gently tapping it on several sides might also help.
Cancel: I did not complete this guide.
One other person completed this guide.

Team

Repair is War on Entropy Member of Repair is War on Entropy
Community
46 Members
7,118 Guides authored
