
Dell Inspiron 14-7437 Cooling Fan Replacement

What you need

  1. Dell Inspiron 14-7437 Cooling Fan Replacement, Base Cover: step 1, image 1 of 2 Dell Inspiron 14-7437 Cooling Fan Replacement, Base Cover: step 1, image 2 of 2
    • Power off your Dell Inspiron 14-7437 before disassembling.

    • Remove the eight 4.5 mm screws on the back panel of the device using the Phillips 1 Screwdriver.

    • The two 4.5 mm screws in the center under the rubber mount cannot be removed, but can be loosened.

  2. Dell Inspiron 14-7437 Cooling Fan Replacement: step 2, image 1 of 2 Dell Inspiron 14-7437 Cooling Fan Replacement: step 2, image 2 of 2
    • Pry open the back cover using a spudger and slide it along the under the cover.

  3. Dell Inspiron 14-7437 Cooling Fan Replacement, Battery: step 3, image 1 of 2 Dell Inspiron 14-7437 Cooling Fan Replacement, Battery: step 3, image 2 of 2
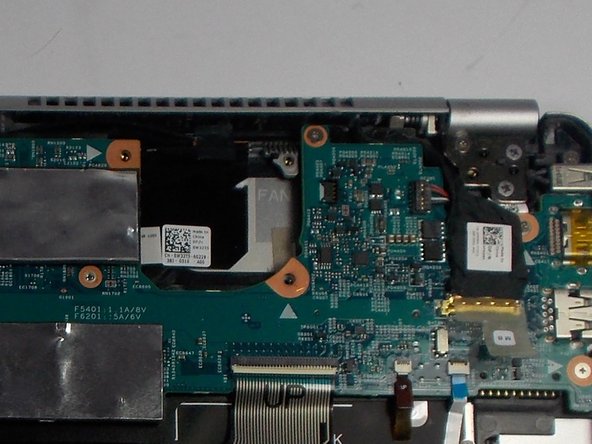
    • Remove the two 2.5 mm screws holding the battery in place using the J000 Phillips Head Screwdriver.

  4. Dell Inspiron 14-7437 Cooling Fan Replacement: step 4, image 1 of 1
    • Disconnect the ribbon cables from the motherboard.

  5. Dell Inspiron 14-7437 Cooling Fan Replacement: step 5, image 1 of 1
    • Lift up and remove the Lithium-Polymer Battery.

  6. Dell Inspiron 14-7437 Cooling Fan Replacement, Cooling Fan: step 6, image 1 of 2 Dell Inspiron 14-7437 Cooling Fan Replacement, Cooling Fan: step 6, image 2 of 2
    • Remove the two 2.5 mm screws using a J000 Phillips Head Screwdriver.

  7. Dell Inspiron 14-7437 Cooling Fan Replacement: step 7, image 1 of 2 Dell Inspiron 14-7437 Cooling Fan Replacement: step 7, image 2 of 2
    • Pull up on the wire and remove the Cooling Fan.

Conclusion

To reassemble your device, follow these instructions in reverse order.

One other person completed this guide.

Katelyn Remy

Member since: 03/10/16

449 Reputation

4 Guides authored

Team

0 Comments

Add Comment

View Statistics:

Past 24 Hours: 0

Past 7 Days: 2

Past 30 Days: 3

All Time: 724