Introduction
The brushes in the DeWalt DWD112 direct the flow of current to the motor and create power for the drill. They can wear out over time, causing the drill to fail.
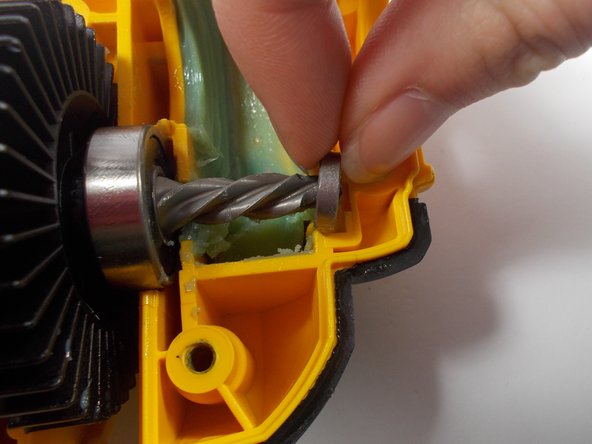
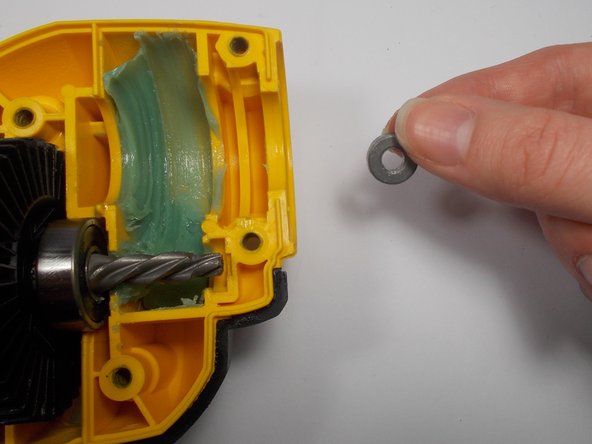
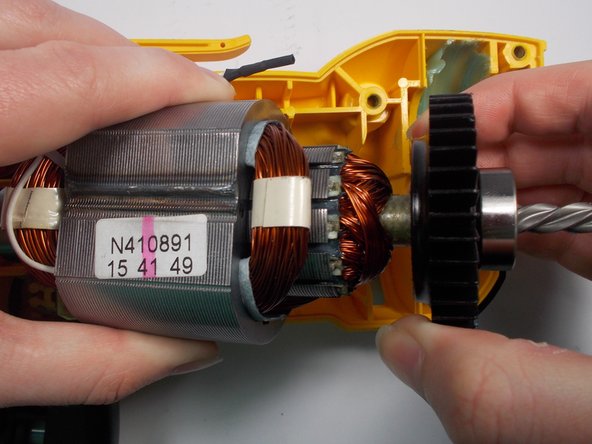
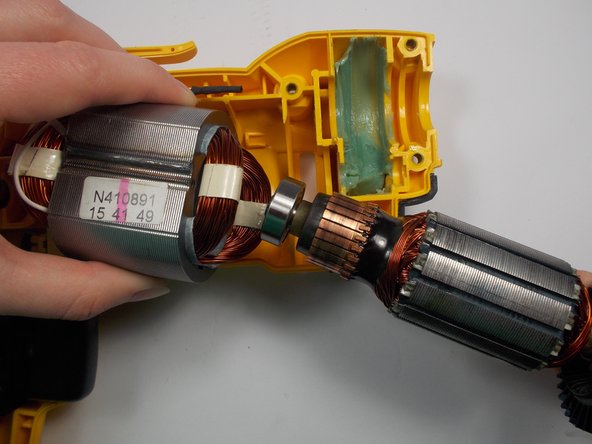
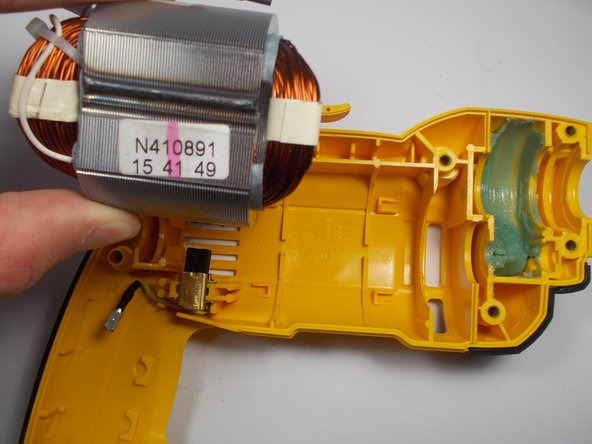
Worn out brushes can be replaced with a few easy steps. It is not necessary to remove all of the other parts for this repair, but it is advised as to not damage the other components.
What you need
-
-
-
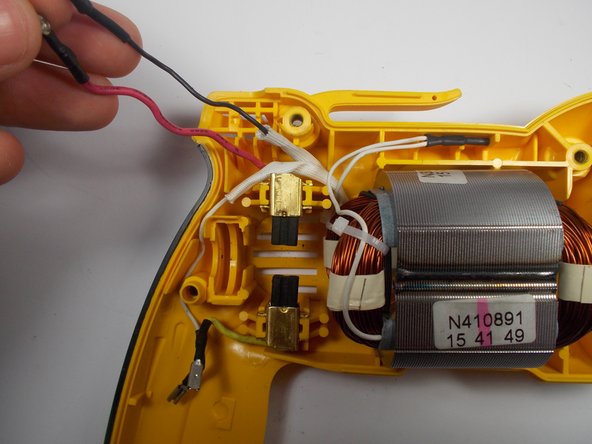
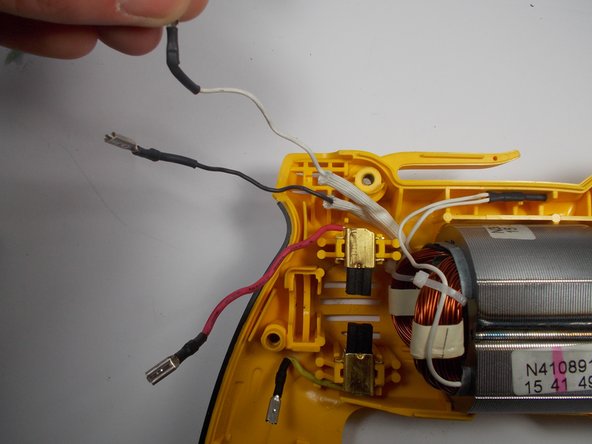
Move the black wire clear from any obstruction.
-
Repeat this step for the white wire and the red wire.
-
-
-
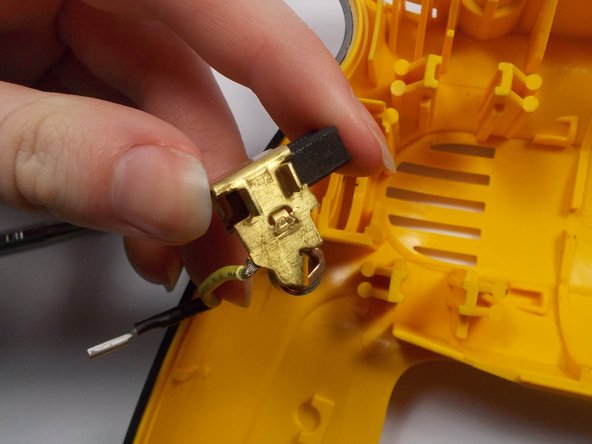
Using two fingers, press the brush into the metal casing.
-
Firmly pull out the brush using the same two fingers.
-


To reassemble your device, follow these instructions in reverse order.
To reassemble your device, follow these instructions in reverse order.
Team

UMass Dartmouth, Team 2-3, Isaacson Spring 2016 Member of UMass Dartmouth, Team 2-3, Isaacson Spring 2016
UMASSD-ISAACSON-S16S2G3
3 Members
6 Guides authored