Introduction
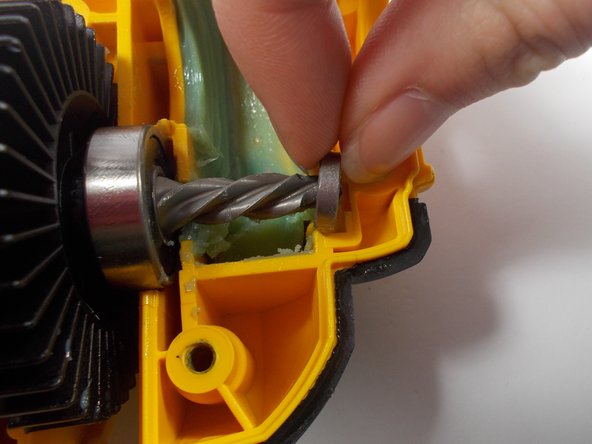
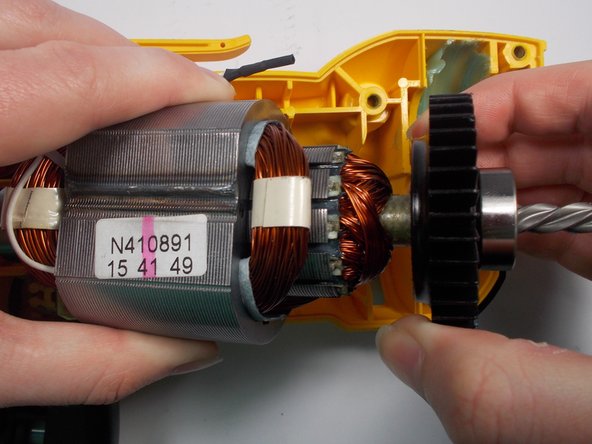
If the drill constantly becomes too hot to use, the cooling fan may be broken or clogged. Use this guide to replace the armature or fan of the DeWalt DWD112 drill.
What you need


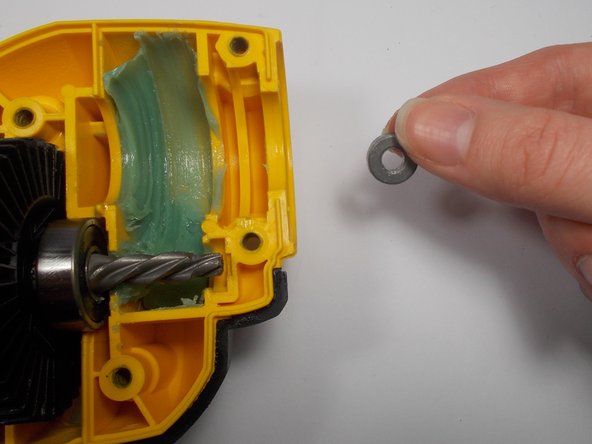

Almost done!
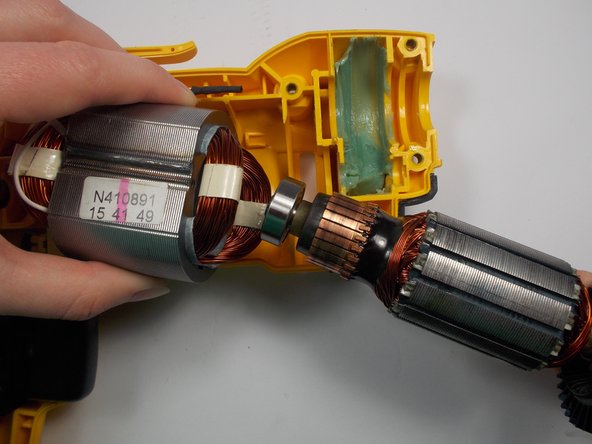
To reassemble your device, follow these instructions in reverse order.
Conclusion
To reassemble your device, follow these instructions in reverse order.
Team

UMass Dartmouth, Team 2-3, Isaacson Spring 2016 Member of UMass Dartmouth, Team 2-3, Isaacson Spring 2016
UMASSD-ISAACSON-S16S2G3
3 Members
6 Guides authored