Introduction
For the price of two rechargeable batteries you can restore your Fly 12.
Rather than the generic 1865 batteries, why not upgrade to genuine Panasonic 1865B. They are the same size but have a higher capacity. Make sure you get the ones with solder tabs, even though they are more expensive you’ll find them easier to solder.
I brought my replacement batteries on ebay.
What you need
-
-
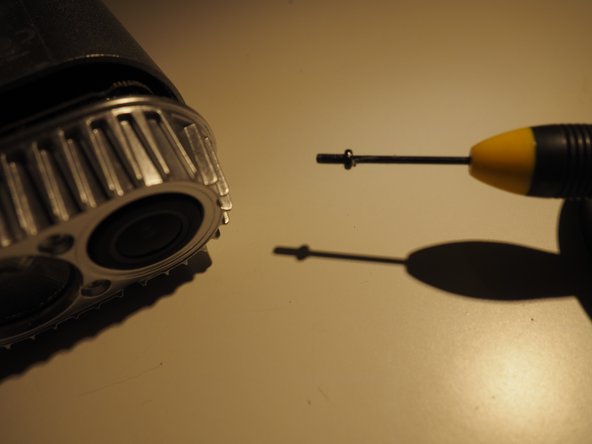
Remove the 2 silver screws from the black cover
-
Remove the 4 black screws from the camera housing
-
Remove the 2 screws holding the battery into the case. One is tight so you'll need to rotate the camera without pulling the wires too much
-
-
-
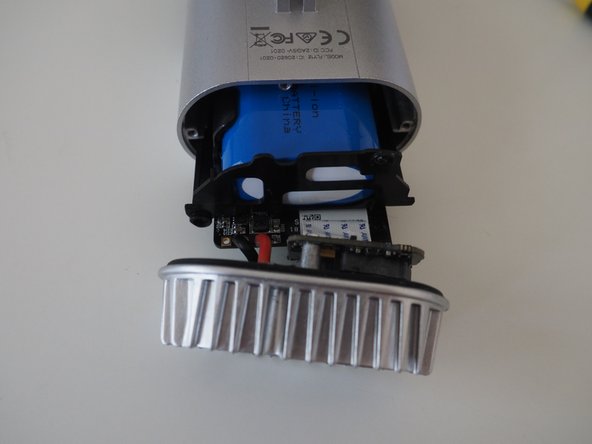
Carefully push through the slot above the SD card (NOT the slot I'm showing!). If you have to push hard you've probably forgotten to remove a screw. Use a batch stick if you can because you are pushing on a piece of tape and don't want to tear it.
-
Push until you can grab the battery from the front and pull it.
-
-
-
-
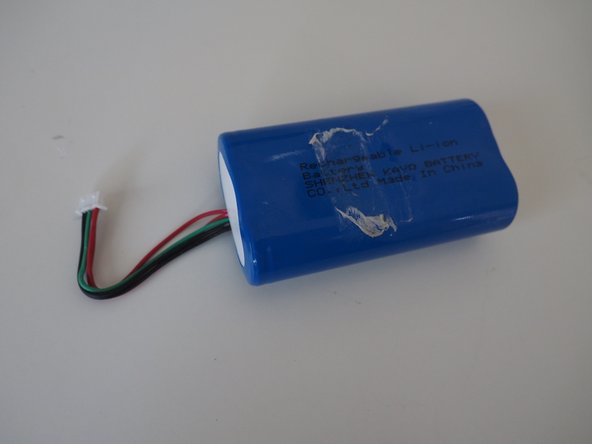
The blue battery pack is taped in. Remove it. Save the foam and double sided tape.
-
Unplug the white clip from the board.
-
-
-
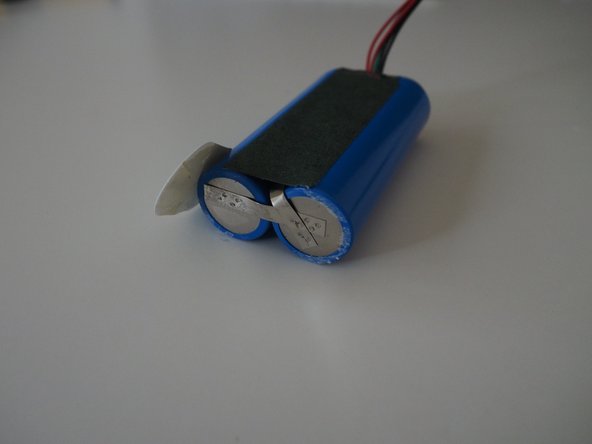
Cut the blue plastic holding the batteries together, and peel it off to reveal the black strip shown in the second pic.
-
-
-
Remove the strip of black tape to reveal the voltage regulator.
-
Remove the voltage regulator and its attached wires.
-
-
-
Use the battery tabs to solder the two batteries together.
-
Solder the voltage regulator board between the batteries. Be careful not to heat the batteries too much.
-
I used tape on the two ends of the batteries, but a heat shrink tube would work better.
-
-
-
Plug the battery pack's white clip back in.
-
Now's a good time to charge the battery and check the light works before completely reassembling.
-
-
-
Push the board back into the case. Make sure the back USB and micro SD card flaps are attached. Check you can open the flaps when the board is pushed in.
-
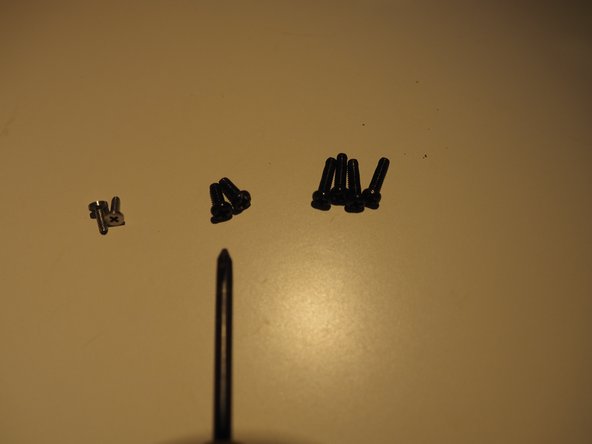
The smallest single black screw goes in the back
-
The two smallest black screws hold the battery in. I used a bit of bluetack to hold onto the screw driver.
-
One screw is tight to get in. I used a small flat bladed screwdriver held at an angle
-