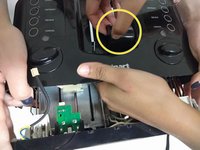
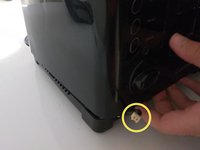
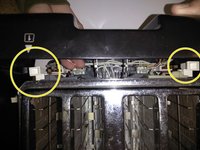
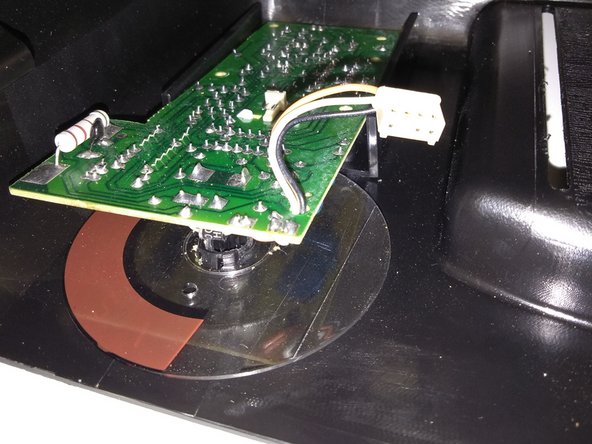
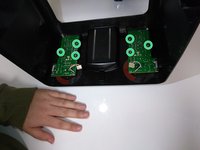
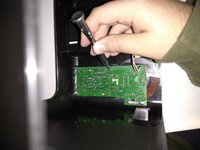
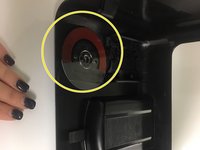
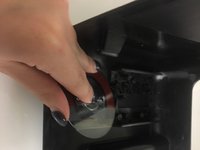
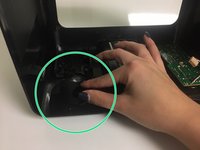
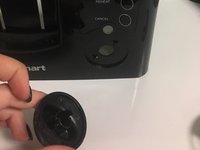
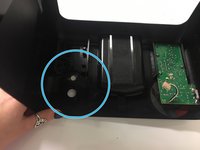
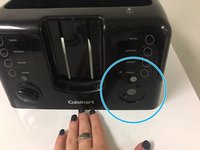
Cuisinart-140BK Knob Replacement

What you need

  1. Careful: steps 1-6 are sourced from a guide that's marked as in-progress.

    Cuisinart-140BK Knob Replacement, Circuit Board: step 1, image 1 of 1
    • Unplug the toaster before disassembly.

  2. Cuisinart-140BK Knob Replacement: step 2, image 1 of 2 Cuisinart-140BK Knob Replacement: step 2, image 2 of 2
    • Turn the toaster upside down.

    • Unscrew all 4mm screws using Phillips #2 screwdriver.

  3. Cuisinart-140BK Knob Replacement: step 3, image 1 of 1
    • Turn the toaster right side up.

    • Lift up the front cover carefully because the cables can be damaged.

    • Pull out the toaster lever knobs by pulling it away from the toaster before removing the top cover.

  4. Cuisinart-140BK Knob Replacement: step 4, image 1 of 3 Cuisinart-140BK Knob Replacement: step 4, image 2 of 3 Cuisinart-140BK Knob Replacement: step 4, image 3 of 3
    • Detach the cable that connects the toaster to the circuit board, in both control panels.

  5. Cuisinart-140BK Knob Replacement: step 5, image 1 of 1
    • Carefully lift up the top cover.

  6. Cuisinart-140BK Knob Replacement: step 6, image 1 of 3 Cuisinart-140BK Knob Replacement: step 6, image 2 of 3 Cuisinart-140BK Knob Replacement: step 6, image 3 of 3
    • The circuit board is located inside the front cover.

    • Unscrew total of six 4mm screws that attach each circuit board to the top cover, using Phillips #2 screwdriver.

    • Remove and replace the circuit board.

  7. Cuisinart-140BK Knob Replacement, Knob: step 7, image 1 of 2 Cuisinart-140BK Knob Replacement, Knob: step 7, image 2 of 2
    • Lift the clear plastic backing off the knob, under the circuit board.

  8. Cuisinart-140BK Knob Replacement: step 8, image 1 of 2 Cuisinart-140BK Knob Replacement: step 8, image 2 of 2
    • Pinch the back side of the knob to detach it from the toaster.

  9. Cuisinart-140BK Knob Replacement: step 9, image 1 of 2 Cuisinart-140BK Knob Replacement: step 9, image 2 of 2
    • This is how the device should look without the knob.

    • Repeat the process on the opposite side of the toaster to remove the second knob.

Conclusion

To reassemble your device, follow these instructions in reverse order.

Alora Saxton

Member since: 09/20/17

3 Reputation

1 Guide authored

0 Comments

Add Comment

View Statistics:

Past 24 Hours: 0

Past 7 Days: 6

Past 30 Days: 15

All Time: 932