
Conair Infiniti PRO Curling Iron Motherboard Replacement

What you need

  1. Conair Infiniti PRO Curling Iron Motherboard Replacement, Housing: step 1, image 1 of 1
    • Remove the Philips #1 28 mm.

    • Make sure device is unplugged and cool before attempting to replace parts.

  2. Conair Infiniti PRO Curling Iron Motherboard Replacement: step 2, image 1 of 1
    • Remove the Philips #1 22 mm screws.

  3. Conair Infiniti PRO Curling Iron Motherboard Replacement: step 3, image 1 of 3 Conair Infiniti PRO Curling Iron Motherboard Replacement: step 3, image 2 of 3 Conair Infiniti PRO Curling Iron Motherboard Replacement: step 3, image 3 of 3
    • Pry off the housing using a plastic spudger.

  4. Conair Infiniti PRO Curling Iron Motherboard Replacement, Power Cord: step 4, image 1 of 1
    • Pull power chord out.

  5. Conair Infiniti PRO Curling Iron Motherboard Replacement, Motherboard: step 5, image 1 of 1
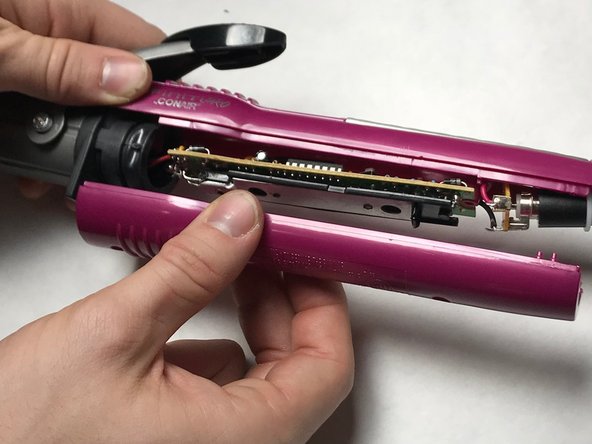
    • Heat up your soldering gun and desolder the red wire from the motherboard as shown.

    • Note the location of wire attachment.

  6. Conair Infiniti PRO Curling Iron Motherboard Replacement: step 6, image 1 of 1
    Tool used on this step:
    Desoldering Pump
    $3.99
    Buy
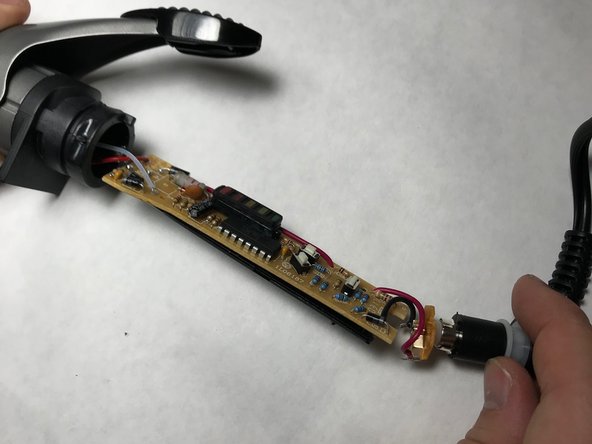
    • With your soldering gun, desolder the white wire from the motherboard as shown.

    • Note the location of wire attachment.

  7. Conair Infiniti PRO Curling Iron Motherboard Replacement: step 7, image 1 of 1
    • Once both wires are desoldered the motherboard can be removed.

Conclusion

To reassemble your device, follow these instructions in reverse order, making sure to resolder the wires correctly into the replacement motherboard.

2 other people completed this guide.

Jonathon Bruer

Member since: 11/09/17

607 Reputation

5 Guides authored

Team

IUPUI, Team S7-G5, Baechle Fall 2017 Member of IUPUI, Team S7-G5, Baechle Fall 2017

IUPUI-BAECHLE-F17S7G5

3 Members

5 Guides authored

0 Comments

Add Comment

View Statistics:

Past 24 Hours: 0

Past 7 Days: 1

Past 30 Days: 8

All Time: 572