Introduction
Replace or upgrade your hard drive in your laptop to gain more storage space!
What you need
-
Tool used on this step:T5 Torx Screwdriver$9.99
-
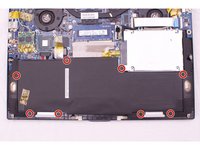
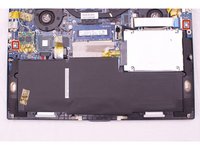
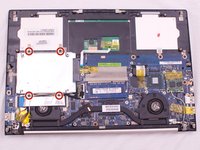
Remove the twelve 3 mm bottom panel screws with a T5 Torx Screwdriver.
-
-
-
Tool used on this step:Phillips #0 Screwdriver$5.49
-
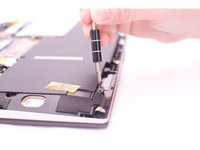
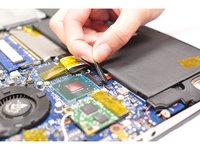
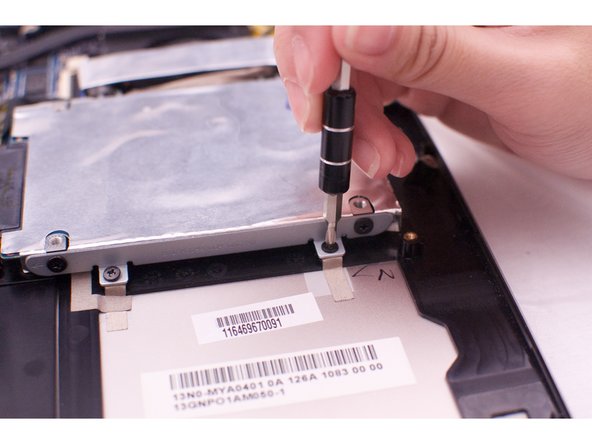
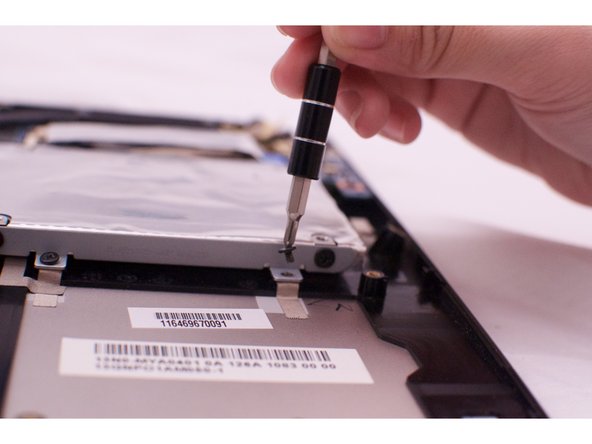
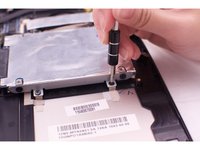
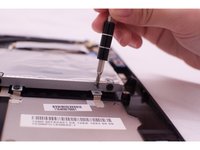
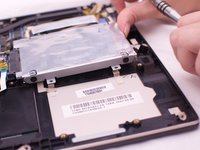
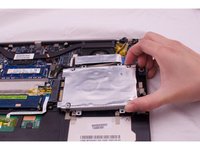
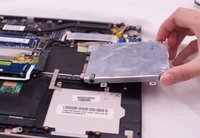
Remove the four 3mm hard drive screws with a Phillips #0 Screwdriver.
-


To reassemble your device, follow these instructions in reverse order.
Cancel: I did not complete this guide.
12 other people completed this guide.
Team

CSU Fullerton, Team 2-2, Bruce Fall 2015 Member of CSU Fullerton, Team 2-2, Bruce Fall 2015
CSUF-BRUCE-F15S2G2
4 Members
6 Guides authored
4 Guide Comments
Excellent! Precise and concise to the point!Thank you!
can someone confirm to me that samsung evo 860 will work or not for this asus please