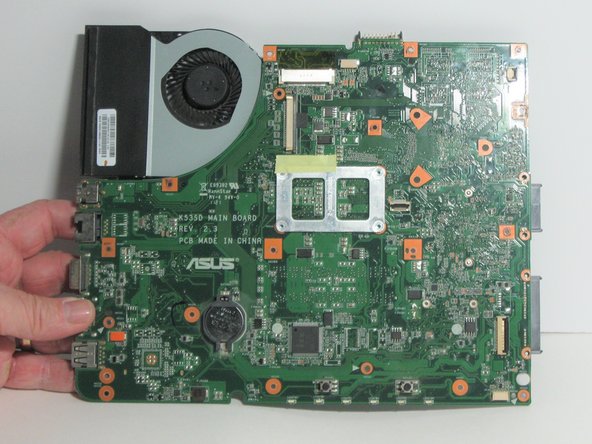
Asus K53E-BBR7 Fan Replacement

What you need

  1. Asus K53E-BBR7 Fan Replacement, Motherboard: step 1, image 1 of 3 Asus K53E-BBR7 Fan Replacement, Motherboard: step 1, image 2 of 3 Asus K53E-BBR7 Fan Replacement, Motherboard: step 1, image 3 of 3
    • Turn off the computer and disconnect the charging cable from the laptop.

    • Push the two locking mechanisms at the top of the laptop outward and pull the battery away from the laptop.

    • This laptop is missing the battery.

  2. Asus K53E-BBR7 Fan Replacement: step 2, image 1 of 2 Asus K53E-BBR7 Fan Replacement: step 2, image 2 of 2
    • Remove the two black 7.0 mm Phillips #0 screws on the back panel using your Phillips #0 screwdriver.

    • Using your hands, slide the cover downwards and remove it from the laptop.

  3. Asus K53E-BBR7 Fan Replacement: step 3, image 1 of 1
    • Using your Phillips #0 screwdriver, remove the four 7.0 mm Phillips #0 screws that are securing your hard drive into place.

    • Gently lift the hard drive out of its case using your hands.

    • This device is missing the hard drive.

  4. Asus K53E-BBR7 Fan Replacement: step 4, image 1 of 2 Asus K53E-BBR7 Fan Replacement: step 4, image 2 of 2
    • Remove the following seventeen screws from the back panel of your laptop using your Phillips #0 screwdriver:

    • Sixteen black 7.0 mm Phillips #0 screws.

    • One black 4.0 mm Phillips #0 screw.

    The two screws nearest to the rubber pads are larger in diameter than the others.

    Also, you need to disconnect the antenna wires from the wireless card.

    John Harrington - Reply

  5. Asus K53E-BBR7 Fan Replacement: step 5, image 1 of 3 Asus K53E-BBR7 Fan Replacement: step 5, image 2 of 3 Asus K53E-BBR7 Fan Replacement: step 5, image 3 of 3
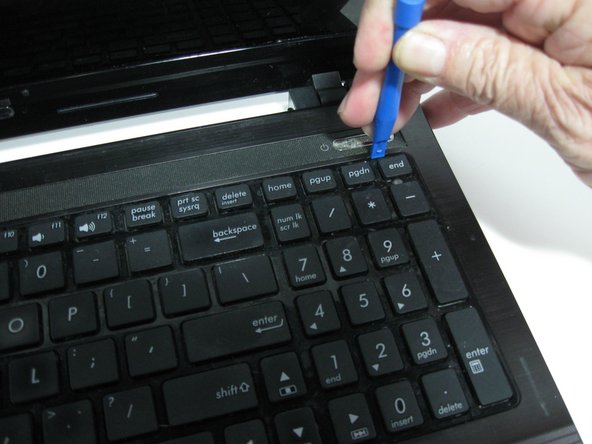
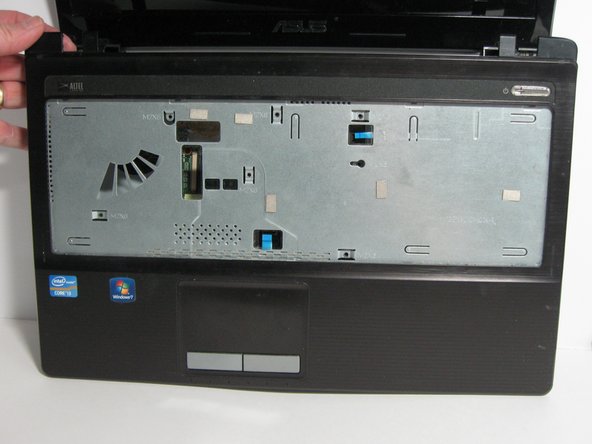
    • Using the blue prying tool, separate the keyboard from the palm rest by inserting the prying tool into each of the five tabs at the top of the keyboard.

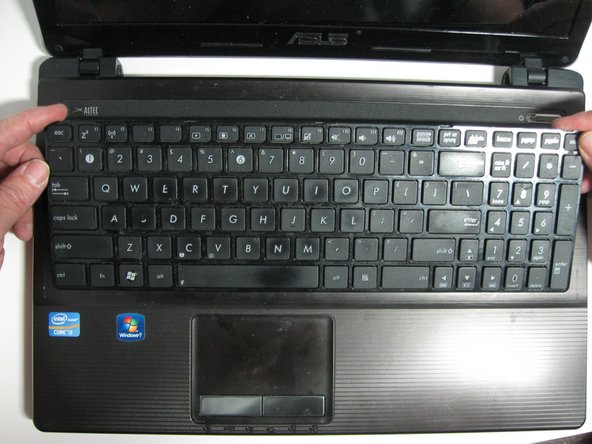
    • Slowly remove the keyboard by gently pulling the keyboard away from the palm rest.

    • A silver ribbon cable is connected to the keyboard and the palm rest of the laptop. Removing the keyboard quickly may tear the silver ribbon cable, causing harm to your device.

    On a BBR1, which looks identical to the BBR7, the blue Ifixit prying tool is slightly too wide, at both ends, to fit in the tab slot. The Ifixit black spudger does fit. Don’t try to pry the keyboard up. Put the spudger in the slot and press down and back towards the screen. The keyboard should lift out easily. It doesn’t snap out.

    John Harrington - Reply

  6. Asus K53E-BBR7 Fan Replacement: step 6, image 1 of 1
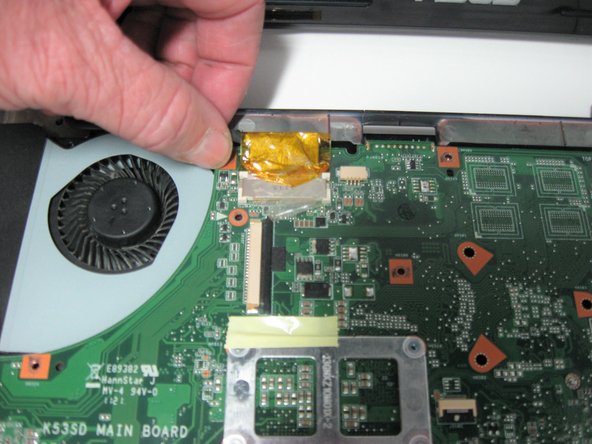
    • Using your fingers, slowly remove the silver ribbon cable from the laptop by disconnecting it from its connector.

    • Be careful when removing the ribbon. Pulling carelessly can cause damage to both the ribbon and the laptop.

    Slide black bar on connector toward cable to release it.

    John Harrington - Reply

  7. Asus K53E-BBR7 Fan Replacement: step 7, image 1 of 1
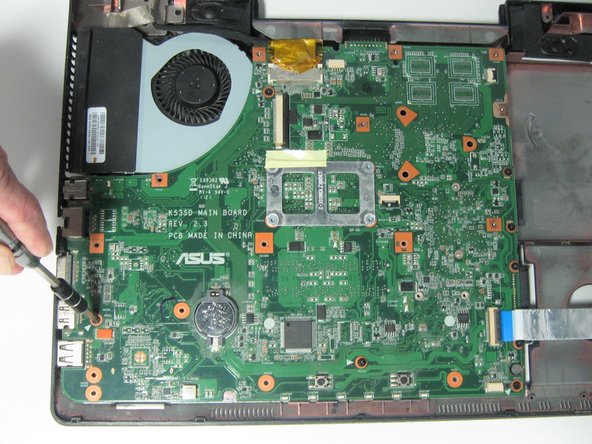
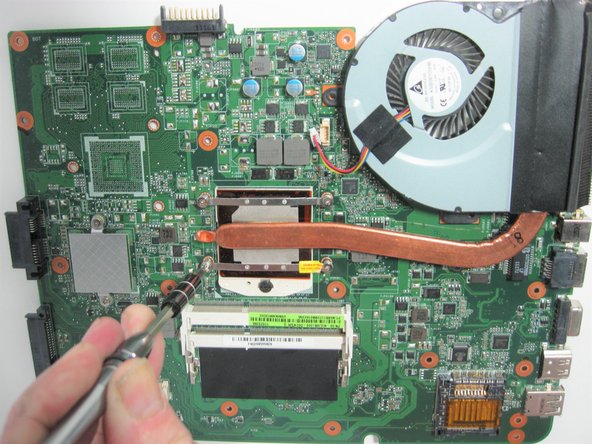
    • Remove the six silver 6.0 mm Phillips #0 screws using your Phillips #0 screwdriver.

    My K53E had 7 screws in this step - one on either side of the smaller ribbon shown in step 8. And they were black, not silver.

    Don Mosley - Reply

  8. Asus K53E-BBR7 Fan Replacement: step 8, image 1 of 3 Asus K53E-BBR7 Fan Replacement: step 8, image 2 of 3 Asus K53E-BBR7 Fan Replacement: step 8, image 3 of 3
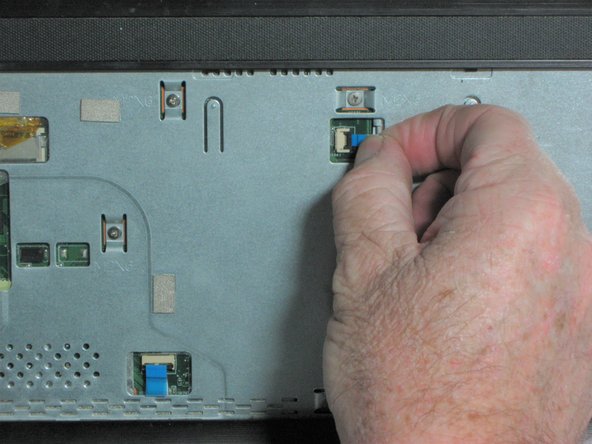
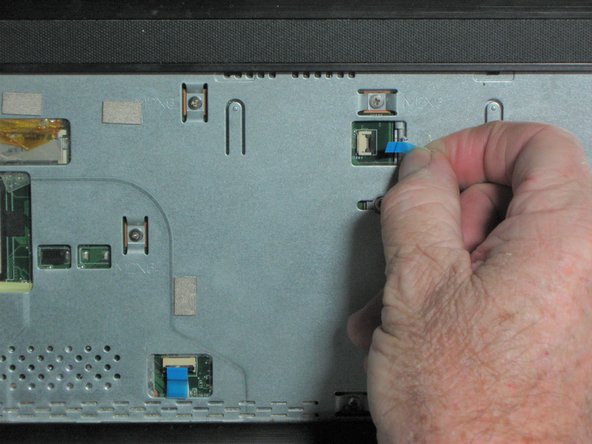
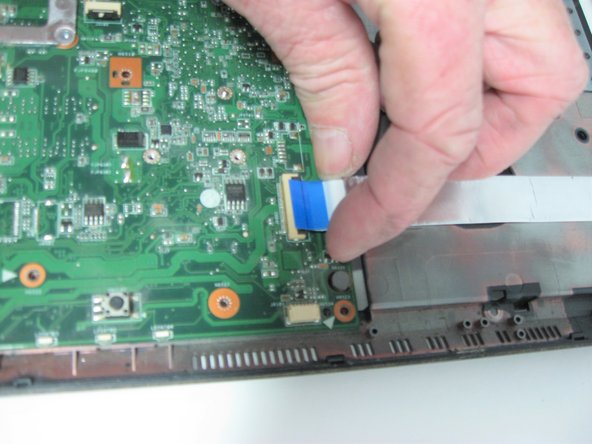
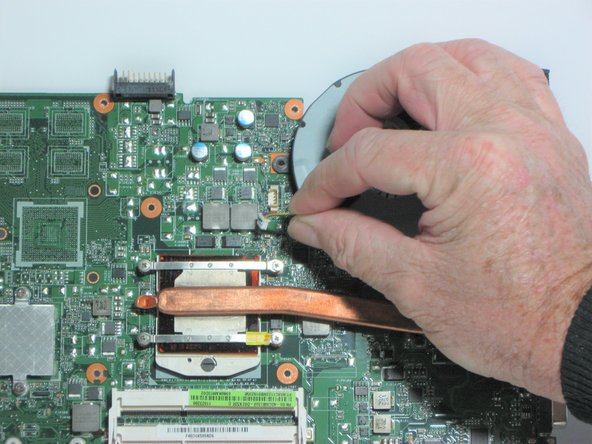
    • Use your fingers to gently disconnect the following cables from your laptop:

    • Power button cable.

    • Touchpad cable.

    Lift the black bar on each connector with a pointed tool such as the pointed end on the Ifixit spludger before pulling the cable out.

    John Harrington - Reply

  9. Asus K53E-BBR7 Fan Replacement: step 9, image 1 of 1
    • Remove the optical drive from the laptop by pulling it to the right until it has been fully detached from your laptop.

  10. Asus K53E-BBR7 Fan Replacement: step 10, image 1 of 1
    • Close the lid of the laptop and flip the laptop over to access the screws located beneath the optical drive.

    • Remove the three silver 6.0 mm Phillips #0 screws from beneath the optical drive using your Phillips #0 screwdriver.

  11. Asus K53E-BBR7 Fan Replacement: step 11, image 1 of 2 Asus K53E-BBR7 Fan Replacement: step 11, image 2 of 2
    • Slide the blue prying tool between the palm rest and the base of the laptop to separate them.

    • Carefully remove the palm rest from your device using your hands.

  12. Asus K53E-BBR7 Fan Replacement: step 12, image 1 of 3 Asus K53E-BBR7 Fan Replacement: step 12, image 2 of 3 Asus K53E-BBR7 Fan Replacement: step 12, image 3 of 3
    • Detach the gold video cable from the motherboard using your fingers.

    • Using your fingers, detach the speaker cable from the motherboard.

    • Slowly lift the blue tape from the motherboard and remove the i/o board cable.

  13. Asus K53E-BBR7 Fan Replacement: step 13, image 1 of 2 Asus K53E-BBR7 Fan Replacement: step 13, image 2 of 2
    • Remove nine 7.0 mm Phillips #0 screws from the motherboard using your Phillips #0 screwdriver.

  14. Asus K53E-BBR7 Fan Replacement: step 14, image 1 of 3 Asus K53E-BBR7 Fan Replacement: step 14, image 2 of 3 Asus K53E-BBR7 Fan Replacement: step 14, image 3 of 3
    • Use your hands to lift the motherboard from the laptop.

    • The fan and several ports will be attached to the motherboard when it has been detached from the laptop.

  15. Asus K53E-BBR7 Fan Replacement, Fan: step 15, image 1 of 2 Asus K53E-BBR7 Fan Replacement, Fan: step 15, image 2 of 2
    • Turn the motherboard over to access the fan and the heat sink.

  16. Asus K53E-BBR7 Fan Replacement: step 16, image 1 of 2 Asus K53E-BBR7 Fan Replacement: step 16, image 2 of 2
    • Disconnect the black, red, yellow, and blue set of wires from the motherboard using your fingers.

  17. Asus K53E-BBR7 Fan Replacement: step 17, image 1 of 2 Asus K53E-BBR7 Fan Replacement: step 17, image 2 of 2
    • Remove the four 6.0 mm Phillips #0 screws from the heat sink using your Phillips #0 screwdriver.

  18. Asus K53E-BBR7 Fan Replacement: step 18, image 1 of 3 Asus K53E-BBR7 Fan Replacement: step 18, image 2 of 3 Asus K53E-BBR7 Fan Replacement: step 18, image 3 of 3
    • Detach the fan from the motherboard. The fan is attached to the motherboard with a light layer of thermal paste, requiring a prying tool to loosen the adhesive.

    • When replacing your fan, apply a small layer of thermal paste to the CPU before reattaching the heat sink.

Conclusion

To reassemble your device, follow these instructions in reverse order.

3 other people completed this guide.

Jasmin Velasquez

Member since: 10/26/16

167 Reputation

1 Guide authored

Team

UW Tacoma, Team 1-3, Rose Fall 2016 Member of UW Tacoma, Team 1-3, Rose Fall 2016

UWT-ROSE-F16S1G3

4 Members

4 Guides authored

One Comment

Wow! That's a lot of screws!! Thanks very much for this detailed guide!!

Brad - Reply

Add Comment

View Statistics:

Past 24 Hours: 1

Past 7 Days: 2

Past 30 Days: 11

All Time: 1,775