What you need
-
-
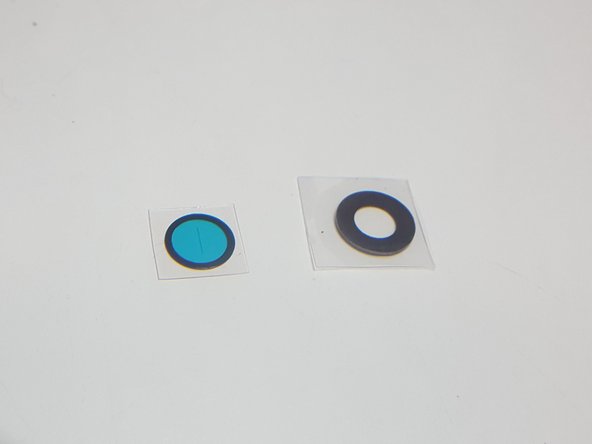
Your Google Pixel 2 XL Lens Cover (IF356-066-1) should come with an adhesive and a lens cover. If your adhesive came without the tab on the blue protective covering (pictured on the product page), follow this guide to apply the adhesive to the lens cover.
-
-
-
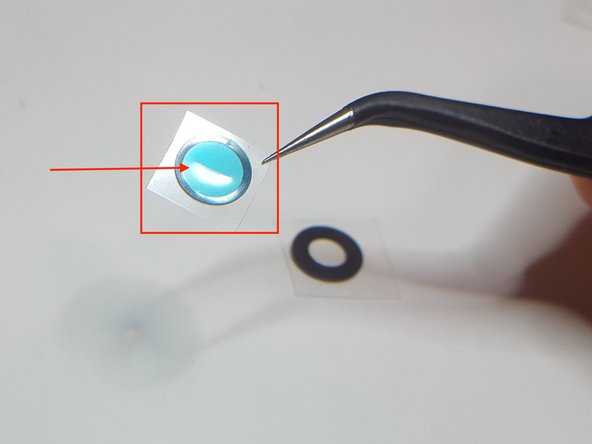
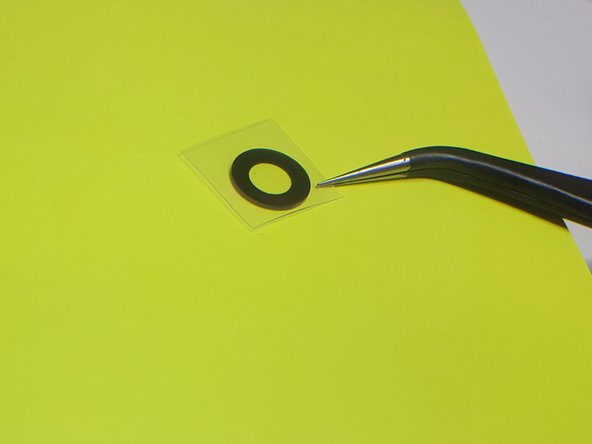
Using tweezers, remove one of the sides of film covering the lens cover. Be sure not to touch it with your fingers: fingerprints will be difficult to remove from the lens cover once everything is put together.
-
-
-
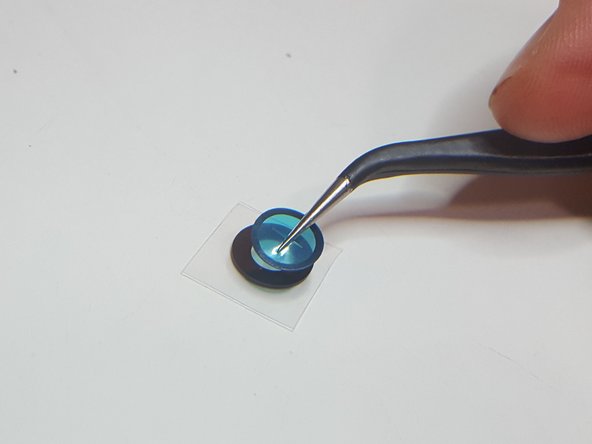
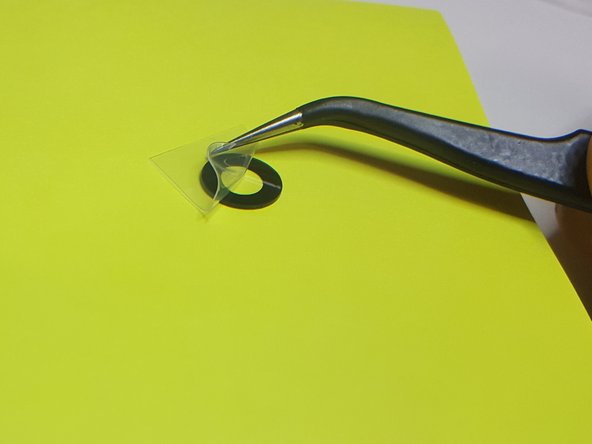
Notice the slit in the middle of the blue protective cover.
-
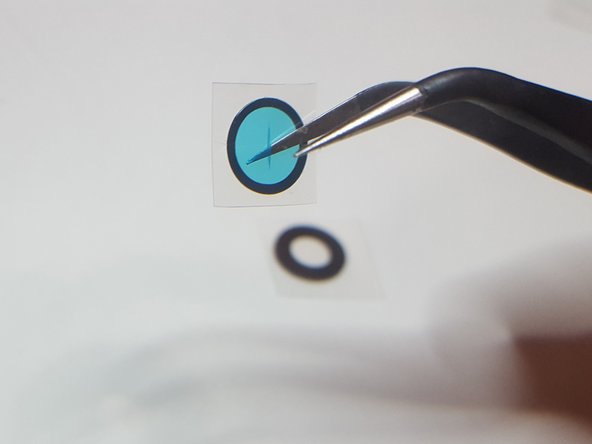
Insert your tweezers into the slit in the protective covering.
-
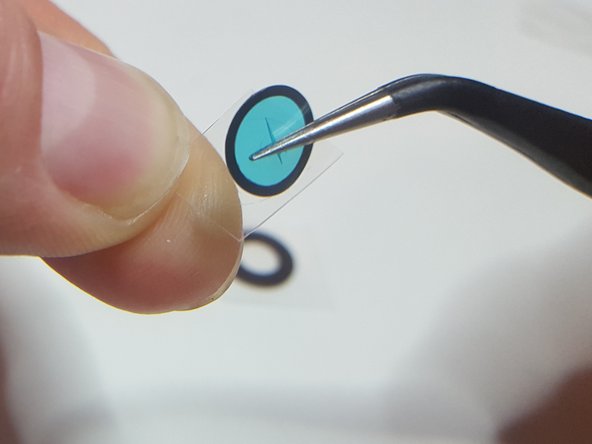
It's useful to gently bend the protective covering at this point: it'll come in handy later to have space to be able to re-insert your tweezers in later steps.
-
-
-
-
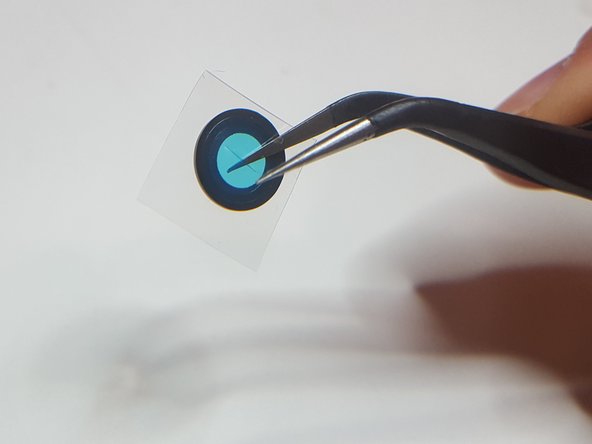
Peel the clear plastic backing off of the blue protective covering, while holding it with the tweezers.
-
-
-
Place the adhesive over the lens cover, lining up the exposed side of the lens cover (without the plastic backing) and the exposed side of the adhesive (without the plastic backing).
-
Press down on the adhesive to secure it to the lens cover.
-
-
-
Insert your tweezers into the slit again, if you had to remove them while pressing the adhesive on to the lens cover.
-
-
-
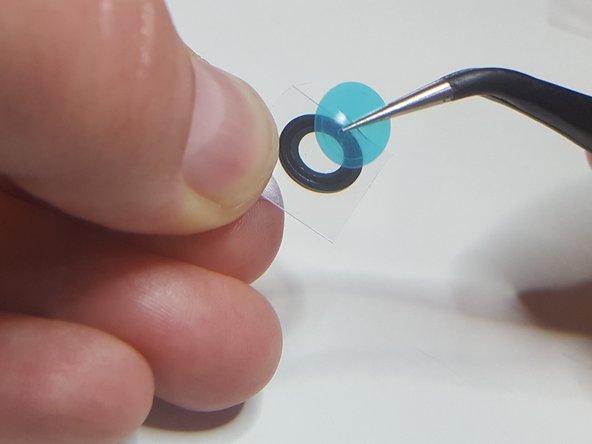
Pull the blue plastic backing away from the lens cover + adhesive. You may need to use the edge of your nail or another pair of tweezers to hold the edge of the lens cover down while you do this.
-
-
-
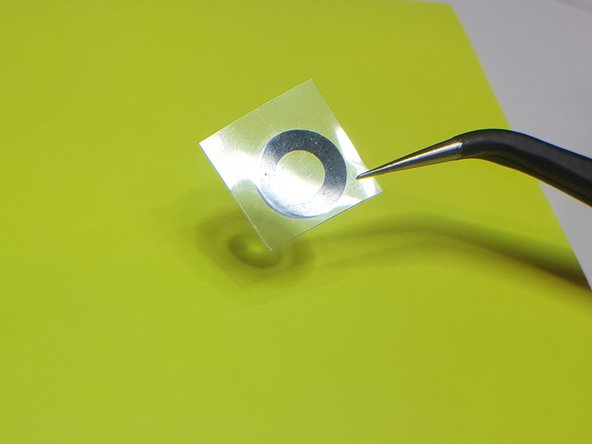
Pretend that the green Post-it is your device.
-
Apply the lens cover, adhesive side down, to your device.
-
Press the adhesive + lens cover on to your device.
-


Team
