
Acer Iconia B1-711 Microphone Replacement

What you need

Video Overview

  1. Acer Iconia B1-711 Microphone Replacement, Back Cover: step 1, image 1 of 3 Acer Iconia B1-711 Microphone Replacement, Back Cover: step 1, image 2 of 3 Acer Iconia B1-711 Microphone Replacement, Back Cover: step 1, image 3 of 3
    • Switch-off the tablet.

    • Remove any SIM and/or Memory Card.

    • Start opening near to the Volume Up/Down buttons. It's more well to use a plastic opening tool to avoid damaging the cover.

    • When lifting the cover, be careful not to tear the Loudspeaker cable at the bottom right side.

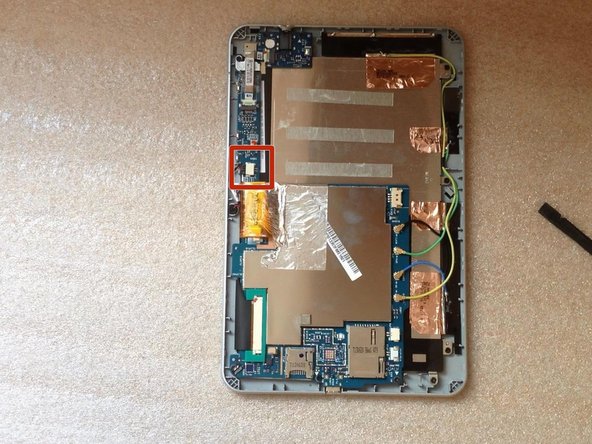
    • Disconnect the Loudspeaker cable from the Logic board.

  2. Acer Iconia B1-711 Microphone Replacement: step 2, image 1 of 2 Acer Iconia B1-711 Microphone Replacement: step 2, image 2 of 2
    • Before doing anything, disconnect the battery.

  3. Acer Iconia B1-711 Microphone Replacement, Microphone: step 3, image 1 of 3 Acer Iconia B1-711 Microphone Replacement, Microphone: step 3, image 2 of 3 Acer Iconia B1-711 Microphone Replacement, Microphone: step 3, image 3 of 3
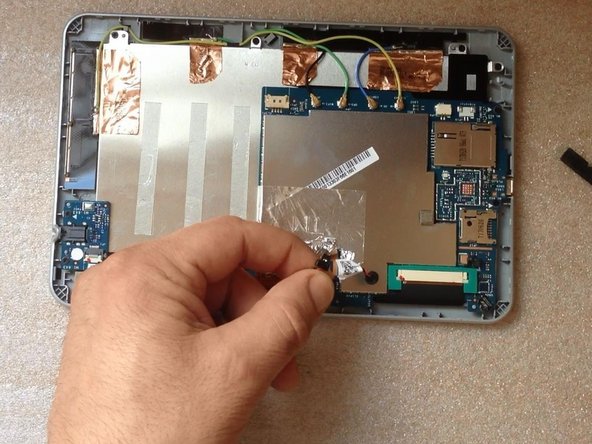
    • Remove the tape from the microphone.

    • Disconnect the Microphone wires and remove the Microphone.

Conclusion

To reassemble your device, follow these instructions in reverse order.

ZFix

Member since: 12/09/13

191,182 Reputation

330 Guides authored

Team

Master Techs Member of Master Techs

Community

322 Members

2,521 Guides authored

0 Comments

Add Comment

View Statistics:

Past 24 Hours: 0

Past 7 Days: 0

Past 30 Days: 0

All Time: 333