Introduction
Having connection issues with your WiFi? Is it dropping or the signal is very weak? Your WiFi card may be faulty or past it's prime. This guide will take you through the replacement of the WiFi card.
What you need
-
-
Power down the laptop prior to beginning.
-
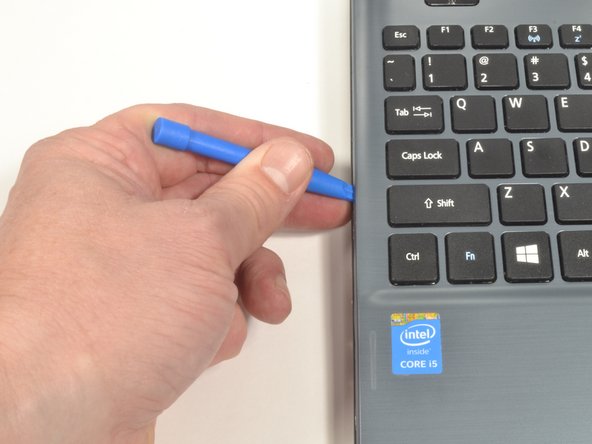
Turn the laptop over with the battery closest to your body.
-
-
-
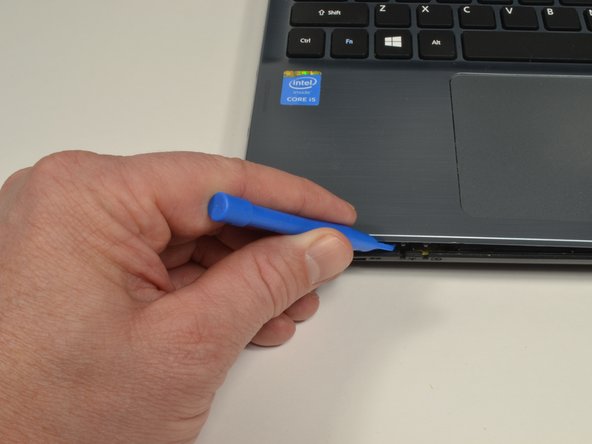
Using a #0 Phillips screwdriver, remove a total of eighteen identical 8mm Phillips screws and set them aside.
-
-
-
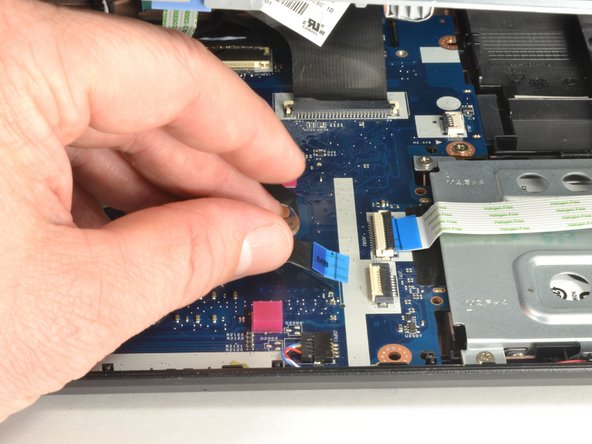
Locate the WiFi card. It is just below the fan and has a white coaxial cable and a black coaxial cable attached to it.
-
Grab the section of the white coaxial cable behind the brass connection using ESD safe blunt nose metal tweezers.
-
Carefully lift the white coaxial cable up and forward to disconnect the it from the WiFi card.
-
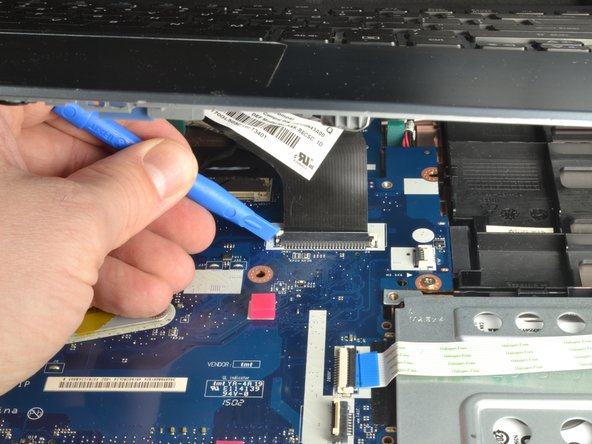
Repeat the previous two bullet points to disconnect the black coaxial cable from the WiFi card.
-


To reassemble your device, follow these instructions in reverse order.
To reassemble your device, follow these instructions in reverse order.

Team

UMass Dartmouth, Team S3-G8, Bailey Fall 2017 Member of UMass Dartmouth, Team S3-G8, Bailey Fall 2017
UMASSD-BAILEY-F17S3G8
3 Members
8 Guides authored