Introduction
The motherboard is like the central nervous system of your computer. If you have issues with your hardware, a faulty motherboard or a loose connection may be the problem.
What you need
-
-
Power down the laptop prior to beginning.
-
Turn the laptop over with the battery closest to your body.
-
-
-
Using a #0 Phillips screwdriver, remove a total of eighteen identical 8mm Phillips screws and set them aside.
-
-
-
Locate the WiFi card. It is just below the fan and has a white coaxial cable and a black coaxial cable attached to it.
-
Grab the section of the white coaxial cable behind the brass connection using ESD safe blunt nose metal tweezers.
-
Carefully lift the white coaxial cable up and forward to disconnect the it from the WiFi card.
-
Repeat the previous two bullet points to disconnect the black coaxial cable from the WiFi card.
-
-
-
Locate the CPU cooling fan in the upper left corner of the laptop.
-
Using a #0 Phillips screwdriver, remove the two 4.5 mm screws that secure the fan to the case.
-
-
-
Locate the hard drive and its carriage at the lower right corner of the laptop.
-
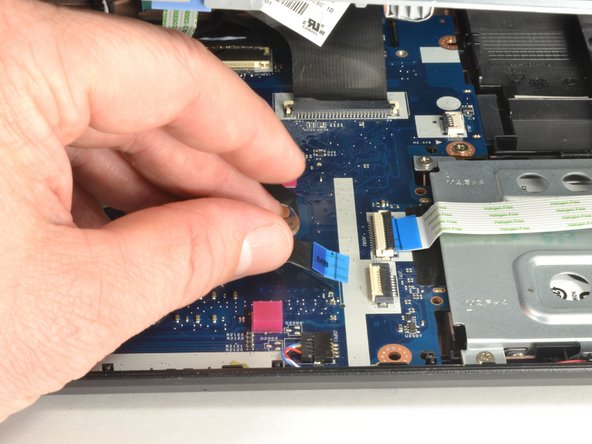
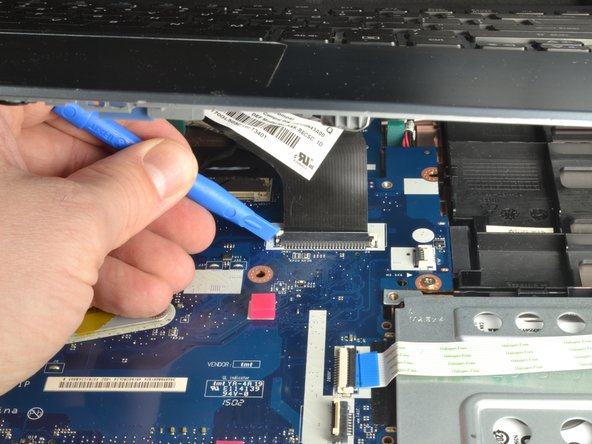
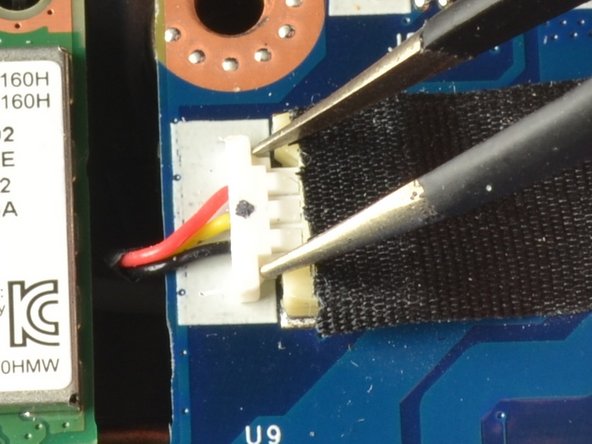
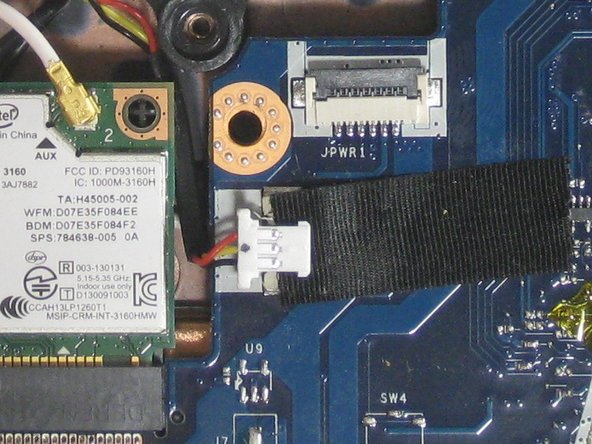
Release the USB port ribbon cable by using the plastic opening tool to carefully lift up the black locking tab of the ZIF connector.
-
Move the USB port ribbon cable to the side.
-
-
-
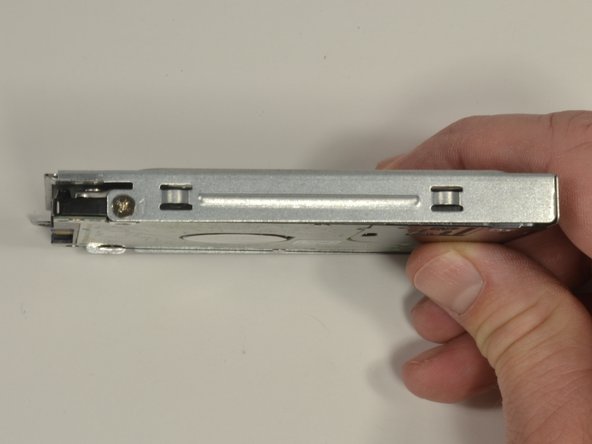
Locate the two 3 mm Phillips screws holding the hard drive into the carriage. There is one screw on each side of the carriage.
-
Hold the hard drive carriage with your non-dominant hand along one side. Ensure one of the Phillips screws is visible.
-
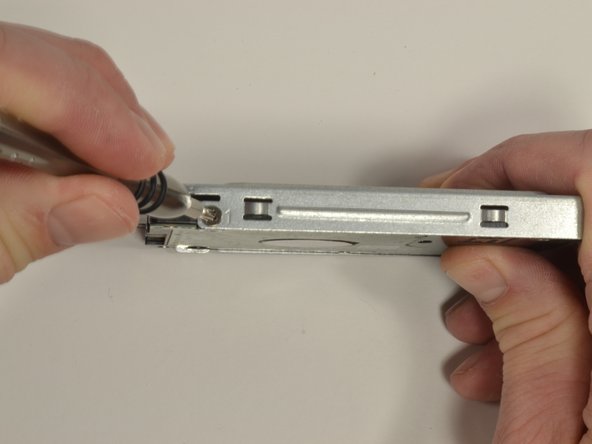
Using a #0 Phillips screwdriver, remove the 3 mm screw to release the side of the hard drive from the carriage.
-
Repeat the two previous bullet marks to remove the second 3 mm Phillips screw. This should also free the hard drive from the carriage.
-
-
-
Carefully lift up on the right edge of the motherboard near the hard drive connector.
-
With minimal force, pull the motherboard to the right freeing the ports on the left from the case.
-
Put down the right side and allow the motherboard to rest in the case.
-
Lift the left side of the motherboard up and turn it over so the ports are now facing right.
-
To reassemble your device, follow these instructions in reverse order.
To reassemble your device, follow these instructions in reverse order.
Cancel: I did not complete this guide.
3 other people completed this guide.
One Comment
Hi is this the DDR4 with Geforce MX Series Vcard variant or the older DDR3?


