Acer Aspire One P1VE6 WLAN Card Replacement

What you need

  1. Acer Aspire One P1VE6 WLAN Card Replacement, Back Panel: step 1, image 1 of 1
    • Close the netbook and turn it over so the back panel faces you.

  2. Acer Aspire One P1VE6 WLAN Card Replacement: step 2, image 1 of 1
    • Locate the 4 mm Phillips #1 screw at the bottom of the back panel. Using the Phillips head screwdriver, remove the screw. Place the screw somewhere it will not be lost. Then remove the back panel by gently sliding it towards the front.

  3. Acer Aspire One P1VE6 WLAN Card Replacement, WLAN Card: step 3, image 1 of 1
    • Locate the WLAN Card.

  4. Acer Aspire One P1VE6 WLAN Card Replacement: step 4, image 1 of 2 Acer Aspire One P1VE6 WLAN Card Replacement: step 4, image 2 of 2
    • Unplug the white and black cables connecting the WLAN card.

  5. Acer Aspire One P1VE6 WLAN Card Replacement: step 5, image 1 of 1
    • Remove the 4mm Phillips #1 screw holding the WLAN card holding it in place.

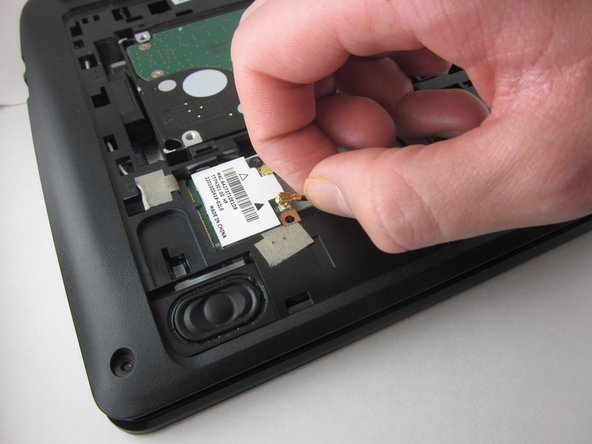
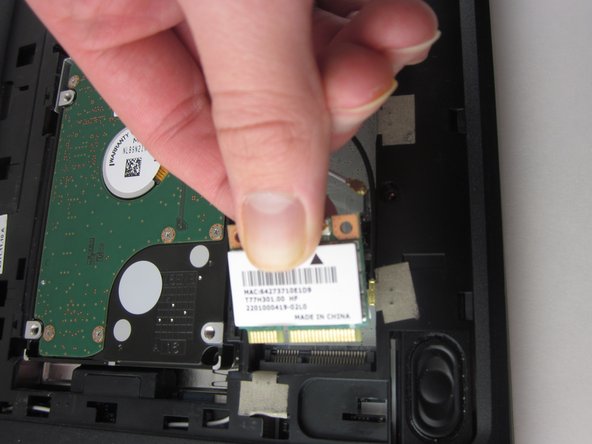
  6. Acer Aspire One P1VE6 WLAN Card Replacement: step 6, image 1 of 2 Acer Aspire One P1VE6 WLAN Card Replacement: step 6, image 2 of 2
    • Unplug the card.

Conclusion

To reassemble your device, follow these instructions in reverse order.

2 other people completed this guide.

0 Comments

Add Comment

View Statistics:

Past 24 Hours: 0

Past 7 Days: 4

Past 30 Days: 7

All Time: 810