Acer Aspire 5251-1513 Display Assembly Replacement

What you need

  1. Acer Aspire 5251-1513 Display Assembly Replacement, Battery: step 1, image 1 of 1
    • Turn over the laptop so the back is facing up.

  2. Acer Aspire 5251-1513 Display Assembly Replacement: step 2, image 1 of 2 Acer Aspire 5251-1513 Display Assembly Replacement: step 2, image 2 of 2
    • Next to the battery is a switch with a lock symbol on it.

    • Unlock the switch by sliding it to reveal a red unlock symbol.

  3. Acer Aspire 5251-1513 Display Assembly Replacement: step 3, image 1 of 2 Acer Aspire 5251-1513 Display Assembly Replacement: step 3, image 2 of 2
    • Pull the other switch completely while the red unlock symbol is still present. The battery pack should pop up a bit.

  4. Acer Aspire 5251-1513 Display Assembly Replacement: step 4, image 1 of 2 Acer Aspire 5251-1513 Display Assembly Replacement: step 4, image 2 of 2
    • Remove the battery pack via the indentation at the top of the battery in between the two switches.

  5. Acer Aspire 5251-1513 Display Assembly Replacement, Display Assembly: step 5, image 1 of 1
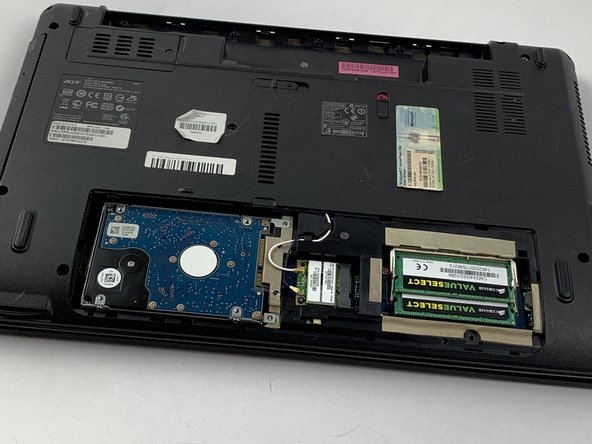
    • Unscrew the 8.6 mm screws on the back panel with a Phillips #0 screwdriver.

  6. Acer Aspire 5251-1513 Display Assembly Replacement: step 6, image 1 of 2 Acer Aspire 5251-1513 Display Assembly Replacement: step 6, image 2 of 2
    • Using a plastic opening tool, lift up the panel and remove it completely.

  7. Acer Aspire 5251-1513 Display Assembly Replacement: step 7, image 1 of 2 Acer Aspire 5251-1513 Display Assembly Replacement: step 7, image 2 of 2
    • Flip the laptop over as shown.

    • Locate the six tabs keeping the keyboard in place.

  8. Acer Aspire 5251-1513 Display Assembly Replacement: step 8, image 1 of 1
    • Pull on the edge of the keyboard using a spudger or your hands.

    • As you pull on the keyboard, push the tabs in one by one using small tweezers.

  9. Acer Aspire 5251-1513 Display Assembly Replacement: step 9, image 1 of 1
    • Once you pop it out and its separated, slowly turn it over to reveal its attachment to the connector.

    • Do not pull the keyboard out too hard because you risk damaging both the connector and the laptop.

  10. Acer Aspire 5251-1513 Display Assembly Replacement: step 10, image 1 of 1
    • Using tweezers, slide the the tab down. This will release the connector that you can gently pull out of the socket.

    • If it does not come out easily, then you did not release it with the tabs and you risk ripping the connector.

  11. Acer Aspire 5251-1513 Display Assembly Replacement: step 11, image 1 of 1
    • Once freed, remove the keyboard entirely and put it aside.

  12. Acer Aspire 5251-1513 Display Assembly Replacement: step 12, image 1 of 2 Acer Aspire 5251-1513 Display Assembly Replacement: step 12, image 2 of 2
    • Flip the computer gently so that the back is facing you.

    • Remove all 12 of the 7.6 mm screws on the backside with a Phillips #0 screwdriver.

    • Remove 4 of the 5.4 mm screws on the backside with a Phillips #00 screwdriver.

  13. Acer Aspire 5251-1513 Display Assembly Replacement: step 13, image 1 of 1
    • Flip the computer back over.

    • Unscrew the seven 5.6 mm screws located on the top cover using a Phillips #0 screwdriver.

  14. Acer Aspire 5251-1513 Display Assembly Replacement: step 14, image 1 of 1
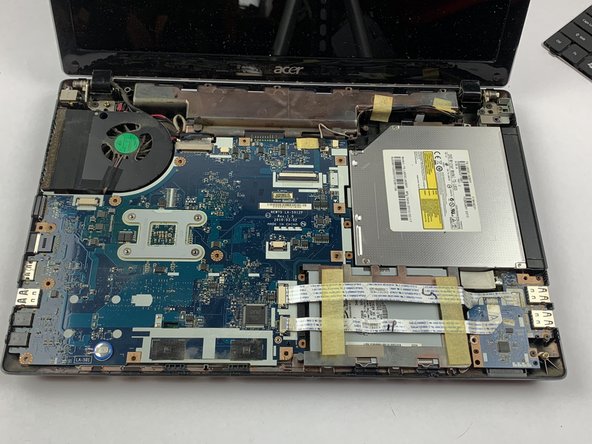
    • Locate the 4 connectors that must also be disconnected.

  15. Acer Aspire 5251-1513 Display Assembly Replacement: step 15, image 1 of 1
    • For the Power button cable and touchpad cable, please disconnect the connector using tweezers to pull down the brown tabs.

    • For the smaller right and left speaker cables, pull out the black tab completely also using tweezers.

  16. Acer Aspire 5251-1513 Display Assembly Replacement: step 16, image 1 of 2 Acer Aspire 5251-1513 Display Assembly Replacement: step 16, image 2 of 2
    • Using a plastic spudger or your hands, carefully lift up the corner of the top panel.

    • Continue to lift the panel until it is removed completely.

  17. Acer Aspire 5251-1513 Display Assembly Replacement: step 17, image 1 of 1
    • Locate the video cable connector keeping the screen connected to the motherboard.

  18. Acer Aspire 5251-1513 Display Assembly Replacement: step 18, image 1 of 2 Acer Aspire 5251-1513 Display Assembly Replacement: step 18, image 2 of 2
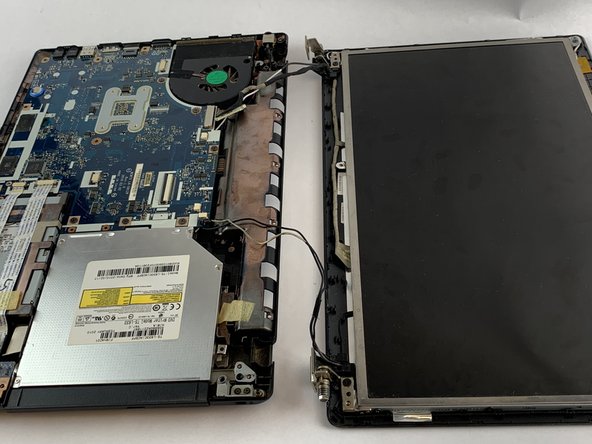
    • Unscrew the 8.6 mm bottom screws on the both hinges to separate the screen from the rest.

    • The computer is still connected to the backside of the motherboard so do not yank it off completely.

  19. Acer Aspire 5251-1513 Display Assembly Replacement: step 19, image 1 of 1
    • Remove the circle sticker and unscrew the 6.7 mm screws with a Phillips #0 screwdriver.

  20. Acer Aspire 5251-1513 Display Assembly Replacement: step 20, image 1 of 1
    • Peel back the screen carefully using a plastic spudger or your hands.

  21. Acer Aspire 5251-1513 Display Assembly Replacement: step 21, image 1 of 1
    • Using a Phillips #0 screwdriver, remove all six 3.6mm screws on the sides of the screen.

  22. Acer Aspire 5251-1513 Display Assembly Replacement: step 22, image 1 of 1
    • Disconnect the webcam connector by gently pulling on the tabs using your hands or tweezers.

  23. Acer Aspire 5251-1513 Display Assembly Replacement: step 23, image 1 of 2 Acer Aspire 5251-1513 Display Assembly Replacement: step 23, image 2 of 2
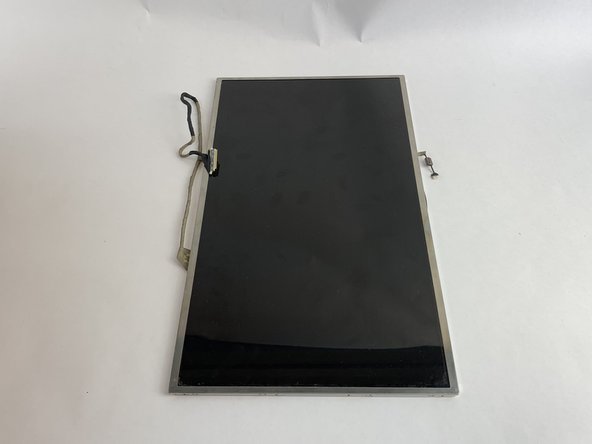
    • Remove the screen completely.

Conclusion

To reassemble your device, follow these instructions in reverse order.

One other person completed this guide.

Gicely Rodriguez

Member since: 02/14/19

1,029 Reputation

5 Guides authored

Team

USF Tampa, Team S1-G6, Leahy Spring 2019 Member of USF Tampa, Team S1-G6, Leahy Spring 2019

USFT-LEAHY-S19S1G6

4 Members

5 Guides authored

0 Comments

Add Comment

View Statistics:

Past 24 Hours: 1

Past 7 Days: 4

Past 30 Days: 7

All Time: 675