Introduction
This guide will walk you through the steps of replacing the cabin air filter in a 2012 Nissan Altima. This guide is necessary because air filters get dirty and can build up a lot of dust and mold. The air that is being blown into your car when you use your AC first goes through that dirty air filter. Some people have bad allergies when it comes to dust and having a dirty air filter doesn’t really help with that. It also can make someone sick if mold is present in air filter and cause a moldy odor when AC is used.
What you need


To reassemble your device, follow these instructions in reverse order.
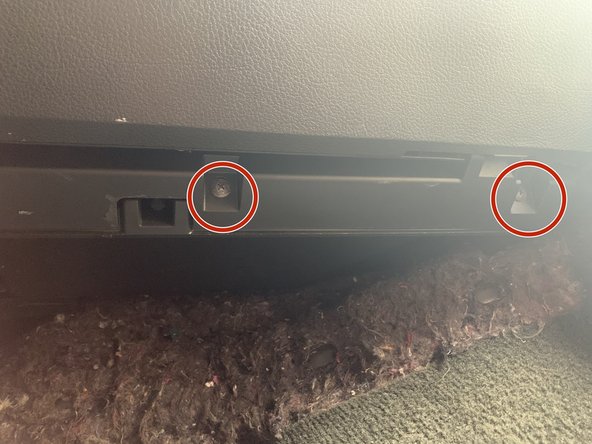
- Unscrew all the screws at the bottom and inside the glove box.
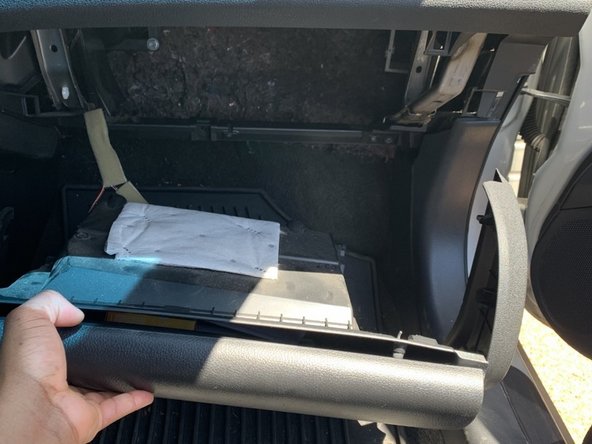
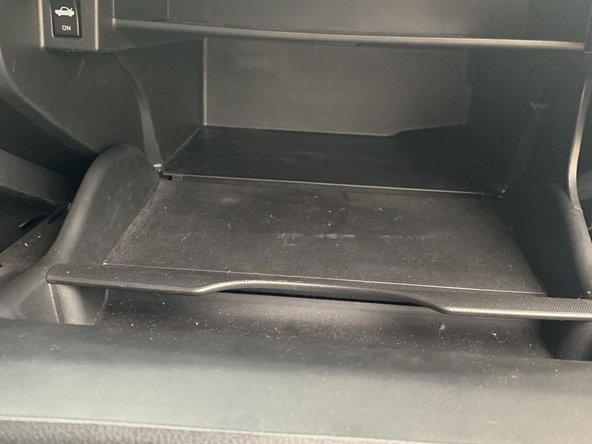
- Pull the glove box out of its slot.
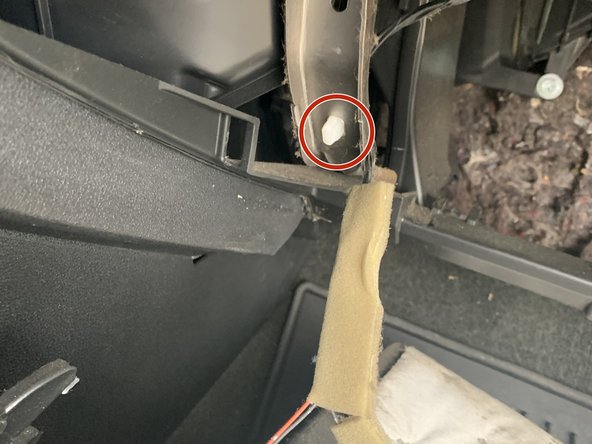
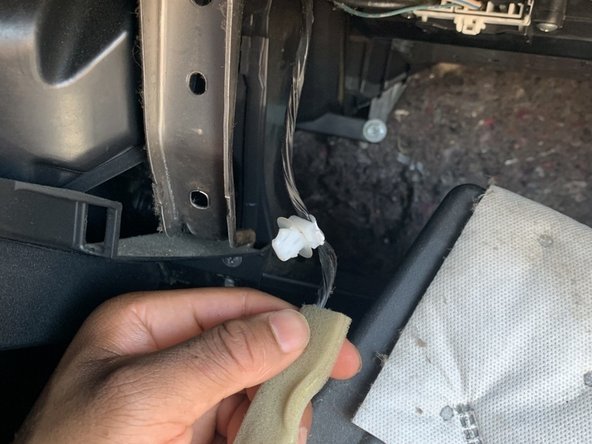
- Pull out tab that holds the wires for the glove box light to remove them out your way.
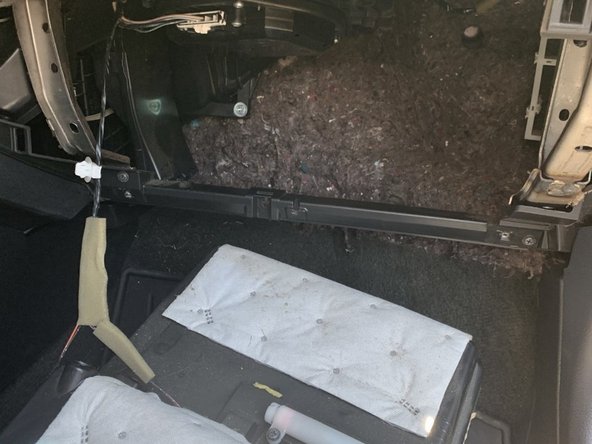
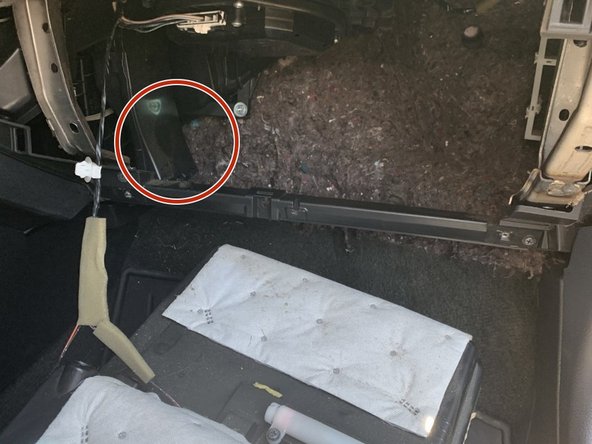
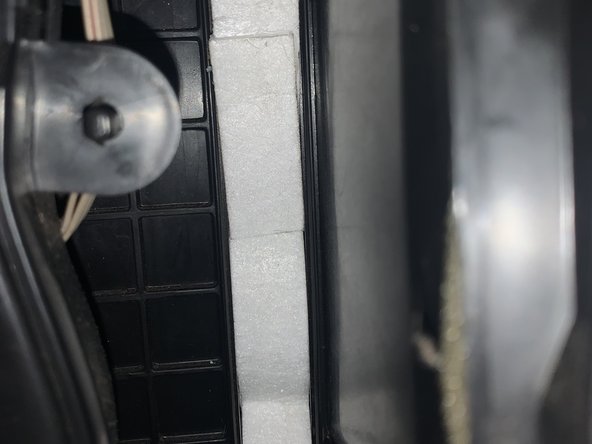
- Locate your cabin air filter which is locate on the left side behind of where you took out the glove box. kind of behind the radio.
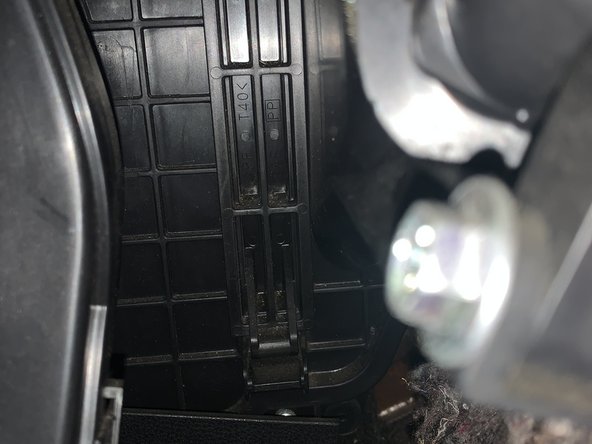
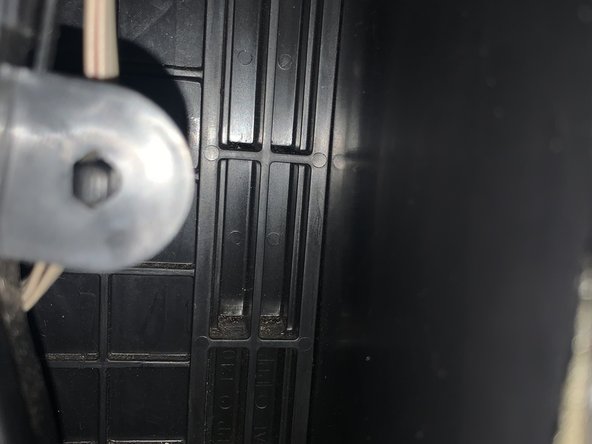
- Pop open the cover for the air filter housing.
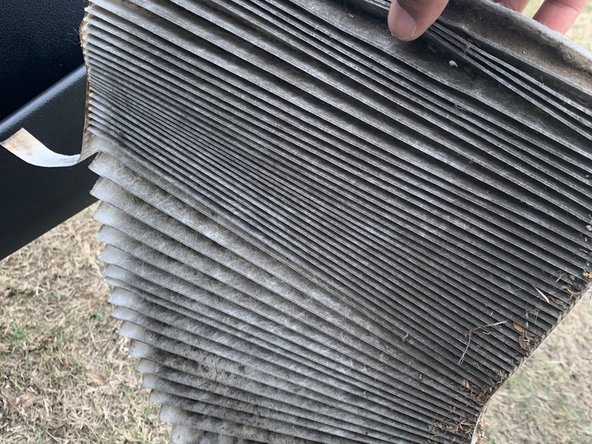
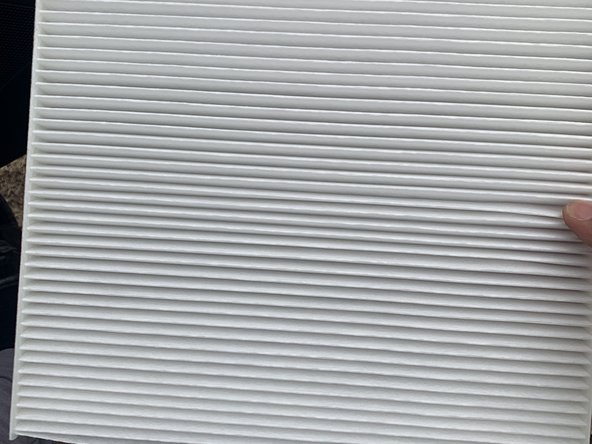
- Pull out old air filter
- Slide in new air filter in the housing. (Be sure to have filter facing the direction as labeled on filter)
- Put cover back on the air filter housing.
- Put wires back in tab
- Put glove box back in the slot and screw it back in.
To reassemble your device, follow these instructions in reverse order.
- Unscrew all the screws at the bottom and inside the glove box.
- Pull the glove box out of its slot.
- Pull out tab that holds the wires for the glove box light to remove them out your way.
- Locate your cabin air filter which is locate on the left side behind of where you took out the glove box. kind of behind the radio.
- Pop open the cover for the air filter housing.
- Pull out old air filter
- Slide in new air filter in the housing. (Be sure to have filter facing the direction as labeled on filter)
- Put cover back on the air filter housing.
- Put wires back in tab
- Put glove box back in the slot and screw it back in.
Cancel: I did not complete this guide.
4 other people completed this guide.
Team

University of Memphis, Team S4-G3, Willis Spring 2020 Member of University of Memphis, Team S4-G3, Willis Spring 2020
UM-WILLIS-S20S4G3
1 Member
1 Guide authored
One Comment
So you can do this without removing the glove box, bit of a pain but much easier. https://www.youtube.com/watch?v=7z5HufXU...
While removing h glove box might give you better access and enable you to seat the filter betterI would do the faster mehod.