Introduction
This guide demonstrates how to replace the stereo unit of the 2009 Subaru Impreza WRX. It can be used to replace a broken unit.
What you need
-
-
Insert a plastic trim removal tool or pry tool into the seam behind the trim surround, and twist lightly.
-
Use your hands to slowly pry off the rest of the trim surround.
-
-
-
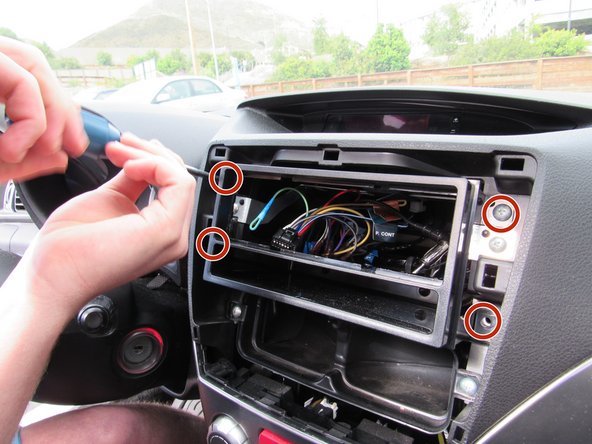
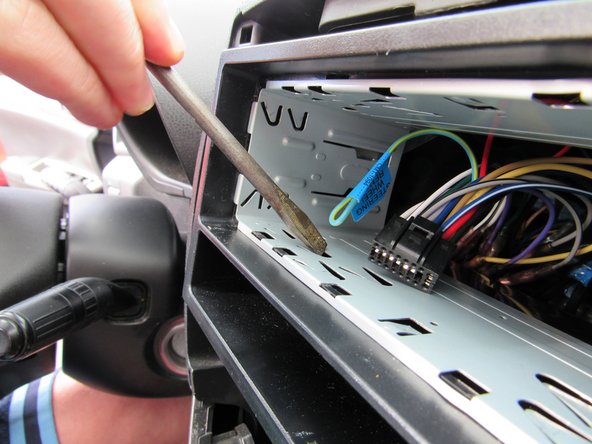
Remove the four 8x3/4" Phillips screws highlighted. Then slowly slide the stereo out from its housing.
-
-
-
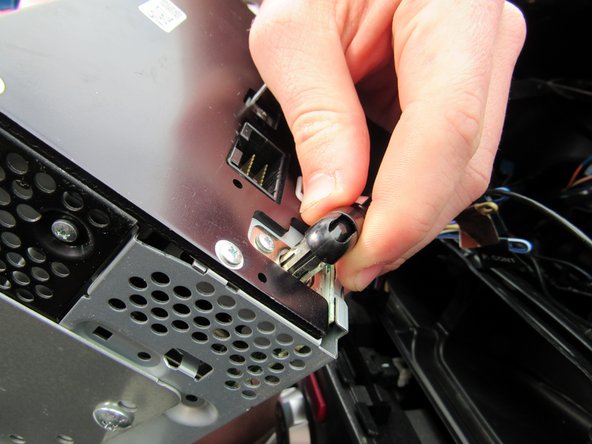
Unplug both the white and black wiring harnesses by pressing the small tab above the socket connector.
-
Remove the antennae cord by sliding it from its housing.
-
-
-
Locate your aftermarket wiring harness included with the aftermarket stereo.
-
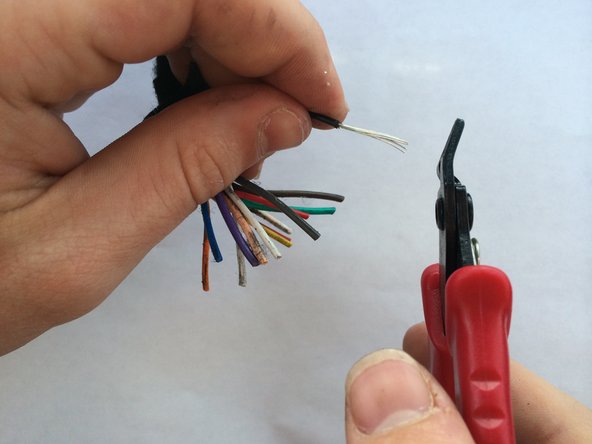
Strip each wire necessary for installation (See Table in Step 7).
-
-
-
-
Locate the white wiring harness behind the stereo housing.
-
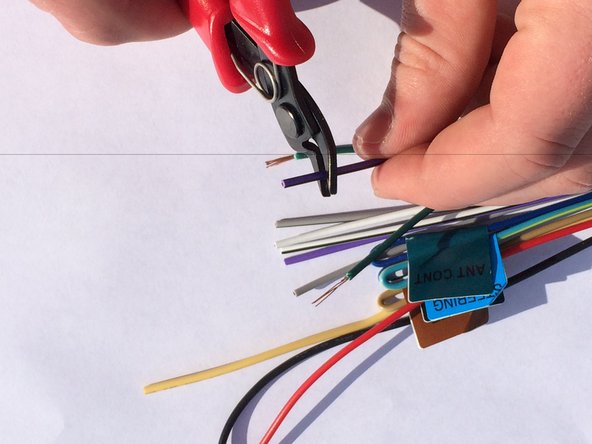
Cut the cords to separate the wires connecting the harness to the car's electrical system.
-
Note: Be careful not to cut the black wiring harness instead. The black harness is for the CD changer and isn't used in this installation.
-
-
-
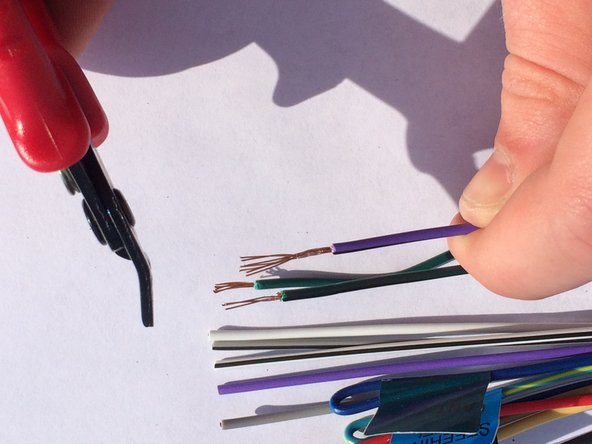
Strip each wire in the wiring harness necessary for installation.
-
Be careful while stripping the wires. They are extremely brittle and tend to rip easily.
-
Once both the OEM white wiring harness and the black aftermarket wiring harness are stripped, bring the two ends together to start comparing which wires need to be connected.
-
-
-
Connect the wires from the two wiring harnesses.
-
Crimp Caps, soldering, or wire butt connectors can be used for the connection. Please see related guides for instruction on each method.
-
Use the table to the left to match up correct wires. Wires not listed are not used in the installation and should either be uncut or taped with electrical tape at the ends.
-
-
-
Once the two wiring harnesses are connected completely, it's time to install the new stereo.
-
Locate the aftermarket installation bracket included with the stereo.
-
Screw it into place with the same four 8x3/4" Phillips screws from the original stereo.
-
-
-
Locate the aftermarket metal spacer.
-
Slide it into the mounting bracket.
-
Press the triangle tabs along each edge to form a solid connection.
-
Note: There may be a slight amount of movement after the tabs are already pressed. Is is unavoidable and most movement will be removed once the stereo is in place.
-
-
-
Reconnect the black wiring harness into the new stereo. Be careful of the rejoined wire connections because they are often fragile.
-
Reconnect the antennae cord into the cylindrical slot. If it doesn't fit, you will need to purchase and antennae adapter specific to your car.
-
-
-
Once the cords are reconnected, slide the stereo back into the housing. It will click into place.
-
Note: Do not force the stereo into place. If it doesn't slid in smoothly, most likely the wiring is in the way and should be adjusted to prevent damage.
-
Snap the final molding back into place to complete the dash.
-
-
-
You now have completed the aftermarket stereo installation.
-
Check to see if the stereo has power and connects to the speakers. If there is an electrical issue, follow the troubleshooting tips associated with this guide for more instruction.
-


Team

Cal Poly, Team 8-3, Regan Spring 2015 Member of Cal Poly, Team 8-3, Regan Spring 2015
CPSU-REGAN-S15S8G3
5 Members
5 Guides authored