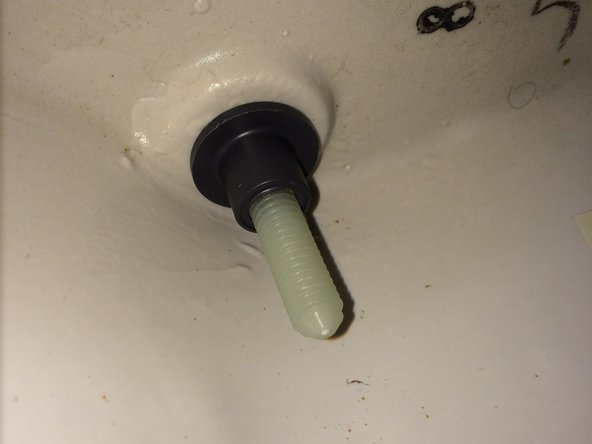
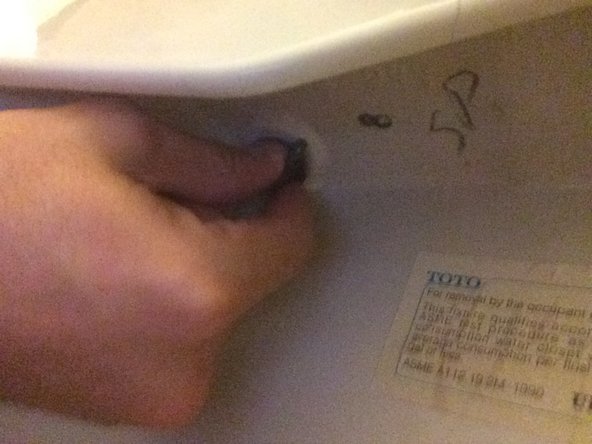
便座の交換

What you need

  1. 便座の交換, 便座: step 1, image 1 of 1
    • 購入する便座のサイズを把握するために便器のサイズを測ります。

  2. 便座の交換: step 2, image 1 of 2 便座の交換: step 2, image 2 of 2
    • 現在ついている便座のヒンジの上部をひねってネジが現れるように便座を取り外します。

  3. 便座の交換: step 3, image 1 of 3 便座の交換: step 3, image 2 of 3 便座の交換: step 3, image 3 of 3
    • 便座が外したネジを緩めます。

    • ネジは緩まないけど回り続ける場合は、裏面のプラスチック製ナットを掴んでやるとネジをナットから緩めることができます。

    • 新たに出現したエリアを綺麗に掃除します。こんな機会は滅多に無いので、有効活用しましょう。

  4. 便座の交換: step 4, image 1 of 2 便座の交換: step 4, image 2 of 2
    • 購入した便座に付属していた20mmのネジを穴に差し込んで締めます。

  5. 便座の交換: step 5, image 1 of 1
    • 便座のヒンジの穴をネジの頭にフィットさせて便座を取り付けます。

  6. 便座の交換: step 6, image 1 of 1
    • 便座を外したのと逆方向にキャップをひねってキャップを締めます。

Conclusion

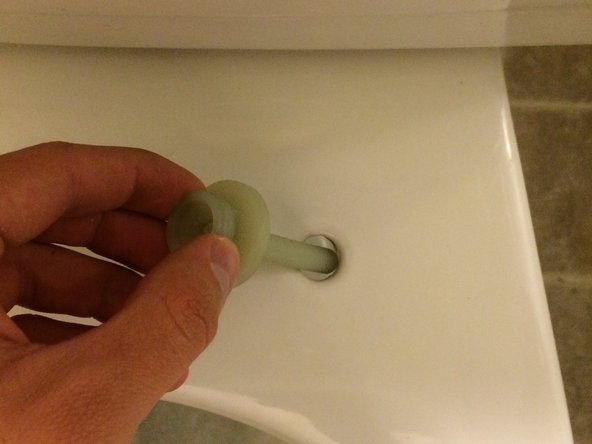
前の便座に戻すには、以下の手順を逆に進めてください。

2 other people completed this guide.

Special thanks to these translators:

en jp

100%

Takehiro is helping us fix the world! Want to contribute?
Start translating ›

Christopher Carter

Member since: 02/24/15

231 Reputation

1 Guide authored

Team

Cal Poly, Team 24-5, Green Winter 2015 Member of Cal Poly, Team 24-5, Green Winter 2015

CPSU-GREEN-W15S24G5

3 Members

4 Guides authored

0 Comments

Add Comment

View Statistics:

Past 24 Hours: 0

Past 7 Days: 2

Past 30 Days: 14

All Time: 1,907