This guide has more recent changes. Switch to the latest unverified version.
What you need
-
-
Удалите следующие винты, крепящие шлейф аккумулятора к материнской плате:
-
Один 1,7 мм Phillips(крестовой)
-
Один 1,5 мм Phillips(крестовой)
-
Используйте пластиковый инструмент, чтобы отключить шлейф аккумулятора от устройства.
-
-
-
-
Удаляем винты фиксатора шлейфа разъёма док-станции:
-
Один 1.5 мм Phillips(крестовой) винт
-
Один 1.2 мм Phillips(крестовой) винт
-
Удаляем фиксатор шлейфа разъема док-станции.
-
-
-
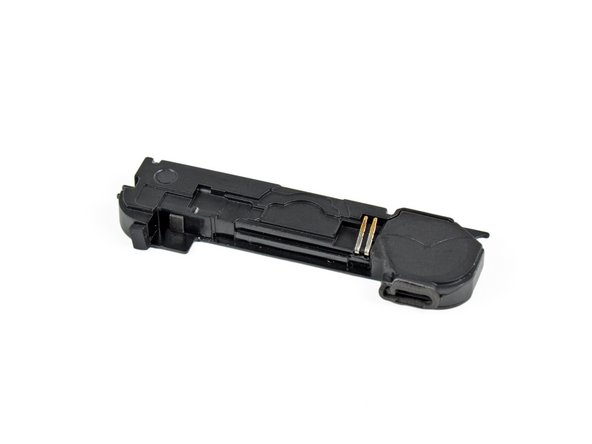
Удалить два 1.6 мм Phillips(крестовые) винты удерживающие антенну на корпусном динамике.
-


To reassemble your device, follow these instructions in reverse order.
To reassemble your device, follow these instructions in reverse order.
Cancel: I did not complete this guide.
185 other people completed this guide.
Special thanks to these translators:
100%

Tobias Isakeit is helping us fix the world! Want to contribute?
Start translating ›

8 Comments
Your tutorial was very easy to follow and provided the exact direction and instruction for each step... Job well done, thanks for all of your hard work, because of it my install was a success and only took 15 minutes!
I found antenna is not replaceable.
Went according to directions fairly straightforward. The Philips heads in the ifixit pro kit are definitely substandard quality. Had to use another jewelers screwdriver on these screws. The fins are too wide.
Excellent guide I'm now tech wizard but replaced speaker enclosure no problem . Take your time I used a a4 pad and drew circles for each step I was removing screws or brackets so they were all labelled. It's nerve racking at first but follow guide you ll be fine.
Read it twice perform it once!
Be prepared and have all the tools
Enjoy!! I now have sound back thx ifixit!!!