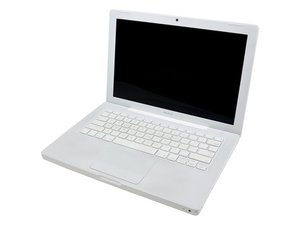
Model A1181: 1.83, 2, 2.1, 2.13, 2.16, 2.2, or 2.4 GHz Core 2 Duo processor

1203 Questions View all

Logic Board "power button tin" has been removed.

Hi guys, I wanted to try something similar to this guy: http://www.enigma-penguin.net/?p=131 . I took apart the macbook, and I successfully connected wires to the tin on the logic board. However, as something short-curcuited I had to remove the solder again. Now my macbook looks like this (see photos) and I don't know how to proceed.

Overview:

https://picasaweb.google.com/11068485651...

Block Image

Detailed:

https://picasaweb.google.com/11068485651...

Block Image

Answered! View the answer I have this problem too

Is this a good question?

Score -1
Add a comment

1 Answer

Chosen Solution

First you'll have to clean that area off using a Q-tip soaked in some isopropyl alcohol. Next, you'll have to study the layout of the board under a magnifying glass (with some good light) and find out where the traces from those pads went. Assuming the traces go to some accessible component or via (a small circle that goes down to another layer of the circuit board), then you could, in theory, solder wires to those places. However, the likelihood is that the soldering will require much finer equipment than you have access to, since these parts are so tiny. I'm assuming you burned the pads off in the first place due to using too hot a soldering iron?

One method I have found of making tiny connections is to use a hair to place a small dab of conductive ink where it was needed. I did that only to repair a damaged trace, not to make a wire connection, though. However, if the wire is properly secured down with a dab of hot glue, this might work here too. I found the conductive ink as part of a kit intended to repair remote control circuit boards.

Was this answer helpful?

Score 0
Add a comment

Add your answer

Sigurd Mathiasen will be eternally grateful.
View Statistics:

Past 24 Hours: 0

Past 7 Days: 0

Past 30 Days: 0

All Time: 1,584