


What are you fixing?
Search hundreds of devices and thousands of parts
or explore by category
- 104,999
- Free manuals
- 216,052
- Solutions
- 55,451
- Devices
- 100M+
- Repairs
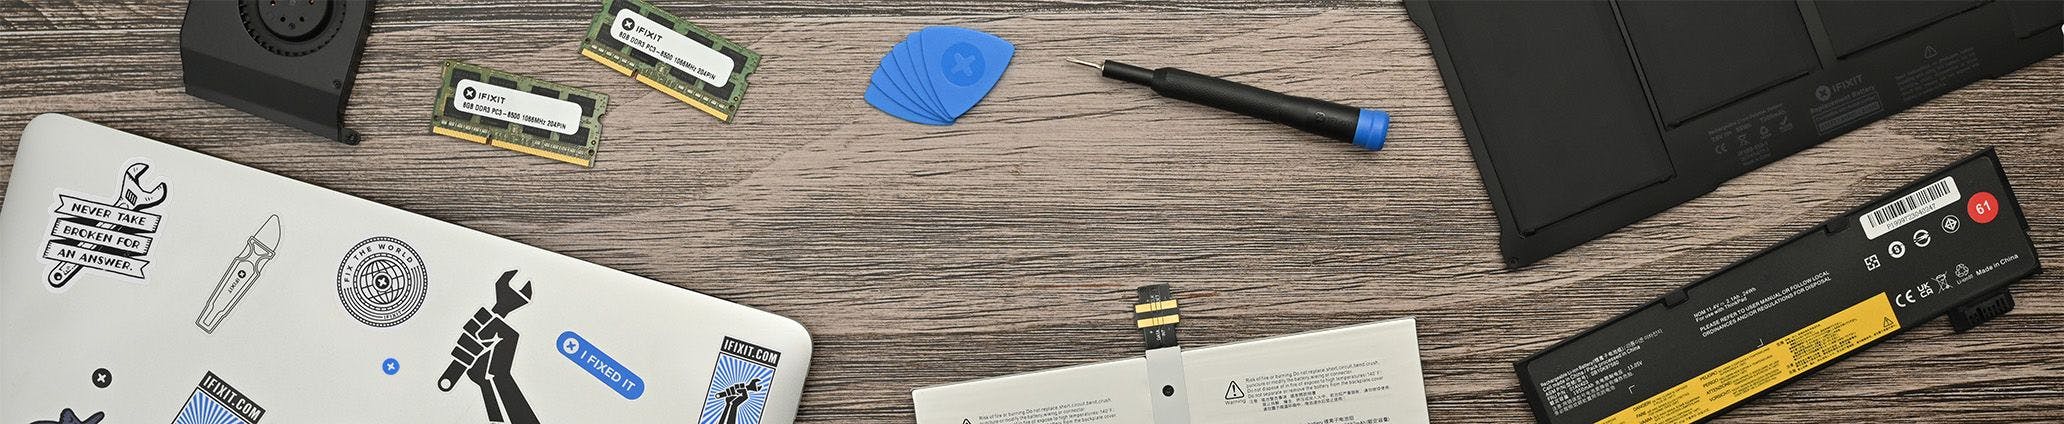
Fix Kits for Every repair
Our all-in-one kits have everything you need to repair iPhones, MacBooks, and other popular devices—including a step-by-step repair guide for every kit.
Find Your KitIn the Press
"How shall we sing the praises of the dedicated team of lunatics over at iFixit?"

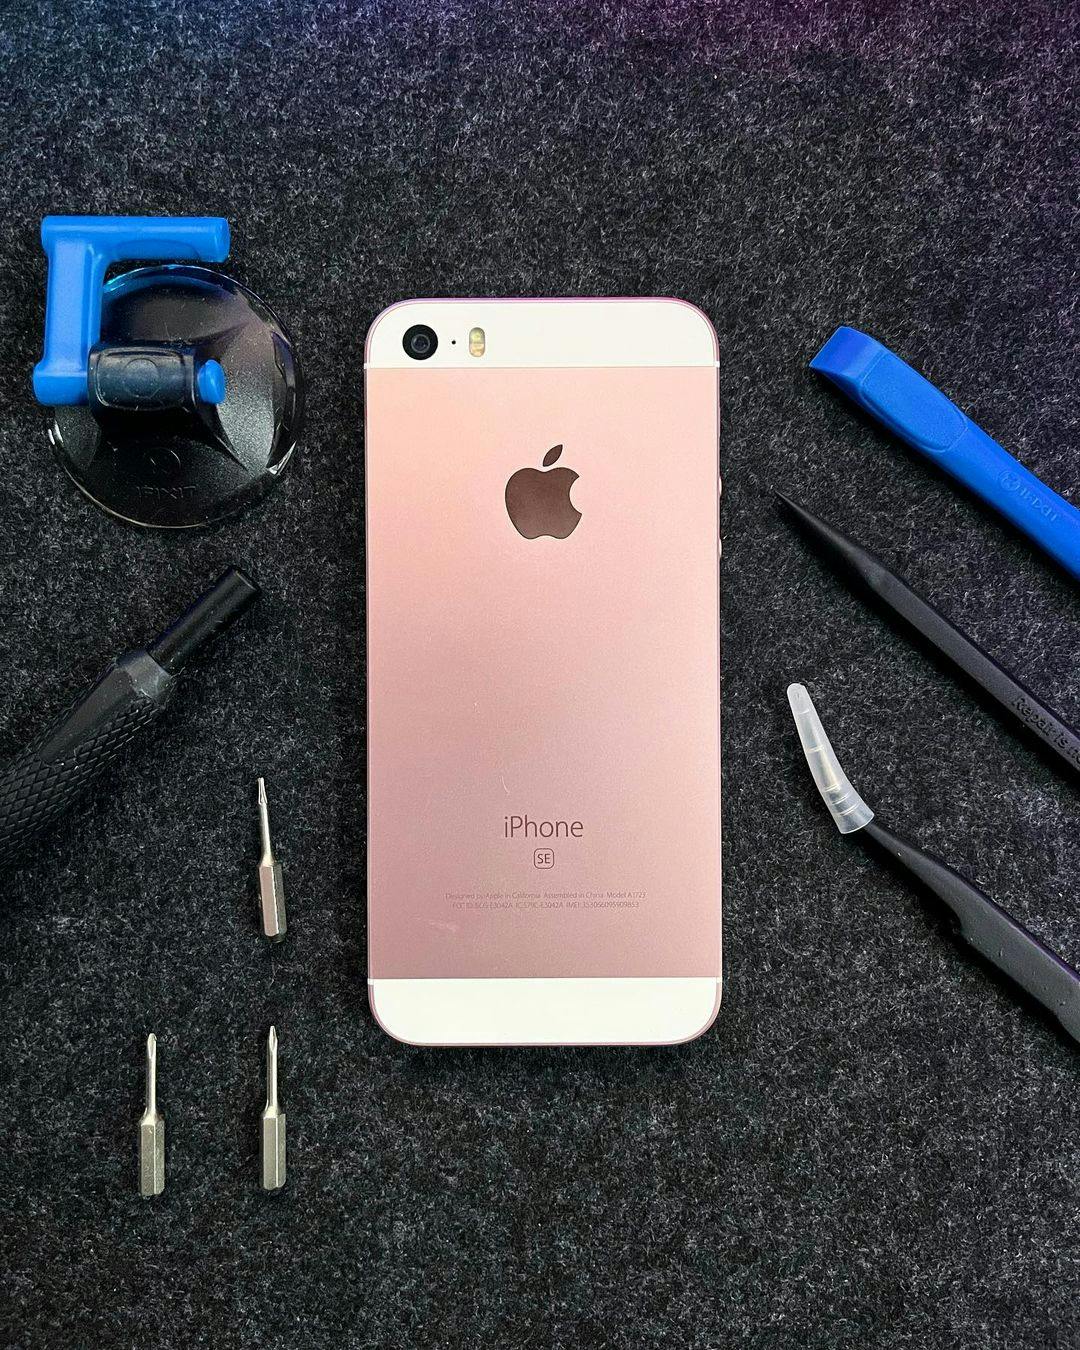
"Why buy a new iPhone when the one you've got still works perfectly fine? Give your iPhone a fresh start with iFixit parts!"

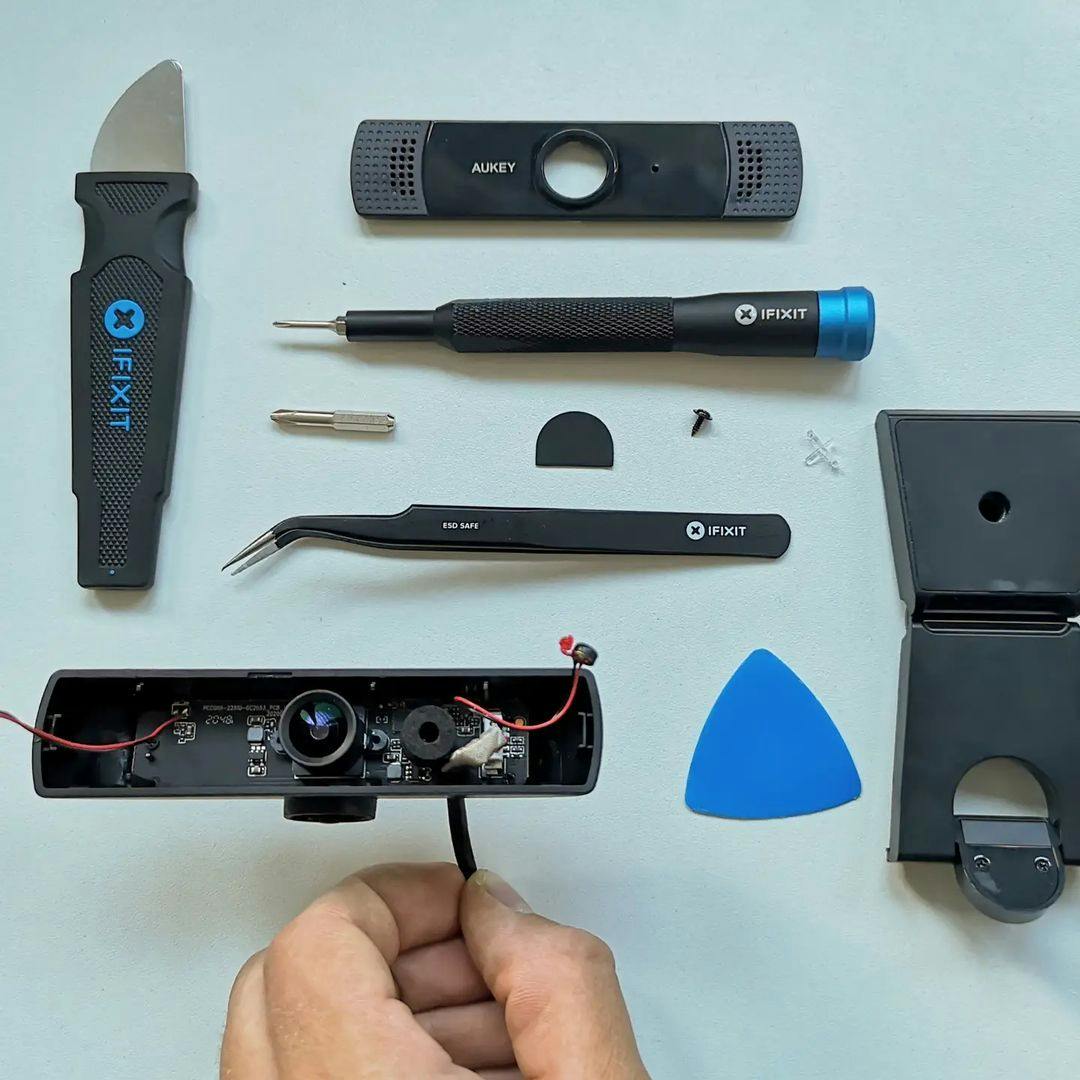
"This is awesome, we can repair our stuff finally"

"Repair toolkits are dooooooope"

"We tried all the toolkits and can say they're definitely high quality"

"The robots of the future will see this and murder us all. Thanks iFixit. Thanks a lot."
"Why buy a new iPhone when the one you've got still works perfectly fine? Give your iPhone a fresh start with iFixit parts!"
"This is awesome, we can repair our stuff finally"
"Repair toolkits are dooooooope"
"We tried all the toolkits and can say they're definitely high quality"
"The robots of the future will see this and murder us all. Thanks iFixit. Thanks a lot."
"Why buy a new iPhone when the one you've got still works perfectly fine? Give your iPhone a fresh start with iFixit parts!"

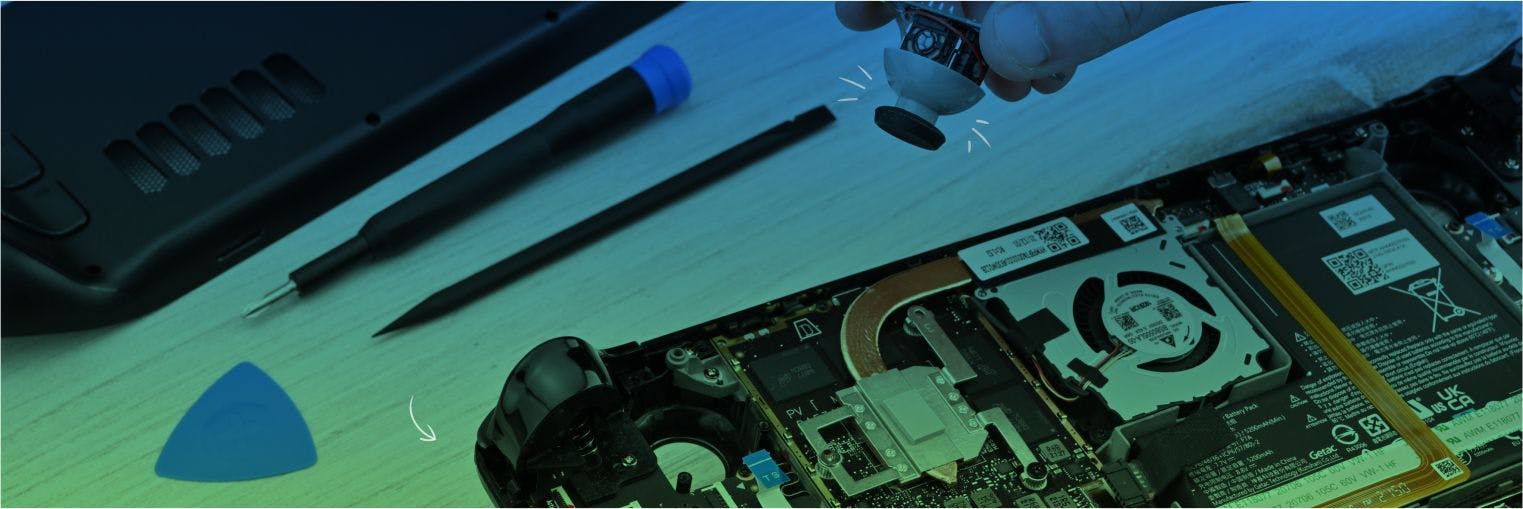
Pro Tech Toolkit
We engineered our flagship toolkit using data from hundreds of teardowns—from the custom opening tools to our premium aluminum driver.
Shop Our Best Seller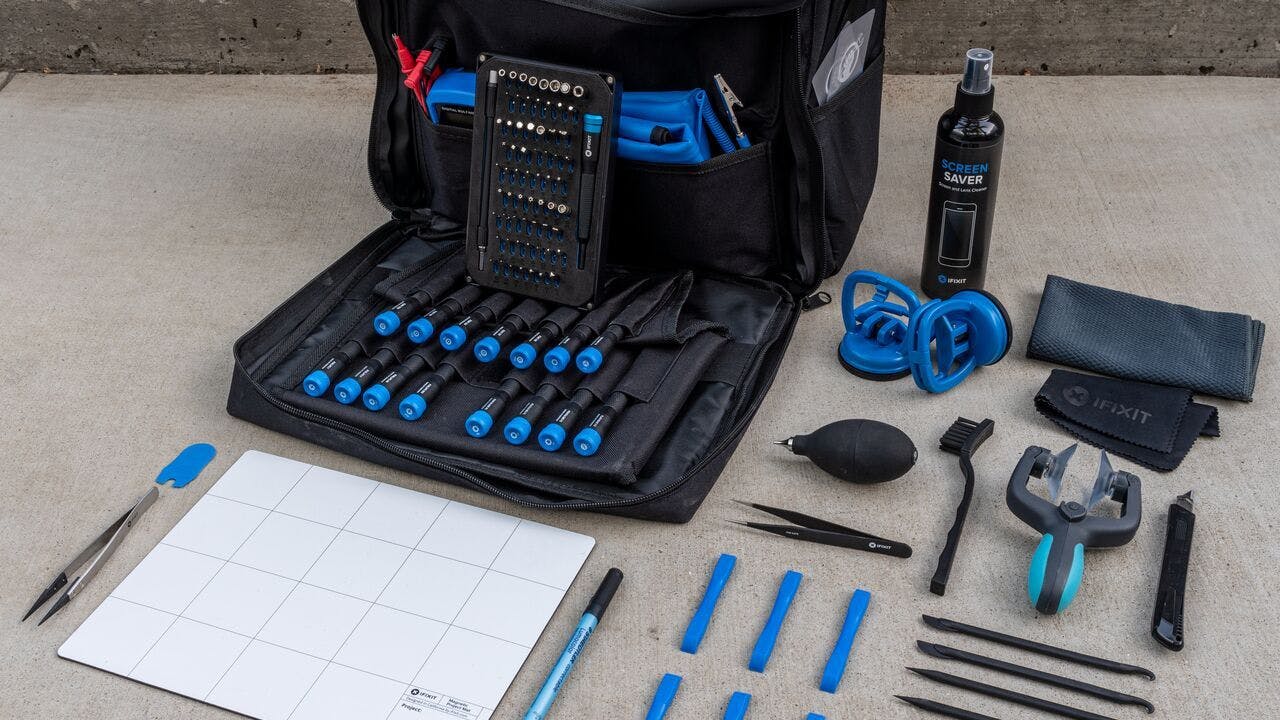
Repair Business Toolkit
All of our most popular tools wrapped into one kit. Start an electronics repair business—or take your hobby to the next level.
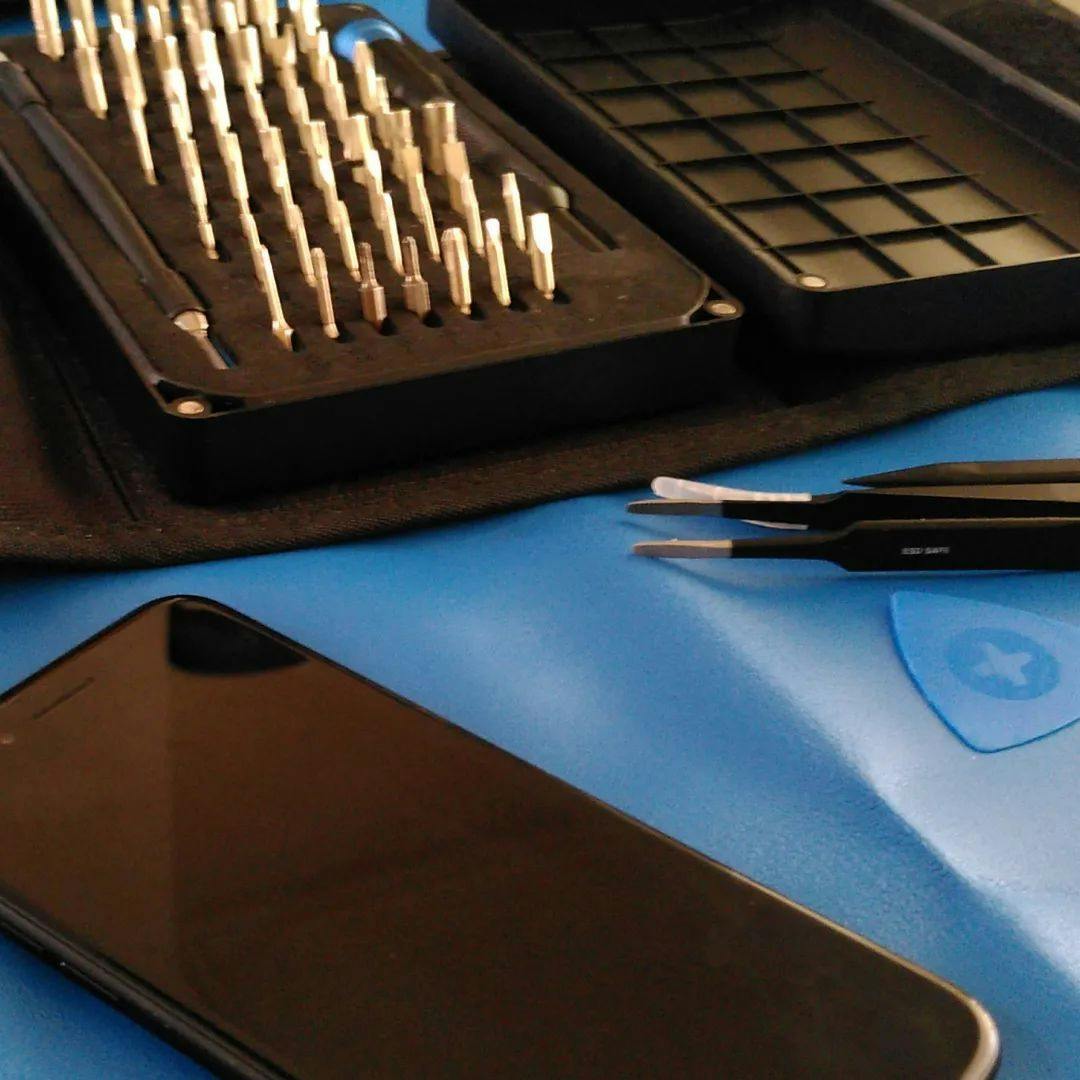
Shop the Ultimate ToolkitiFixit Toolkits
Repair hobbyists and professionals find iFixit toolkits and bit driver kits easy to use and functional.


40% Off


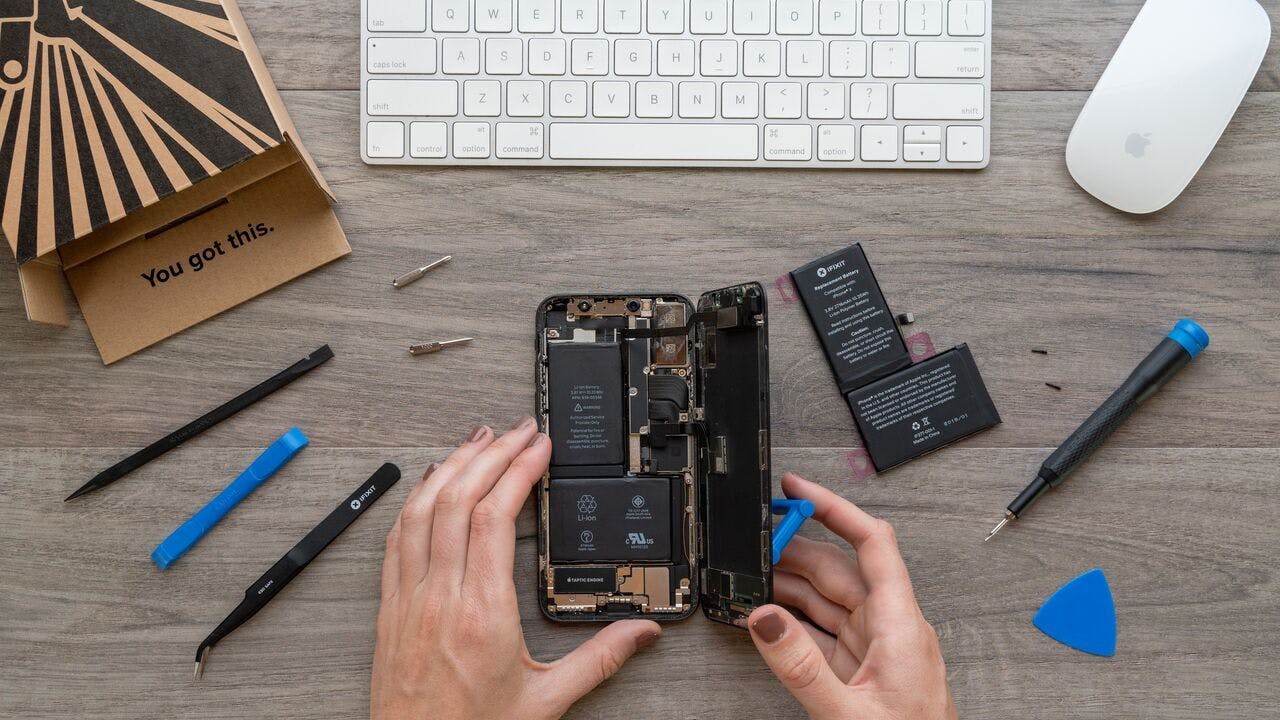
Share Your Repair
It's empowering to take your stuff apart and see how the magic works inside. Tag us in a picture of your finished repair on social media at @ifixit


Fast Shipping
Your devices are important—they help you work, play, and stay connected to loved ones. Our express shipping will get you back online in no time.
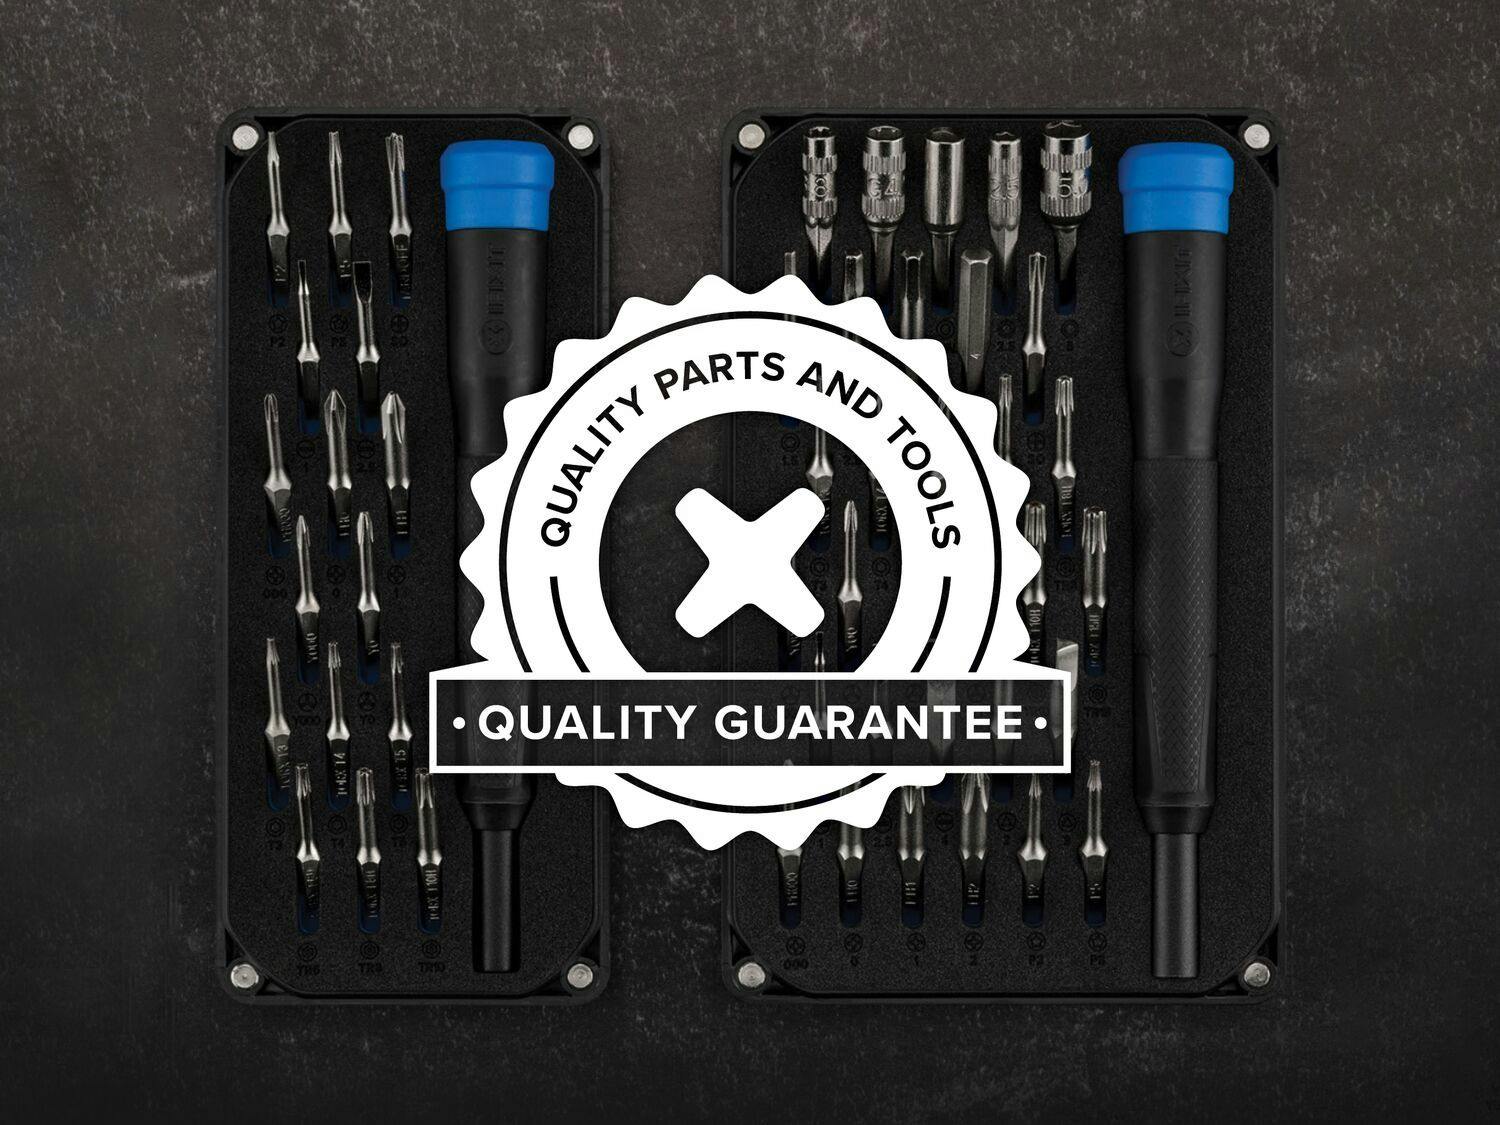
Quality Guaranteed
We've spent more than a decade vetting sources and suppliers, and all of our parts and tools are backed by our quality guarantee.
About Our Warranty
Purchase with Purpose
Repair makes an impact. When you decide to fix your device instead of replacing it, you prevent e-waste and take a stand against throwaway culture.
What Is Right to Repair?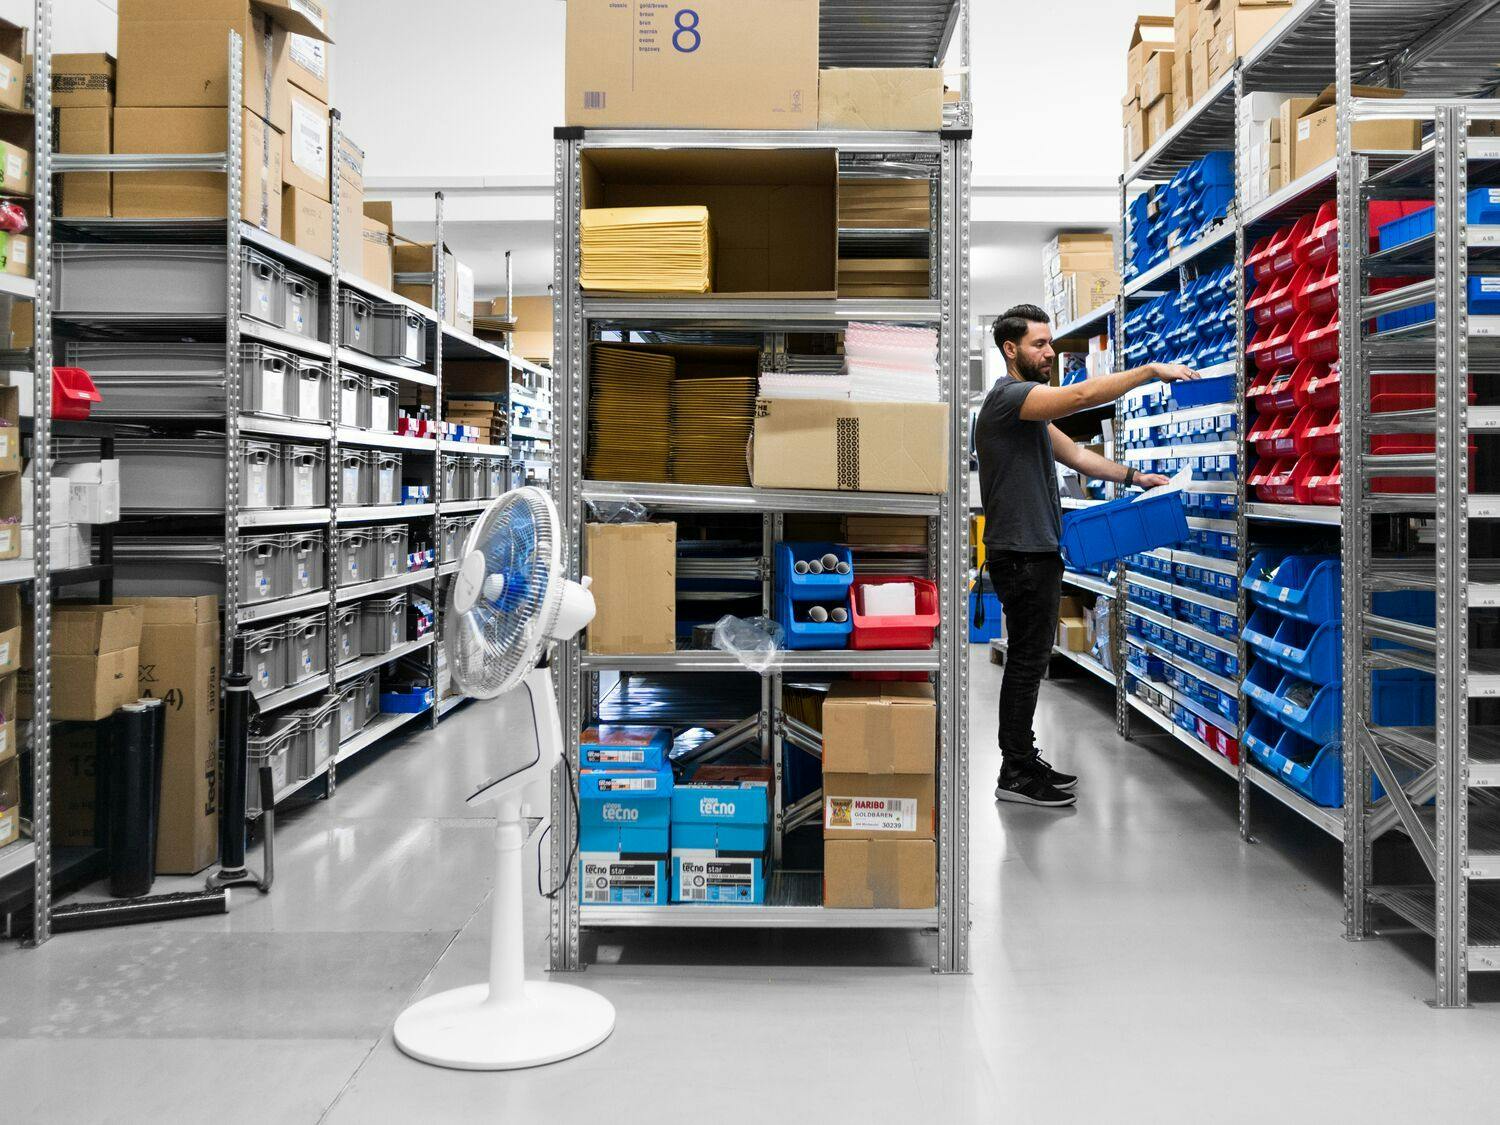
Go Pro. Fix More.
Sourcing a reliable parts stream can be a real nightmare. That's why we find top-quality parts for you and offer them at discounts—displayed on the iFixit website as you shop.