Introduction
We disassembled this iPhone on June 29, 2007.
What you need
-
-
We've procured our iPhone, and it's on the way to our photo studio now.
-
We purchased two 8 GB iPhones.
-
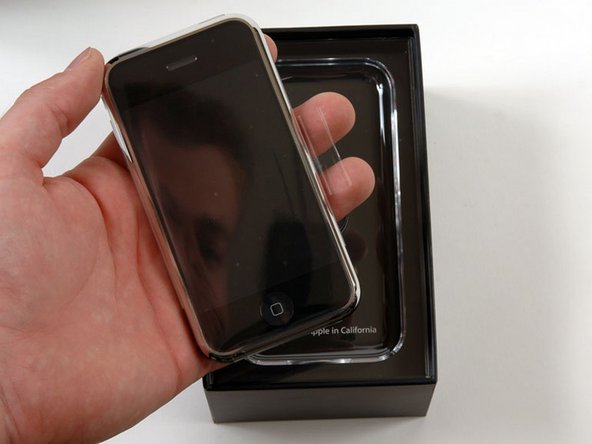
The phone has arrived!
-
Who wants to take bets on how long it'll take us to start selling iPhone parts?
-
-
-
Random facts:
-
The iPhone has H.264 video decoding, most likely in hardware.
-
It also has a two-megapixel camera.
-
Last March Micron told setteB.IT in an exclusive interview that the camera is an MT9D112D00STC model (code name K15A or MI-SOC2020).
-
-
-
iPhone's back.
-
The SIM card is removable. Push a paperclip into the hole on top, and the card will come out (you may have to apply more force than you'd expect).
-
You cannot use a SIM card from another provider without unlocking the phone first. Currently, there is no way to use the iPhone on a non-AT&T network. The only way to use it internationally is roaming with a US plan.
-
-
-
Separating the front and back case.
-
There's a headphone jack cable to disconnect before you can completely remove the back panel.
-
The headphone jack is recessed into the case, so most headphone jacks won't fit without an adapter (even if they're the right 1/8" plug).
-
Apple did this to reduce the strain on the narrow metal jack when you yank on the headphones. With this design, the hard plastic cable jacket absorbs most of the impact.
-
The headphones have a microphone built in, with a button that you pinch to answer a phone call.
-
-
-
-
After further examination, we found a way to open the logic board without completely destroying it.
-
Samsung chip underneath the metal shield on the left side of the board on the left. Ours reads K9MCGD8U5M. The 4 GB model that Think Secret took apart had K9HBG08U1M on it, which is a 4 GB chip
-
Samsung memory stacked with a 620 MHz ARM architecture processor, ARM1176JZF. Could be a Samsung S3C6400. Numbers: 339S0030ARM, 8900B 0719, NOD4BZ02, K4X1G153PC-XGC3, ECC457Q3 716. The processor is likely stacked on the SDRAM, which could be two 512 Megabit chips. The processor could have H.264 and MP3 hardware decoding built in.
-
The chip above the ARM is a Wolfson audio chip. Part numbers WM8758BG and 73AFMN5.
-
The chip underneath the ARM is a Linear Technology 4066 USB Power Li-Ion Battery Charger, which Apple uses in the iPods as well.
-
-
-
The chip on the bottom center that looks blank in our image actually has this text: MARVELL, W8686B13, 702AUUP. This is Marvell's 802.11b/g 18.4mm2 chip.
-
The chip in the upper right is a Skyworks GSM/Edge Power amplifier (SKY77340).
-
The silver chip to the left of the Skyworks chip reads CSR 41814 3A06U K715FB. This is a CSR BlueCore4-ROM WLCSP single chip radio and baseband IC for Bluetooth 2+EDR.
-
The chip covered by the white sticker in the photo has the part numbers 338S0289 and 8G60710 on it. EETimes claims this is an Infineon M1817A11.
-
The chip with the blue dot on it is rumored to be an Intel Wireless Flash stacked 32 Mb NOR + 16 Mb SRAM chip. Part numbers 1030W0YTQ2, 5716A673, and Z717074A. EE Times adds the part #PF38F1030W0YTQ2.
-
The chip in the lower right reads 338S 0297 G0719. Some claim this is an Apple-branded chip, but it's purpose is currently unknown.
-
The chip in the lower left is an Infineon PMB8876 S-Gold 2 multimedia engine. Part numbers: 337S3235, 60708, and EL629058S03.
-
If you have any additional information about any iPhone chips or internals, please e-mail us and we'll post the information anonymously.
-
- Standard Phillips screws used throughout.
- Hidden clips make it nearly impossible to open rear case without damaging it.
- Soldered battery is very difficult to replace.


Final Thoughts
Repairability Score


(10 is easiest to repair)
14 Comments
Yes. It is possible, but it is very difficult. Here’s the link: iPhone 1st Generation Display Assembly Replacement
Praquron -
The IC marked as 338S 0297 G0719 is in fact a RF Transceiver – Quad-Band GSM/EDGE w/Integrated SAW Filters and PLL from Infineon, probably PMB 6258 or PMB 6272
Also do you know what chip the IPhone 1 has? I think it is call A1 since it is the first one, bu i'm not sure.
@applegenius, the A-series chips started with the A4 for the iPhone 4. It’s technically called the APL0098. So no, it’s not the A1. It includes a 412 MHz single-coreARM11CPU and a PowerVR MBX Lite GPU. It is manufactured by Samsung on a90 nmprocess.^^[3^^]
All this info is blatantly stolen from Wikipedia.