Introduction
A first look inside Sony's dramatically redesigned, cooler, sleeker PlayStation 3 Slim! Also check out our PS3 Slim teardown video on YouTube!
What you need
-
-
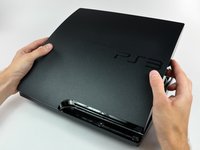
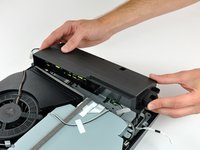
It's here! We got our dirty hands on a PS3 Slim a full day before it was set to arrive in the mail!
-
The box, just like the unit, is, well, slimmer.
-
Our free online editor makes it super-easy to publish step-by-step teardowns.
-
We host everything for free, and make it easy for you to have high-resolution photos, professional layout, and full-screen slideshows like ours!
-
-
-
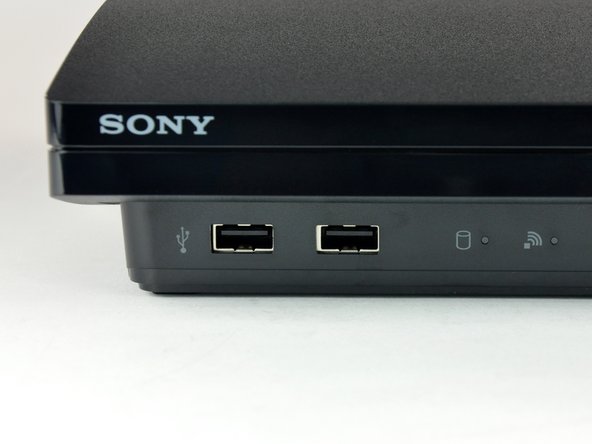
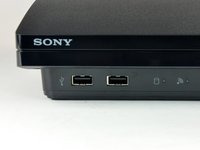
On the front left, we have two USB ports, a hard drive indicator light, and a Wi-Fi indicator light.
-
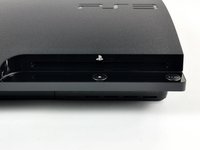
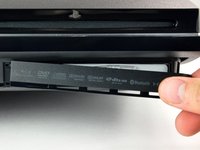
Front right yields a slot-loading Blu-ray drive, power button, and eject button.
-
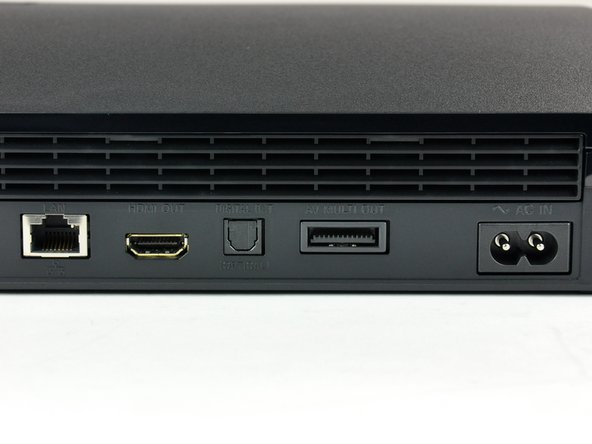
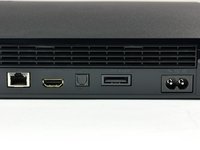
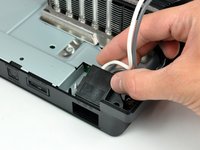
The back has a LAN connection, HDMI port, digital audio-out, multi-connector (RCA or component video) and a new type of power plug.
-
Owners of the current-gen PS3s will notice an absence of the rear manual power switch. All your powering needs are now served by the front power button.
-
-
-
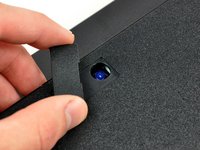
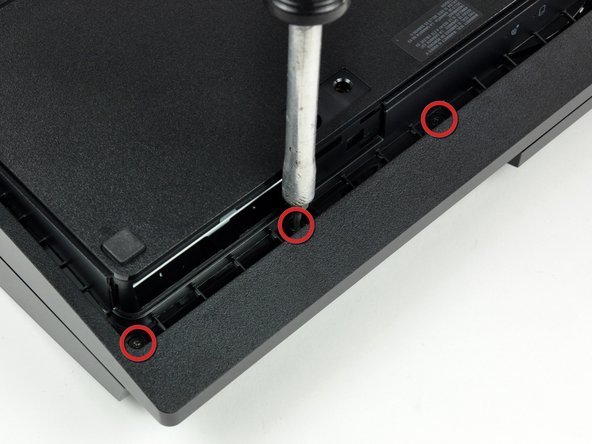
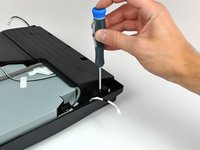
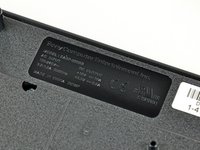
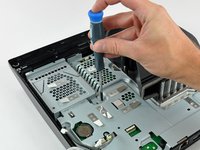
Remove the three (or on some models, four) TR8 security Torx screws on the underside of the PS3 slim.
-
What's that, you say? Security screws? Yes, that's right. These screws have a pin in the center of them that prevents an ordinary Torx screwdriver from working. These screwdrivers are widely available, just not quite as easy to come by as a normal Torx.
-
Sony did this to prevent people like us from taking it apart.
-
This seems a little spiteful-- hardware hacking is a fine American tradition. No worries, we'll make sure it's easy for you to get these screwdrivers.
-
-
-
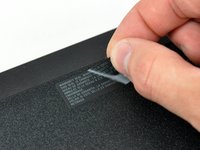
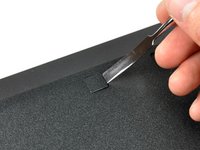
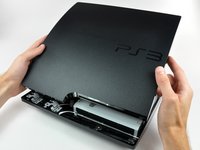
De-warranty-izing and de-tabbing on the underside of the Slim ensue...
-
-
-
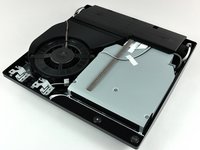
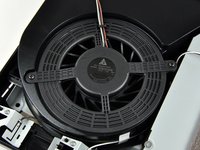
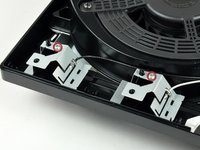
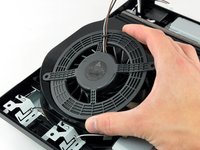
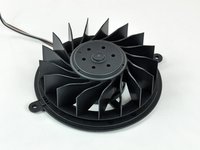
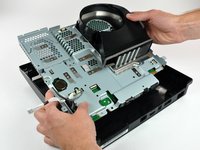
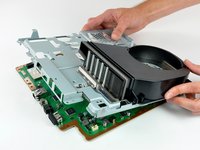
Closeup of the massive fan and controller antennas.
-
This is a brushless DC motor, which is fairly standard for fans in devices like this. Brushless motors are quieter than more traditional fans, but require fine computer control to function. It is not a maglev fan like Apple is known to use, however.
-
The Bluetooth and WLAN antennas, intentionally three-dimensional in design, are attached to the lower case with Phillips screws.
-
-
-
-
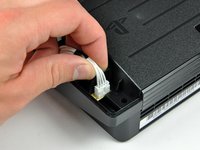
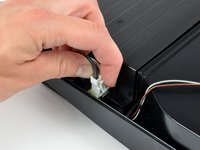
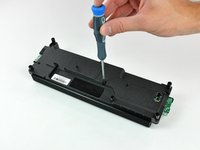
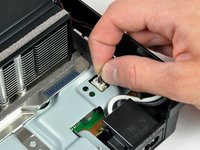
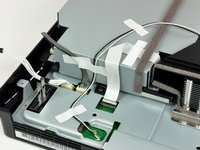
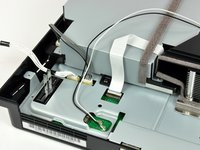
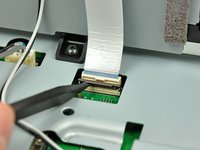
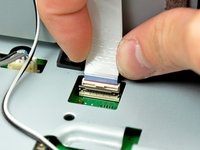
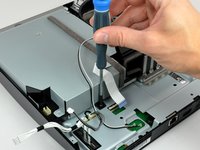
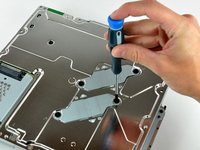
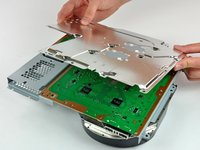
More connectors and screws to unplug/unscrew.
-
The design aesthetic of this machine is quite a bit more bare-bones-functional than Apple's, but is still beautiful in its own way.
-
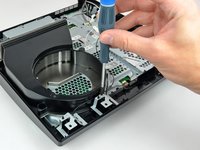
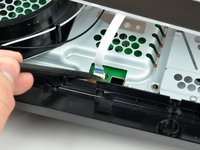
Several components, including the AC power inlet, are simply held to the unit by the pressure of the screws connecting the top and bottom cases.
-
-
-
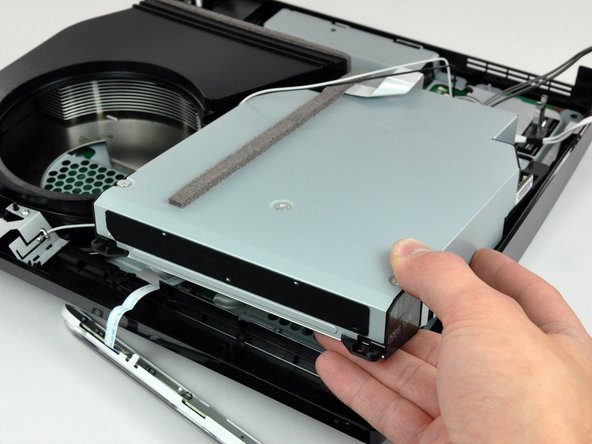
That's it for the disassembly, but we'll continue to post board photos and analysis as the information pours in.
-
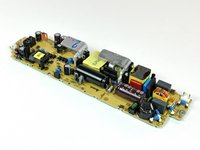
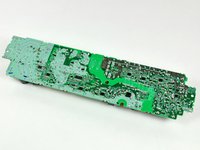
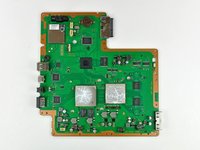
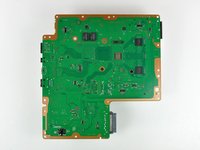
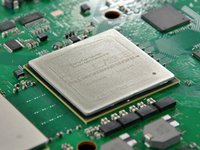
The logic board. Sony's going green on the inside, to reflect their commitment to the environment.
-
We've never seen cool snowflake-like patterns in the thermal paste after we removed a heat sink before. This may indicate that the thermal paste was overapplied or that it was not distributed evenly.
-
If you look closely at the thermal paste, you'll see it is a fractal!
-
-
-
Multiple manufacturers, multiple functions. The first picture shows two of the four NEC/TOKIN 0e108 capacitors.
-
NEC/TOKIN Corporation creates "next-generation, value-added devices that integrate." Whatever that means.
-
High Speed Decoupling Device Proadlizer PF/A SeriesProadlizer PF/A Series.
-
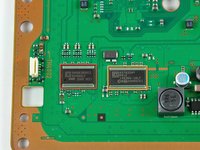
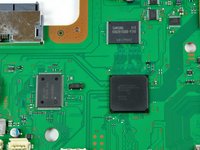
Dual Elpida 512Mbit RAM chips (there are four total on the board).
-
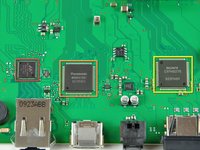
The third picture shows, from left to right:
-
Marvell Ethernet controller
-
Panasonic HDMI controller
-
Sony AV multi-out controller
-
-
-
But wait -- there's more!
-
Clock generators from left to right:
-
Clock generator (1): ICS 9249AGLF
-
Clock generator (2): ICS 1493DG
-
Samsung K8Q2815UQB-PI4B
-
SW2-301 0920KMOOT
-
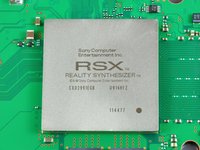
Sony CXD9963G8
-


18 Guide Comments
Just a question.. Where's the wifi card? And can I update it to the new wifi ac? Id love to have gigabit speeds on my Sony.
this was extremely helpful, I had to replace the 450aaa, shop cost $125.00, after finding the part on ebay (w/ebay credit) and doing it myself...26 cents!
Hi, I am about to order a PS3 power Ribbon for mine because i have an issue that just started. When you turn it on, it cuts off and you have to keep turning it on over and over until it finally stays on. This is now all the time from being powered off and back on. It literally just started a few days ago. So after some research it looks like it could be the power/eject ribbon. My model number is CECH-2001A. In which picture is the ribbon that needs to be replaced? Is it 18? Thanks!