Introduction
It's a gamepad. It's a tablet. It's a gamblet—erm, Shield? You love your hybrid car, you love your hybrid golf clubs, but will you love this hybrid game console? We're still not sure if this is an awesome gaming tablet, or an awesome tabletting game console. But what we do know is that we want to see it naked.
Join us as we meld gadget-gutting fun with punny inquisition in our Nvidia Shield Portable Teardown.
We belong together. Want to merge your accounts? Check out Facebook, Twitter, and Instagram for your daily iFixit mind meld.
What you need
-
-
Before we can consider this device worthy of teardown, we must put it through rigorous testing. Good news—it passed the personal gaming test with aplumb. Let's check out some specs:
-
Nvidia Tegra 4 Quad Core Mobile Processor
-
5-inch 1280x720 pixel Multi-Touch Retinal Quality display
-
16 GB Flash Memory with microSD slot
-
2 GB RAM
-
802.11n 2x2 Mimo Wi-Fi
-
Bluetooth 3.0
-
Android Jelly Bean operating system
-
-
-
Flip off your old TV console, flip up the 5" Shield Retinal display, and settle in for some serious Sonic power—literally.
-
The 294 ppi display and stereo speakers are pretty impressive in this little console.
-
Enough hedgehoggery. Let's see what this bad boy is packing.
-
-
-
The 20+ ounce Shield may not be ultra-portable, but that doesn't stop it from having a lot of sweet ports.
-
MicroSD
-
Mini-HDMI output
-
Micro-USB 2.0
-
3.5 mm stereo headphone jack
-
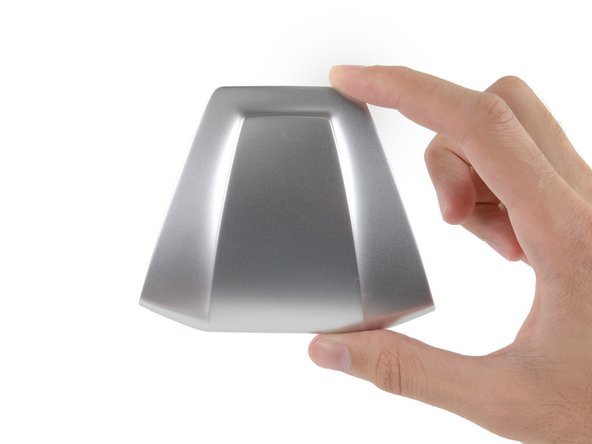
We at iFixit would like to formally nominate the Nvidia Shield for the Coolest Air Intake Award.
-
Was the neon green accent necessary? Probably not. But maybe active cooling on a handheld is something worth showing off.
-
A look at the model number, P2450, reveals no hidden message, though conspiracy theories are always welcome.
-
-
-
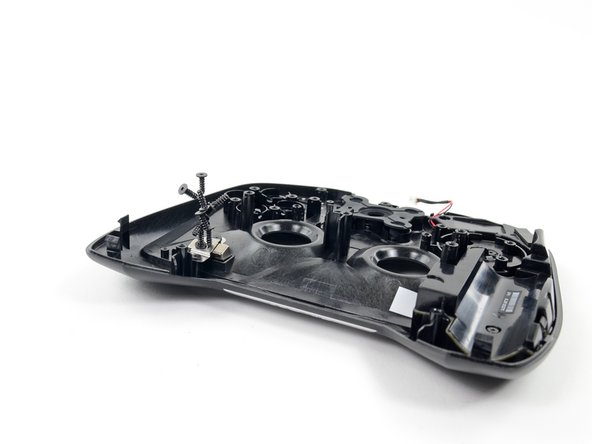
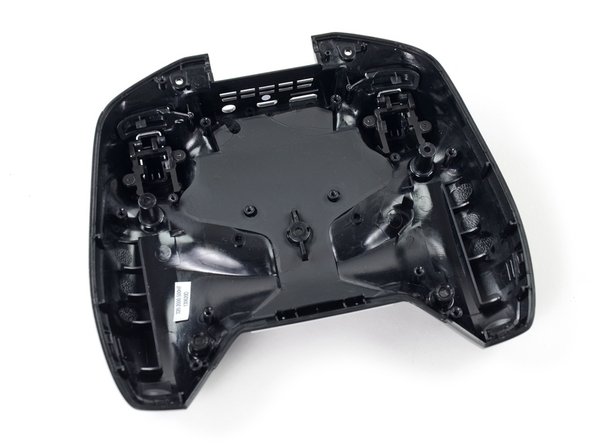
Screws and screw covers—old news for the teardown fans in the audience. Not to worry, we'll make it quick.
-
Screws are old news, but good news. We want to save our epic battles for gaming, not for repairing.
-
We are eager to crack into this device for a few reasons:
-
Though the Shield is marketed primarily as a gaming device, it fills a unique cross-device niche.
-
The build and functionality of the Shield allow it to very nearly fill the role of a small tablet.
-
This opens up the market possibility of intense gaming tablets, a technological convergence that could reduce the number of devices you own and throw away.
-
It might be from outer space.
-
-
-
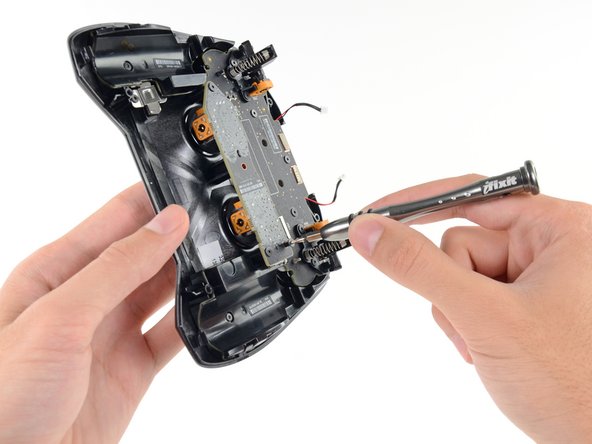
Check out the potentiometers as we jog that dial…
-
A potentiometer is a special type of resistor that has multiple terminals and an adjustable voltage divider.
-
A mechanical action, in this case the movement of the joystick, changes the resistance of each potentiometer. Measuring the voltage through each potentiometer indicates the joystick's deflection along two axes, pinpointing its position.
-
-
-
-
A, B, see the D-pad come out of the Shield.
-
The button board registers presses of the ABXY buttons, the D-pad, and five control buttons.
-
We love the modularity of this design. Just in case the button mashing gets out of control, we are happy to know that the button board can be replaced separately from other components.
-
IC Identification:
-
Infineon (formerly Cypress Semiconductor) CY7C64345 enCoRe V USB 2.0 controller
-
STMicroelectronics MEMS microphone
-
ABLIC S-5712ANDL1-M3T1U hall sensor
-
Nexperia 74AUP1G14 Schmitt Trigger Inverter
-
-
-
Next out are the stereo speakers.
-
While they are not portable-rave quality, the Shield has some nice speakers. As we mentioned before, these speakers offer great bass for their buck.
-
And now for something completely different: we spy with our keen eye, a magnet!
-
This guy is either attracted to the shell, to help it stay clammed up, or lets the display know when to shut off, then again… Por qué no los dos?
-
-
-
Turning our attention back to the rest of the device, we remove the Frogger-esque air intake cover from the Shield.
-
Our fingers are crossed for aftermarket replacements in various colors.
-
Unfortunately, the connectors for the antennas are all trapped under a midframe, for now. At least we can spudger the forward antenna array off of the battery to free it up.
-
-
-
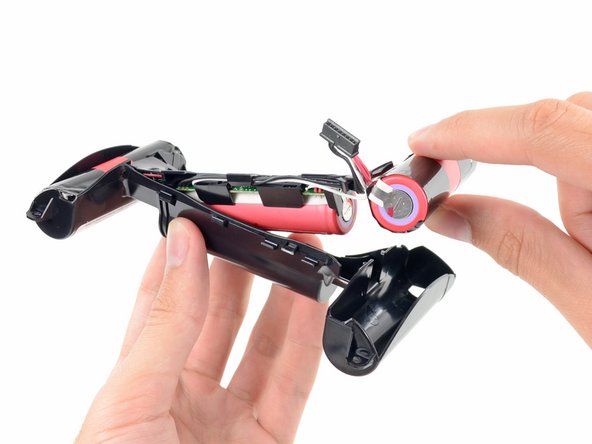
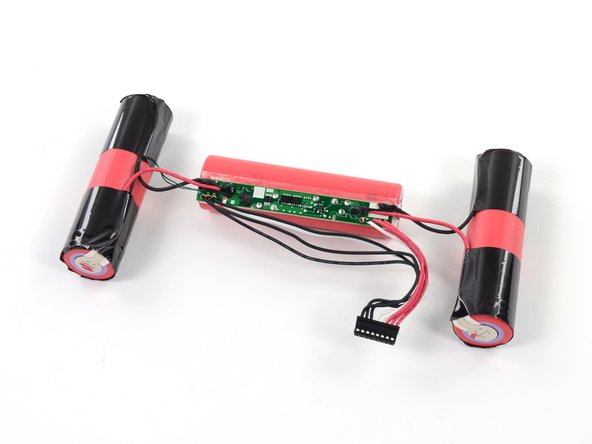
We've heard rumors that the Shield has a crazy-long battery life. After some fussing, we're able to remove the three Sanyo battery cells that are responsible for the extended action.
-
The three-cell, 3.7 V, 7350 mAh, rechargeable lithium-ion battery's case is labeled 131907887.
-
These numbers add up to plenty of play time.
-
There is a small circuit board connecting the three cells of the battery. Our best guess? A charging control circuit.
-
-
-
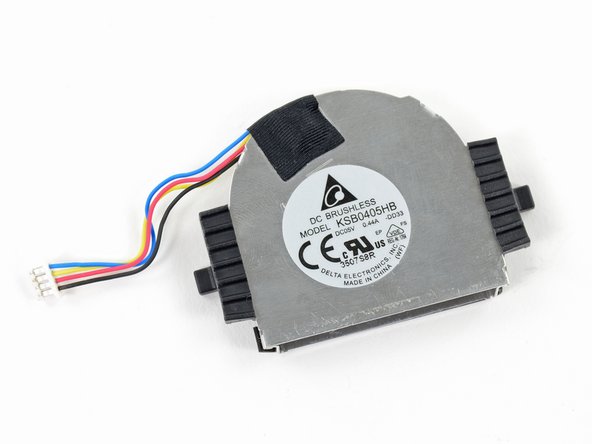
Keeping cool is important for electronics, and if your fan stops working, the rest of your device is likely soon to follow.
-
Luckily, the Shield won't be needing anger management counseling, as the fan is a breeze to replace—it contains no screws, and its bumpers simply fit into slots on the midframe.
-
-
-
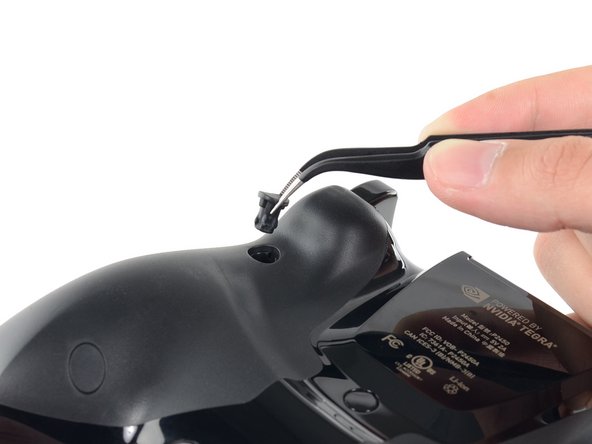
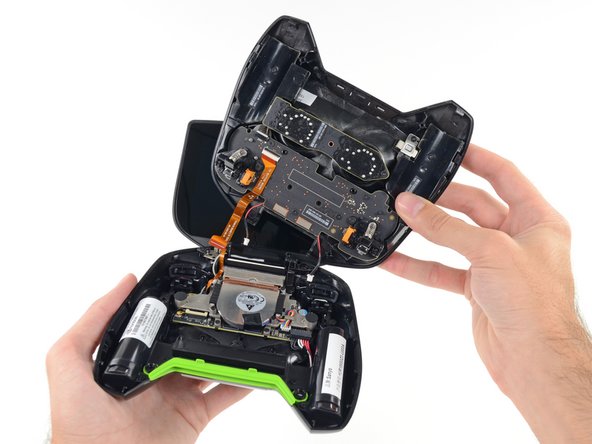
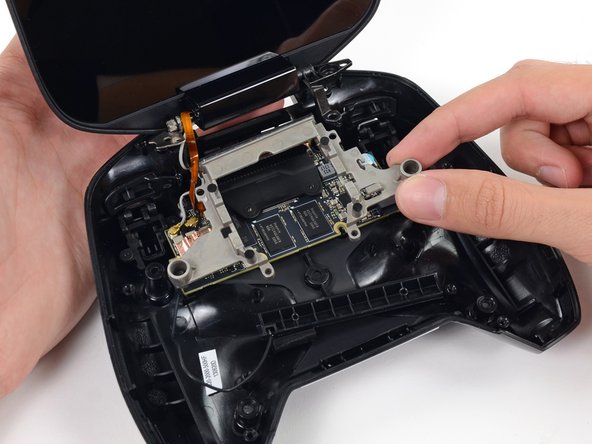
We're excited to remove the display, but are quickly thwarted. The midframe blocks the display data cable and antenna cables, pinning their connectors down. We already had trouble getting to the midframe, blocked underneath the hinge bracket—we soon find ourselves in a vicious cycle of component Jenga.
-
We remove some screws and eventually lift the midframe out of the Shield.
-
This reveals a display cable with a fancy connector board, à la MacBook.
-
-
-
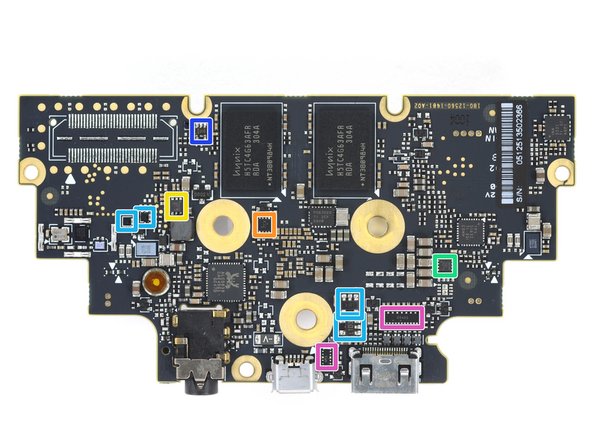
With the motherboard finally free and de-shielded, we get a look at the notable players:
-
Nvidia Tegra 4 (T40T-A2) Quad Core Mobile Processor
-
Samsung KLMAG2GE2A-A001 memory eMMC
-
SK Hynix H5TC4G63AFR-RDA 512 MB DDR3 SDRAM (4 ICs for 2 GB total RAM)
-
Texas Instruments TPS65913 power management
-
AzureWave AW-AH691 wireless module
-
InvenSense MPU-6050 6-axis gyroscope and accelerometer
-
Texas Instruments BQ24193 USB-OTG Battery Charger IC
-
-
-
And on the reverse side of the board:
-
Texas Instruments TPS63020 Buck-Boost Converter
-
Texas Instruments TPS51632 Step-Down Driverless Controller for Nvidia Tegra® T40 CPUs
-
Texas Instruments INA3221 Current and Voltage Monitor
-
SK Hynix H5TC4G63AFR 512 MB DDR3 SDRAM (remaining 2 of 4 ICs for 2 GB total RAM)
-
NXP Semiconductor TFA9887 class-D audio amplifier
-
Broadcom BCM4752 GPS Receiver
-
Realtek ALC5639 (probably similar to ALC5634 audio codec
-
-
-
IC Identification, continued:
-
Maxim Integrated MAX17048 battery fuel gauge
-
ON Semiconductor NCT72C temperature monitor
-
Texas Instruments TPS61161A white LED driver
-
Texas Instruments TPS51604 4 A / 28 V half bridge gate driver
-
ANPEC Electronics APL3510F/APL3511D and Texas Instruments TPS22908 load and power distribution switches
-
Texas Instruments SN74LVC1G126 single buffer
-
-
-
Ten minutes of mild terror with a spudger, and the display is free of the tape adhering it to its casing.
-
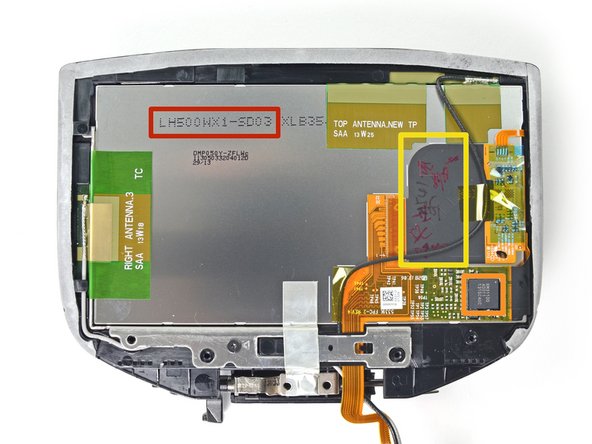
With the casing out of the way, we find a few antennas, a single IC, and a display cable hanging out on the back of the display.
-
Here are the markings we found:
-
Display: LH500W1-SD03 (LG Display)
-
IC: RM31100 (Raydium touchscreen controller)
-
Indistinguishable scribbles: yeah, right…
-
-
-
Nvidia Shield Repairability Score: 6 out of 10 (10 is easiest to repair)
-
Durable design will stand up to regular backpack-toting.
-
Modular design means lower repair costs, because small parts can be replaced individually.
-
The Shield is an all-new type of device, and it feels like there is a lot of room for improvement in repairability. For now, a complicated interior design makes repair and reassembly difficult.
-
While the hinge seems sturdy, stubborn adhesive makes display repair risky, and involved disassembly makes removal difficult.
-
The battery is not easily accessible, and will require some tricky disassembly to replace.
-


18 Comments
Would it be too much to ask for the cylindrical dimensions of the batteries, and what the mAh of each individual cell is? I'm looking around for possible replacement batteries.
The cells are 64.5 mm long, and 18.5 mm in diameter. I'm getting 3.9 volts on each, so it looks like they're 3.7 V Li-ons in parallel, and the total capacity of the unit (7350 mAh) will be the sum of the individual cells', or 2450 mAh per cell. Hope this helps!
They are 18650 batteries, you can buy them pretty much anywhere online, usually used in vaping and flashlights
Chris -
Question is, where to get a replacement fan? That will probably be first to go on mine since I have it unlocked and rooted. I then have the CPU governor set in "performance" mode rather than "interactive" mode which cranks that fan all the time, but the performance boost of no cpu throttling in the games is so much better.