Introduction
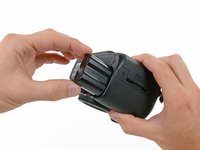
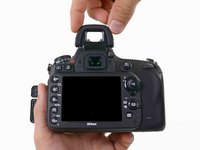
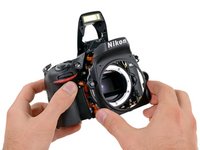
We like cameras. We also like taking cameras apart. Today, we vivisect the D600.
With the release of a "budget" full-frame camera, Nikon hopes to lure the mid-level/Prosumer camera junkies into taking the plunge into full-frame wonderland. Unfortunately, a "budget" full-frame camera still means a price tag of $2,099, so it's not exactly a bargain.
Can't get enough of the sweet, sultry taste of teardowns? Do the Twitter thing or Facebook thing to stay updated!
What you need
-
-
Entry level + full-frame = Nikon D600. Let's see what it's got.
-
24.3 megapixel FX full-frame CMOS sensor
-
5.5 frames per second continuous shooting
-
ISO 100-6400 (expandable to 25,600)
-
3.2" TFT LCD
-
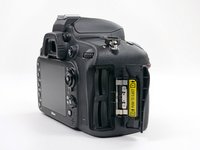
Dual SD card slots
-
Full-frame? What does that mean, you ask? Simply put, a full-frame sensor is the same size as a 35 mm (36×24 mm) film negative. A larger sensor means larger images with greater resolution, even when blown up to large print sizes.
-
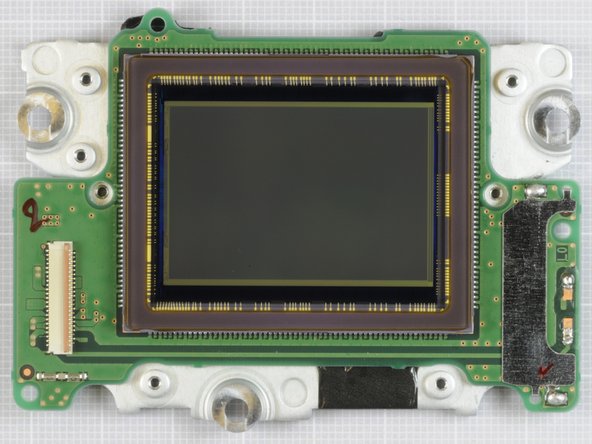
Before we go any further, we'd like to give a big thanks to Chipworks for helping us with the teardown, and for providing the awesome sensor images you'll see below.
-
-
-
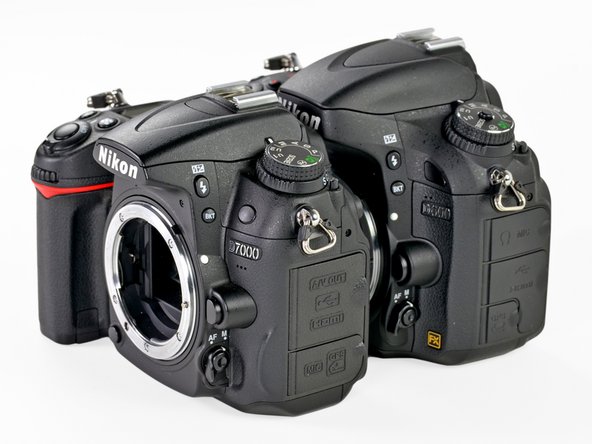
If you're used to wielding a Nikon D7000, holding a D600 may start to feel like déjà vu. Let's compare the two and see how similar they really are.
-
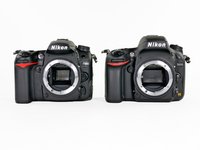
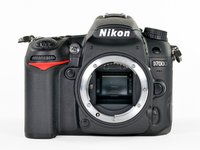
Even without the different exterior markings, distinguishing the D600 from the D7000 is pretty easy once the body cap is removed, exposing the comparatively gigantic viewfinder mirror.
-
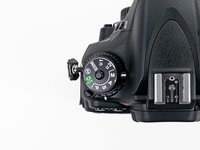
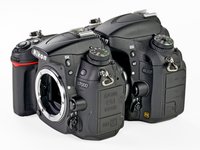
A shot of the camera controls reveals very similar button counts, button locations, and button functions.
-
-
-
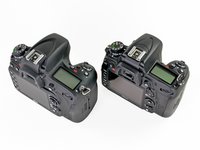
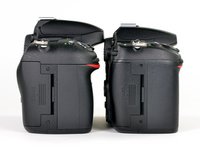
The D600 seems to have a slight size advantage, but how slight is "slight?"
-
Check out this shot of what appears to be the D7000 by itself. Look closer, though, and you will notice that the D600 hides quite nicely behind the similarly sized D7000. Apparently "slight" really is slight!
-
Do not get the two cameras confused, though. They may look simlar on the outside, but the full-frame sensor in the D600 will certainly raise the bar as far as photo quality goes.
-
-
-
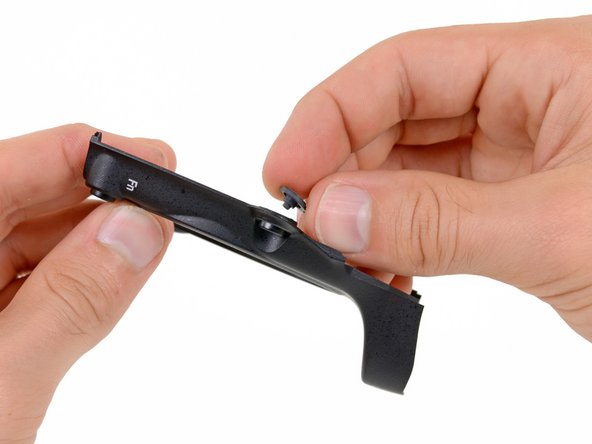
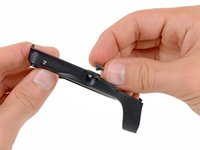
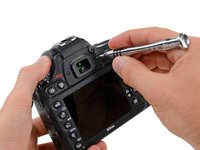
"Safety first!" That's our motto!
-
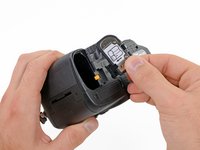
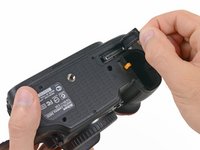
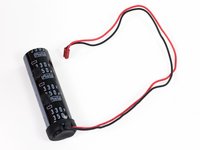
Before we pull this bad boy apart, we remove the battery and battery cover from the device.
-
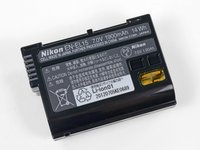
Nikon claims that the 7.0V-1900mAh-14Wh Lithium-ion battery can take 900 shots per charge, an understandable downgrade from the 1,050 of the D7000, most likely due to the improved internals.
-
It seems that Nikon likes to wait a while to design new batteries. When the D90 debuted in 2008, it used the same battery as its predecessor, the D80. Likewise, the D600 uses the same battery as the D7000.
-
-
-
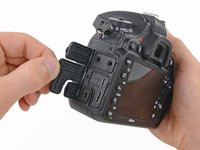
Several Phillips screws hold the bottom cover in place.
-
Poof! Like magic, the screws are released and we gain our first glimpse of the D600's insides.
-
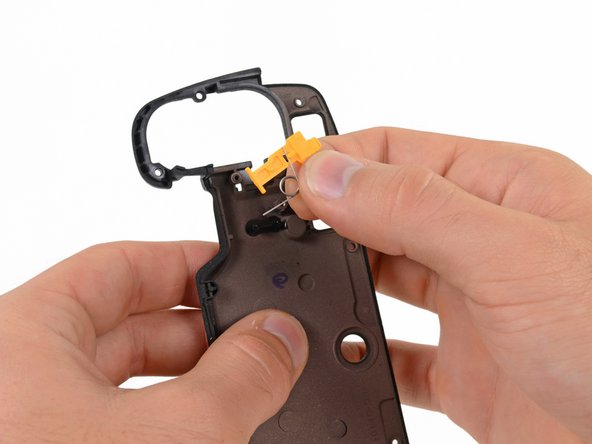
The only goodie on the underside of the bottom case is the battery release mechanism. If—for whatever reason—yours fails, it can be replaced pretty easily.
-
-
-
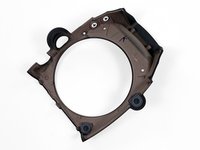
As we continue to remove parts, we get to the standard tripod mount, held in securely by four Phillips #00 screws.
-
It's nice to see that this mount comes out separately from the rest of the body. It would be a shame to compromise a $2,100 camera just because the tripod mount becomes cross-threaded.
-
-
-
-
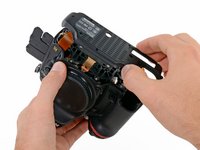
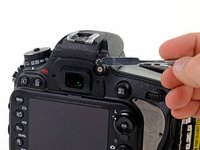
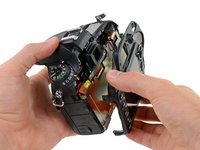
The rear cover (along with the LCD assembly) finally gives in and jumps ship from the rest of the body.
-
Well, this is nifty. Notice the red dots drawn on the inside of the rear cover? Each dot seems to correspond to the location of a screw. We assume this is done to keep track of each screw during the manufacturing process.
-
Every button on the rear cover is tied to a single ribbon cable. This makes repair a bit more costly if a single switch gets fried.
-
-
-
We were disappointed to find that the LCD is fused to the rear case, and cannot be replaced without replacing the entire panel.
-
If you scratch or crack the display glass on an older Nikon DSLR like the D90, it's possible to find an inexpensive replacement and fix it yourself. With the inseparable glass, though, D600 users will definitely want to opt for some type of screen protection.
-
-
-
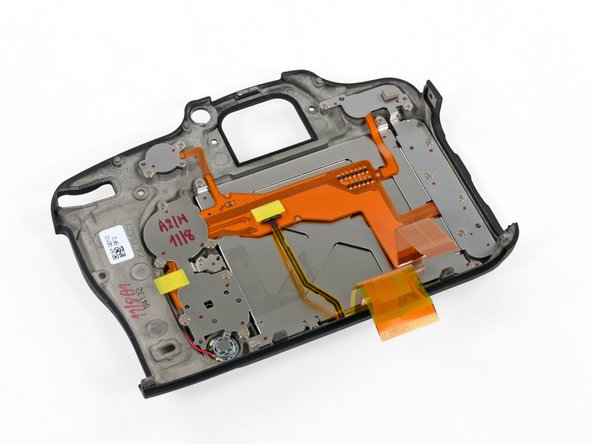
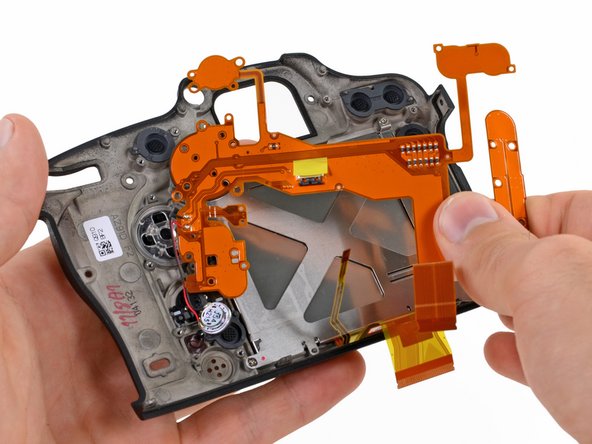
Bit by bit, we pull off the last few pieces of the outer case, revealing—no surprises here—more shields and circuit boards surrounding the ports and SD card slots.
-
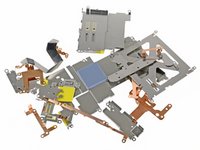
Fast forward a bit, and you can see that this device is totally full of shields and grounding straps—that's not even all of them!
-
-
-
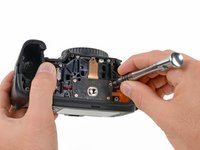
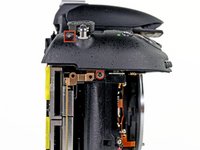
By now we are rather adept at finding the hidden screws on this device. We locate and remove the two small screws securing the top case assembly in place.
-
Anyone else keeping track? By our count, removing all of the outer case components requires unscrewing a total of 36 screws. And we're just getting started…
-
It's time for an iFixit fun fact! See the red square in the first picture? That circle with a line through it denotes the location of the image plane, which is the vertical plane that the image sensor lies in. You'll find the same symbol on most cameras, and it's the point where camera lens minimum focusing distance measurements are taken from.
-
-
-
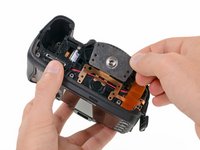
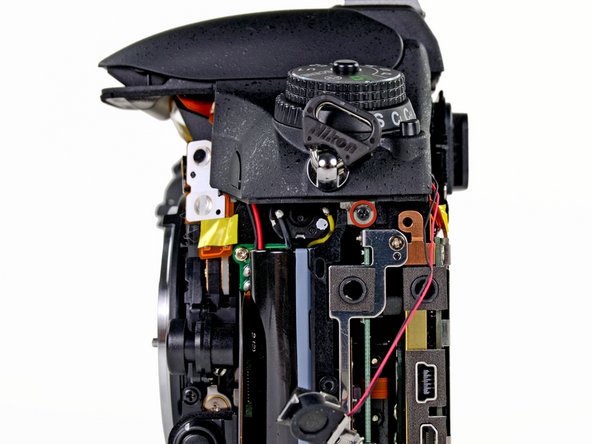
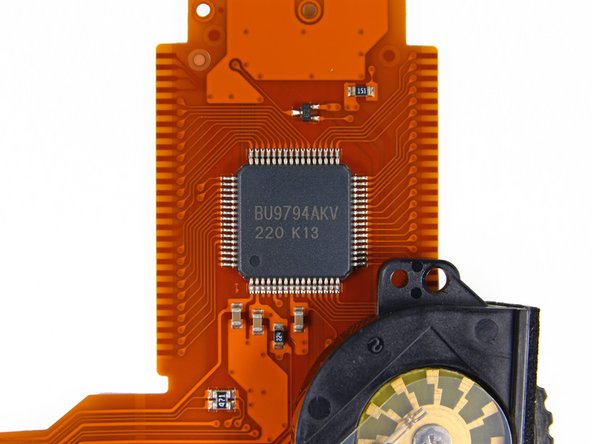
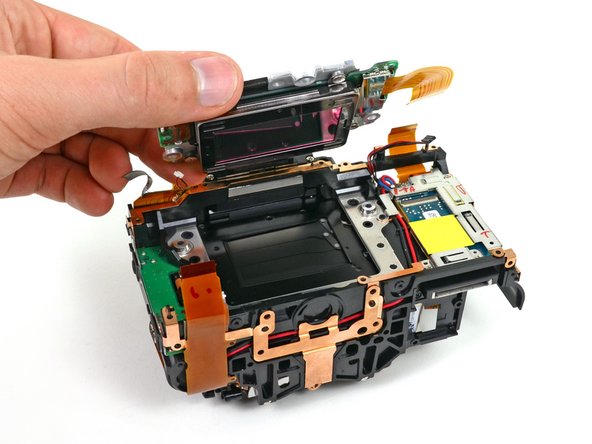
Under the board lay a few more goodies, the first of which is the upper LCD assembly.
-
Not surprisingly, the D600 sports the same wide viewing angle upper TFT-LCD as the D7000.
-
We find the LCD controller, ROHM segment driver BU9794AKV.
-
We could probably write an entire teardown for the top case of the D600 alone, but we decided to spare you. Take our word for it, there's a lot of stuff crammed in there.
-
-
-
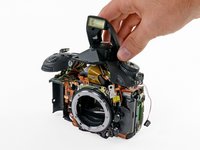
At this point we'd like to stop and let you appreciate the space management that goes into designing a DSLR camera. Wires and ribbon cables run amuck, yet everything works together in perfect harmony, allowing you to express your artistic vision with the press of a button.
-
With the number of screws left in the upper case roughly over 9000, we decide to divert our attention to the rest of the device.
-
-
Tool used on this step:Spudger$3.99
-
EMI shields are very helpful. They work wonders in preventing external electromagnetic induction and radiation from messing with the circuitry of electronics.
-
That being said, they're usually a huge pain in the spudger to remove.
-
Luckily, this large EMI shield is removed by simply unscrewing some Phillips screws, and does not require any desoldering.
-
The large square of thermal compound also tips us off that this shield works double duty as a heat sink, removing any excess heat from the D600's motherboard.
-
-
-
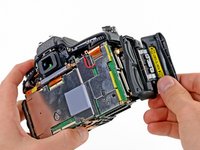
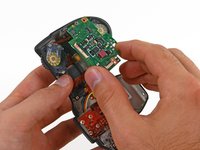
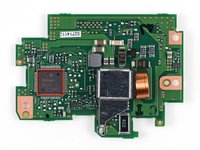
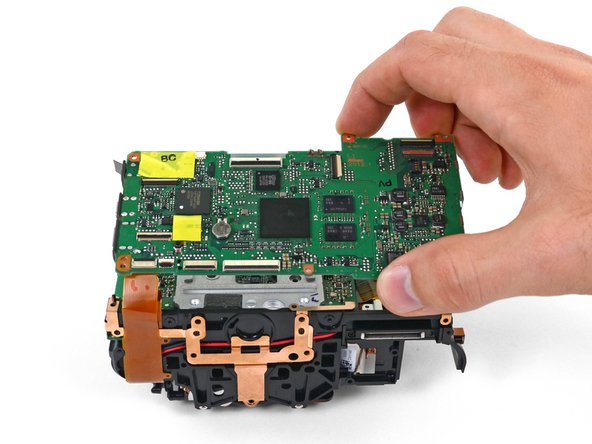
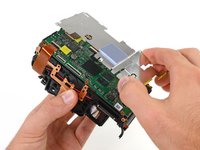
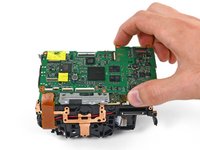
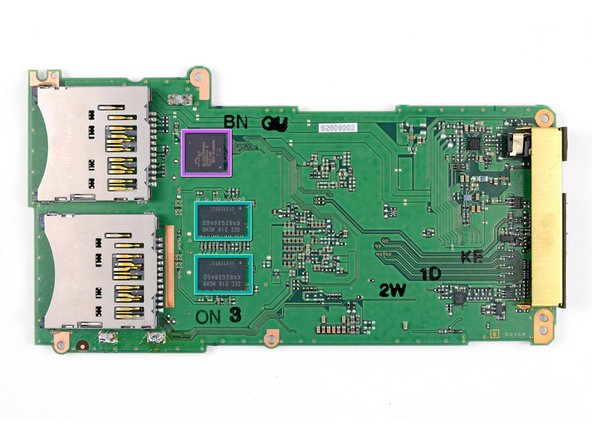
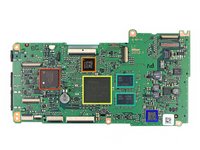
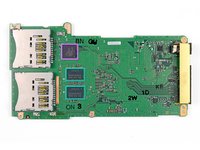
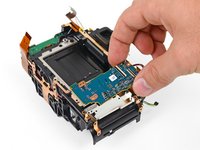
Motherboard!
-
Toshiba 80 MHz TMP19A44F10XBG low-power microcontroller
-
Nikon EL-166
-
Nikon EL175 1207 EXPEED 3 image processing engine
-
Samsung K4B2G0846D 1 GB (total) DDR 3 SDRAM
-
Inrevium TE4302RX SD controller, provides UHS-I, Ultra High Speed SD card read/write support
-
Spansion GL128S90DHI02 16 MB flash memory
-
-
-
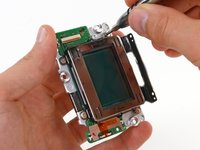
With the filters off, we get a full-frontal view of the full-frame image sensor. The 35.9mm x 24.0mm sensor is a major size upgrade from the 23.6mm x 15.6mm sensor in the D7000, and accounts for a 50% increase in total effective pixels (24 million/16 million).
-
The full-frame image sensor courtesy of Chipworks!
-
-
-
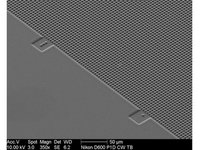
Ever wondered what a corner view of the image sensor magnified 350x with a Scanning Electron Microscope looks like? Wonder no more. Can't get enough magnification? Here is a view magnified at 3500x.
-
These tilted images show the micro-lenses making up each pixel of the full frame sensor.
-
The second image shows that these pixels are well-spaced, demonstrating why not all pixels are created equal. The large size and ample gaps between pixels allows room for metal signal lines to move each pixel's data without blocking light to the individual photocathode sensors.
-
Interesting enough, the image sensor in the D600 is manufactured by Sony.
-
Thank you Chipworks for the amazing pictures! If you want to read more on the Sony sensor, check out their full post on the subject.
-
-
-
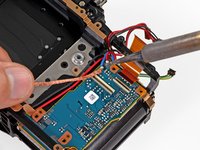
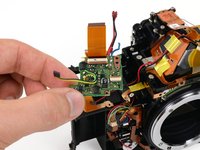
And now.... desoldering time!
-
With the help of our soldering station, we free the secondary power board from the D600.
-
It's not at all uncommon for the various daughterboards inside a camera to be soldered together. Connections need to be sturdy and not take up a lot of space, and surface mount soldering fits the criteria very well.
-
-
-
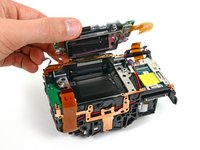
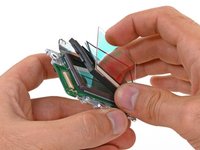
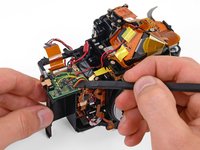
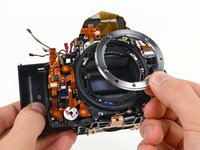
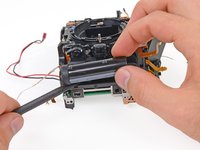
This is the point in the teardown when stuff just starts coming out of the device left and right. A lens mount here, a ribbon cable there, whatever that is over there... the only thing that could make this better is if it was made into an awesome montage and set to "You're the Best," à la Karate Kid.
-
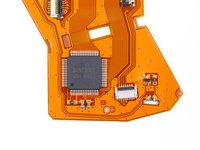
The IC on the large ribbon cable is a ROHM BU9798KV multifunction LCD segment driver. Moving on...
-
-
-
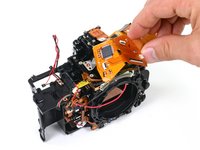
We were relieved to find an insulated rubber cover on the beefy 350 µF flash capacitor, protecting us against what could have been a dangerous shock.
-
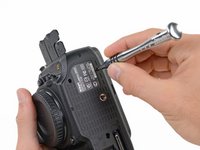
Just in case it wasn't so welcoming, we were ready with our capacitor discharge tool—always a good idea when you're dealing with large electrolytic capacitors.
-
-
-
Nikon D600 Repairability Score: 2 out of 10 (10 is easiest to repair)
-
The battery can be easily replaced by opening the compartment with your thumbnail.
-
The tripod mount comes off after removing four Phillips #00 screws.
-
The D600 has several wires that need to be desoldered in order to take it apart.
-
Many, many screws hold the device together.
-
The LCD is fused to the rear case, and cannot be swapped without replacing the entire back of the camera.
-
For absolute safety, you need to discharge the flash capacitor, otherwise you risk accidentally killing your camera (or yourself).
-


22 Guide Comments
Beyond awesome, thanks guys!, Just curious, were you able to put it back together and in working order?
We did not attempt to put it back together, since the good folks at Chipworks needed the sensor and other ICs to perform their intensive tests. We still use the D5100 we did a teardown of a couple years ago, though.
Are those really Phillips screws or are they JIS? Most of the Japanese cameras I get my paws on are JIS...
We usually only dust off the JIS drivers if Phillips drivers aren't working for us. In this case, our Phillips #00 bit got the job done, so we left it at that.
I wince when I see JIS screw heads being butchered with the totally wrong tool....
maico61 -