Teardown
This teardown is not a repair guide. To repair your Nikko La Nera Junior, use our service manual.
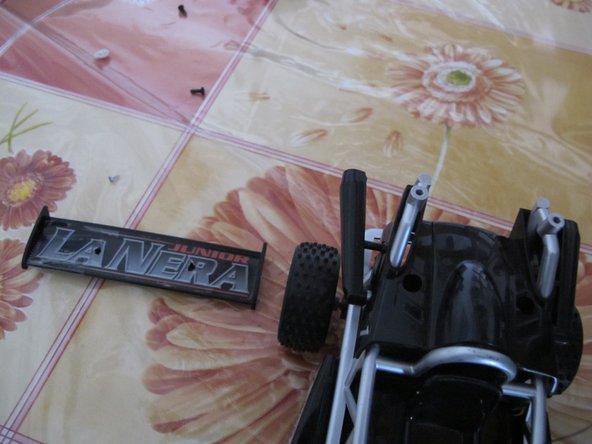
The Car, the Remote Control and a Phillips screwdriver.
Let's start!
Remove this screw.
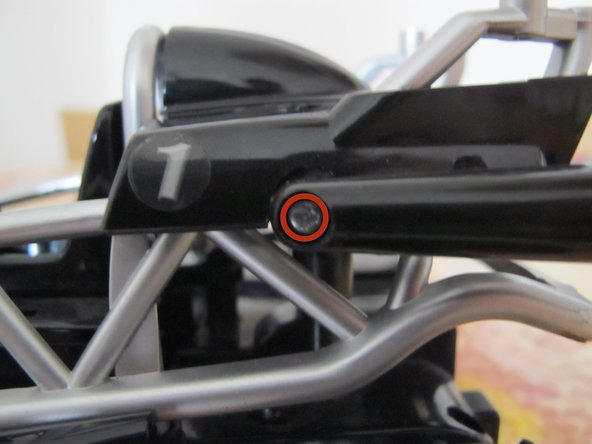
The rear wing
Unscrew this black screws
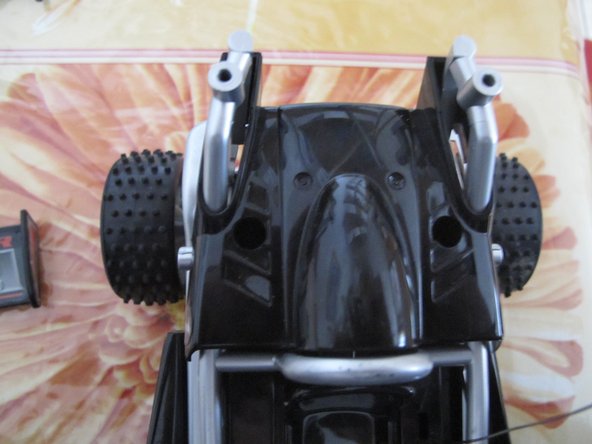
Remove the wing
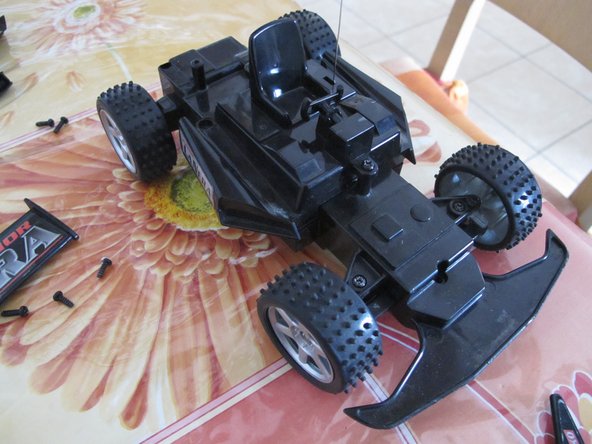
The Exhausts
Remove these screws
Remove the exhausts
The Rear Cover
The "tubolar" body
Flip the car
Remove these screws.
Remove the body
The seat
Remove these screws (one of these is back of the seat)
Remove the seat.
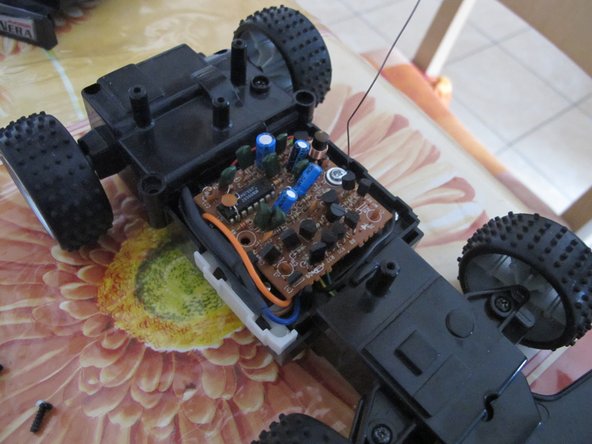
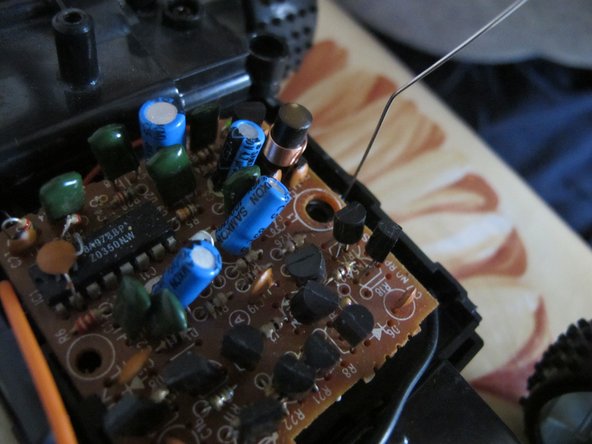
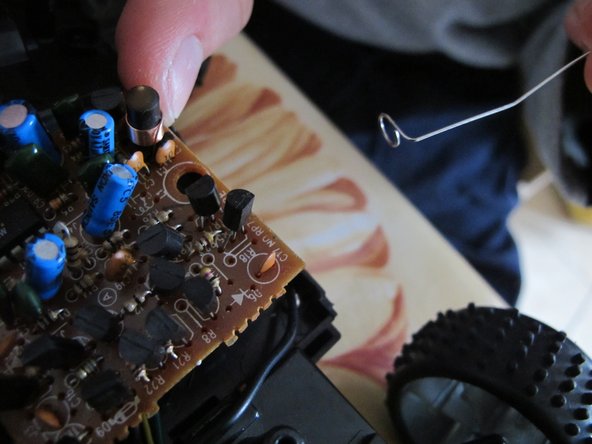
The antenna
Remove this screw
Raise the circuit board
Remove the antenna
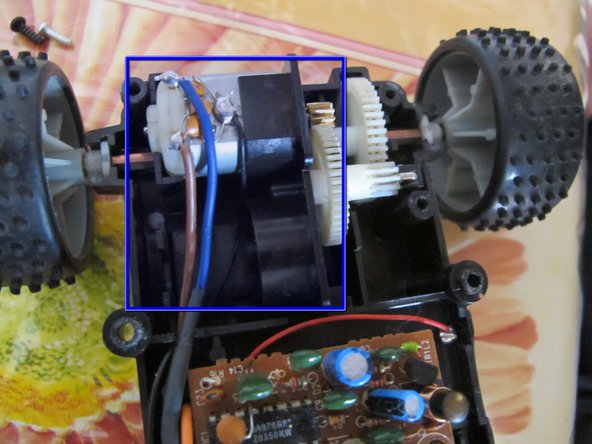
The "engine"
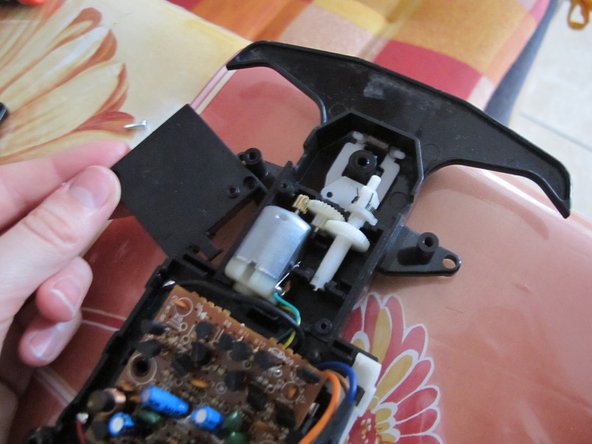
Remove the gears cover
Remove the engine block
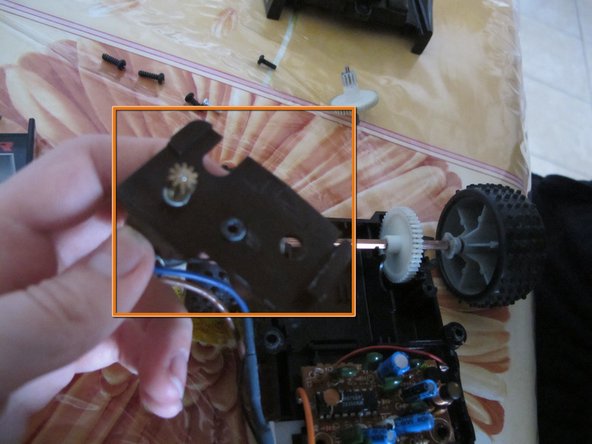
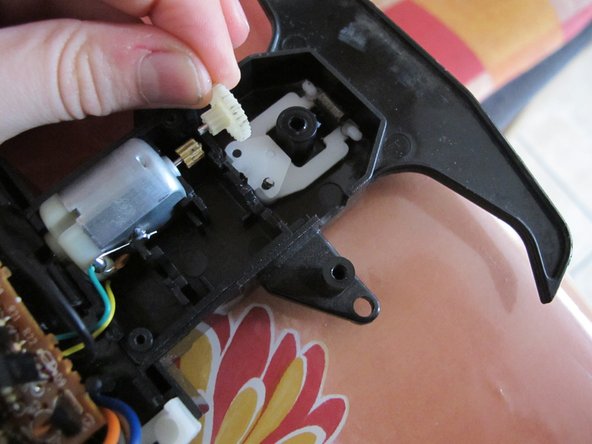
Remove the gear and his hinge
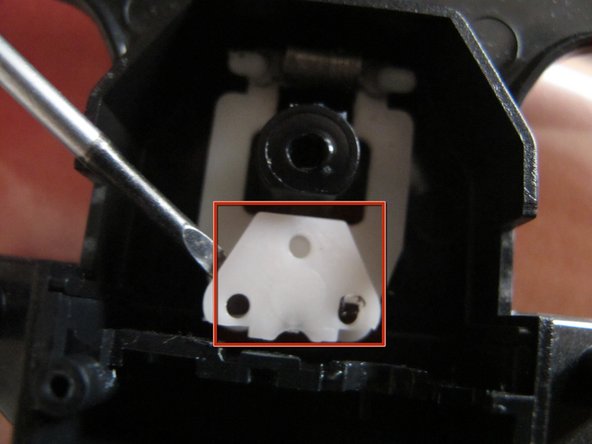
Remove this piece of plastic
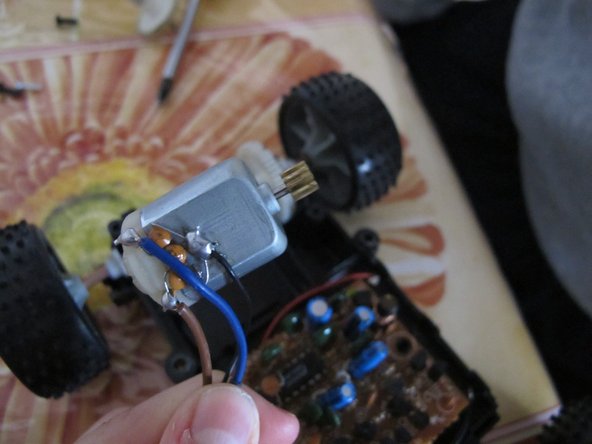
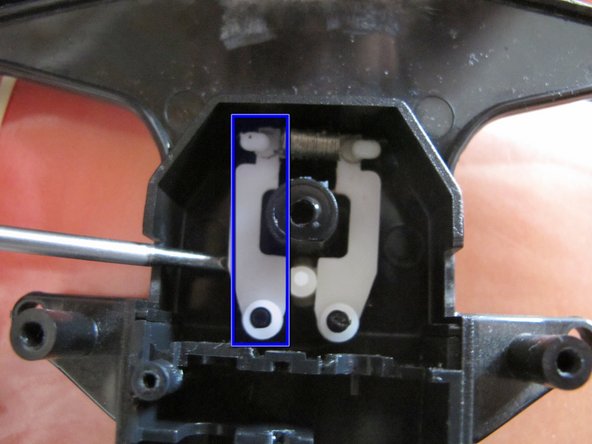
The Engine!
Remove the wheels from the car
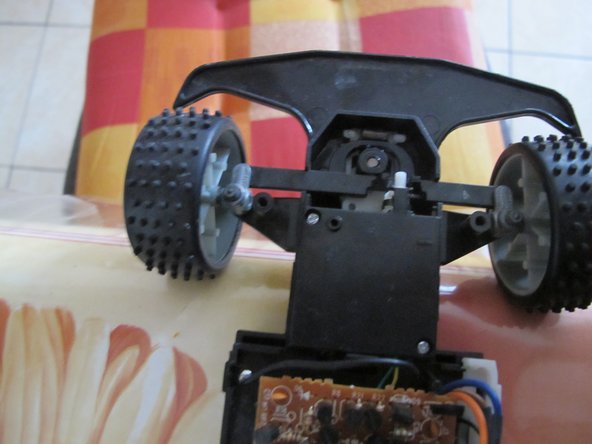
The Steering Mechanism
Remove the cover
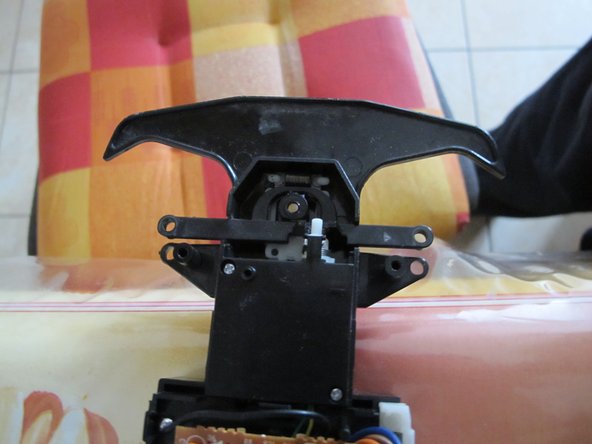
Lift the wheels
Remove the steering bar...
...the two screws...
...and the cover.
Remove the first "gear"...
...and the second.
Remove the steering motor
Remove the plastic cover
Be careful!
Remove this piece
Remove the second piece...
...and the spring.
Congratulations! The car is torn down!
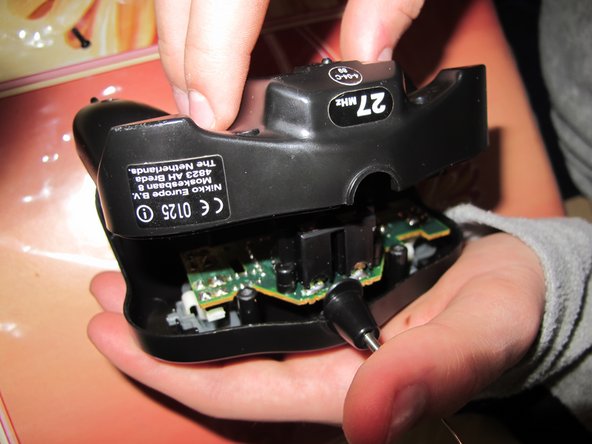
Let's tear down the remote!
Remove the screw in the PCB
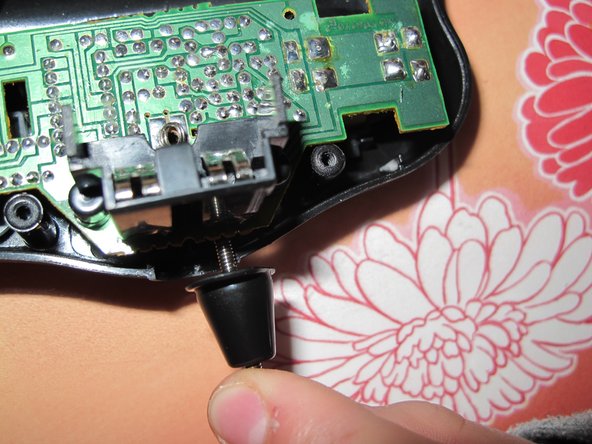
Remove the screw in the piece of plastic at the end of the antenna
Remove the plastic piece around the beginning of the antenna
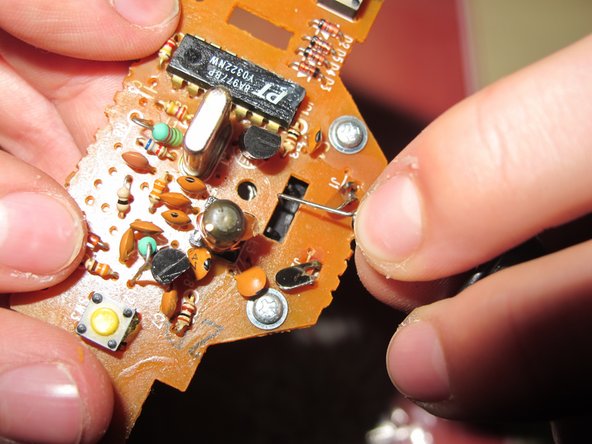
Carefully de-route the antenna from the PCB
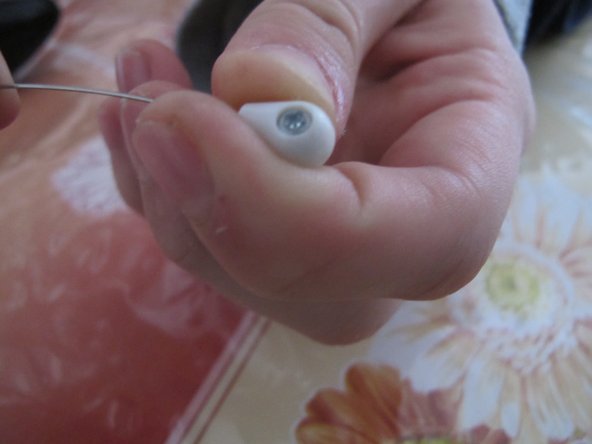
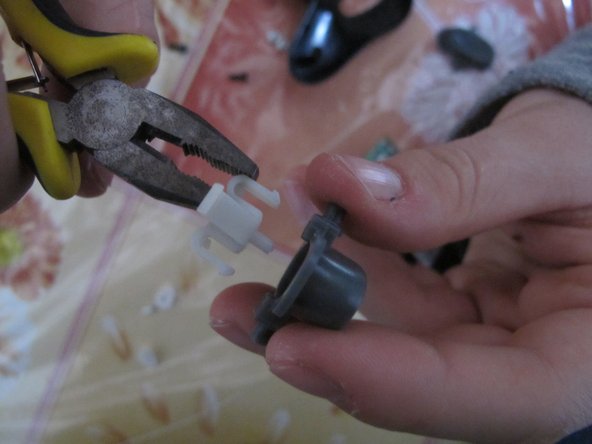
Detach the two parts of eat key.
Congratulations! You've ended the teardown!
with 3 other contributors
Member since: 06/12/11
306 Reputation
2 Guides authored
Badges: 8
+5 more badges
Choose a size and copy the code below to embed this guide as a small widget on your site / forum.
Past 24 Hours: 1
Past 7 Days: 2
Past 30 Days: 5
All Time: 1,793