Introduction
The Motorola Xoom is the first android tablet powered by Google's newest OS, Android 3.0 "Honeycomb." Follow along as we peek inside this scrumptious (see what we did there...) device and devour all the delicious bits of information we can gather.
Follow us on Twitter to get all the latest updates.
What you need
-
-
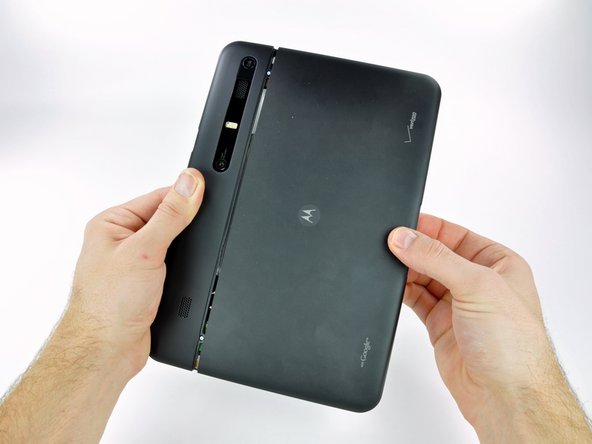
*Fanfare* Ladies and gentlemen, we present the Motorola Xoom tablet with Android 3.0 "Honeycomb."
-
Geared as the first true rival to Apple's iPad, the Motorola Xoom runs on Verizon's 3G (soon to be 4G LTE) network and is offered in a WWAN/Wi-Fi combo only.
-
Tech Specs:
-
1 GHz Cortex-A9 Dual-Core Processor
-
5.0 MP rear-facing camera with HD video recording and a 2.0 MP front-facing web cam
-
Up to 32 GB of on-board storage.
-
10.1", WXGA 720p (1280 x 800) display.
-
3G connectivity, with optional upgrade to 4G LTE
-
-
-
Moving right along, lets get this thing open!
-
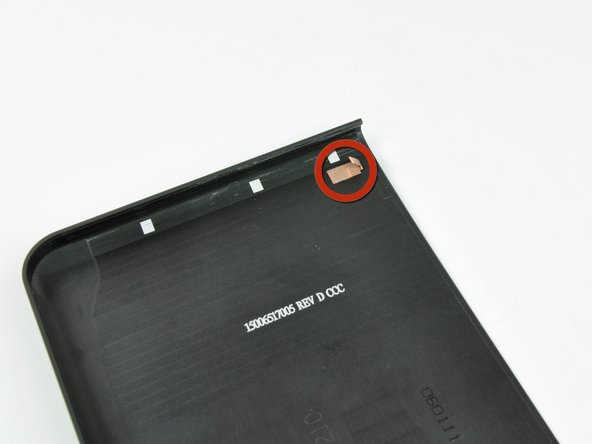
Two T5 Torx screws located near the Micro USB and Micro-HDMI ports secure the rear case to the Xoom.
-
Like a sliding glass door, the rear case slides off part way, and we get our first peek at what makes this tablet tick.
-
Major props to Motorola here. For the first time we didn't need any prying tools to get into a tablet.
-
-
-
A trusty spudger helped us release the clips securing the rear panel, and we continued tearing this device apart.
-
Unfortunately, what at first seemed like user-friendliness appeared to merely be foresight on the part of Xoom developers to make the device easy for Motorola techs to upgrade.
-
-
-
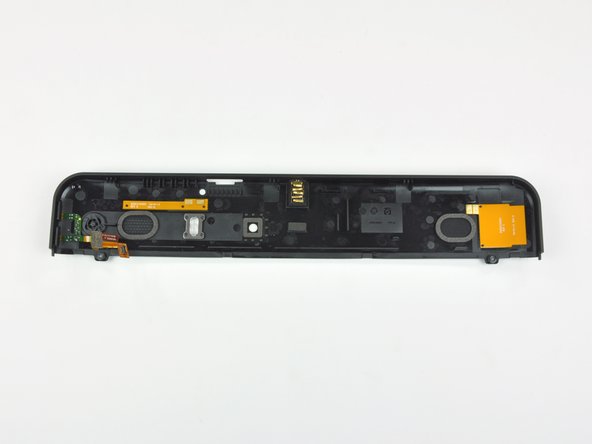
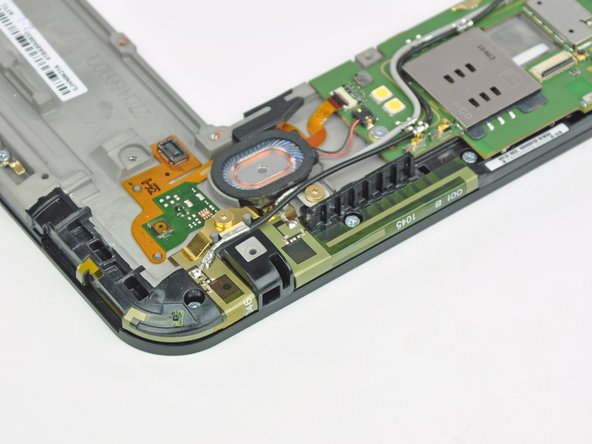
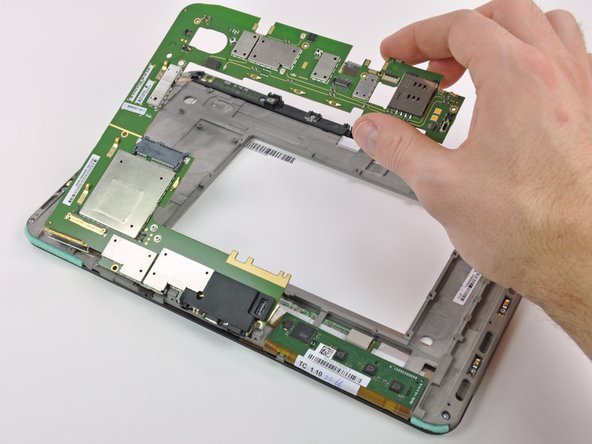
After disconnecting the volume button ribbon cable and removing two screws, the top portion of the upper case lifts off.
-
This case component houses the power button, LED diffuser, camera port, and speaker grills.
-
The two-piece rear case design is a unique choice by Motorola, and makes accessibility and replacement of the inner components much more feasible.
-
While the larger lower portion is made of aluminum, the upper part is made of plastic.
-
-
-
-
The battery is held in by ten T6 Torx screws, with yet another two T5 Torx screws just to hold down the unique battery connector. This, of course, poses no problem to our 54-piece bit driver kit.
-
The 3250 mAh, 24.1 watt-hour lithium ion polymer battery boasts a healthy 10 hours of Wi-Fi browsing and video playback, and a massive 3.3 days of MP3 playback.
-
-
-
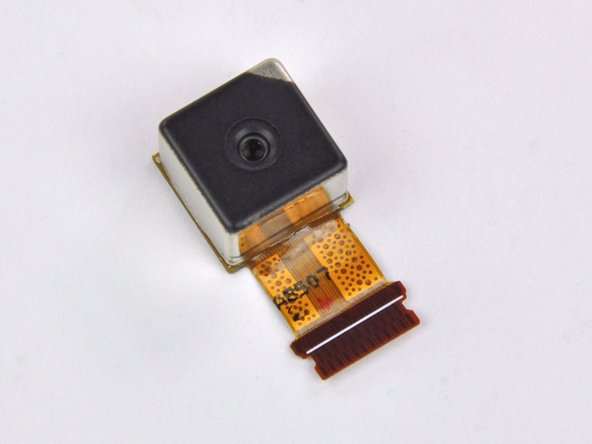
The 5MP rear-facing camera doesn't appear to be anything special, but certainly nice enough to record some HD videos.
-
With the 2MP front-facing camera, you can chat over Google Talk with Video Chat to anyone with a Gmail account.
-
Unlike Motorola's other recent device, the Atrix, both cameras are connected to the motherboard by separate cables. You won't have to replace a ton of other stuff should just your camera fail.
-
-
-
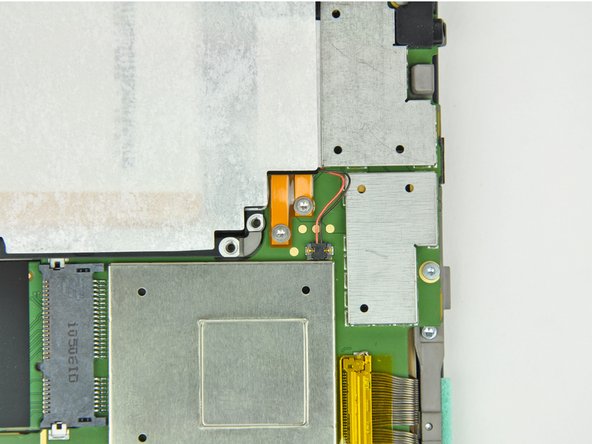
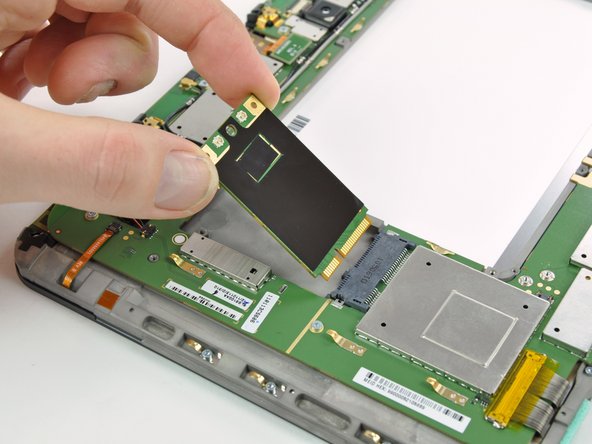
Front side of the motherboard (here's the gigantic version):
-
Broadcom BCM4329 802.11n Wi-Fi, Bluetooth 2.1, and FM Tuner. There's also a Broadcom BCM4750 Single-Chip AGPS (located nearest the top right corner).
-
Hynix H8BCSOQG0MMR 2-chip memory MCP
-
AKM 8975 Electronic Compass
-
Qualcomm MDM6600 supporting HSPA+ speeds of up to 14.4 Mbps
-
Nvidia Tegra T2 dual-core ARM Cortex-A9 CPU and ultra-low power GeForce GPU.
-
Texas Instruments 54331 Step Down SWIFT DC/DC Converter with Eco-Mode
-
Samsung K4P4G154EC DRAM
-
-
-
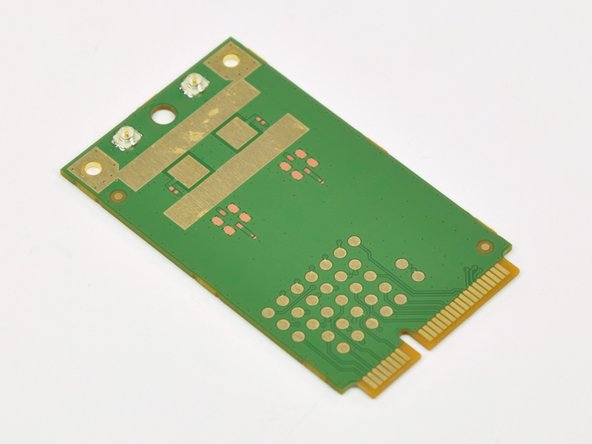
Major players on the back side of the motherboard (gigantic version):
-
Qualcomm PM8028 RF Power Management IC
-
Atmel TINY45 8-bit RISC-based Microcontroller with 4KB in-system programmable flash
-
Toshiba THGBM2G8D8FBAIB 32GB eMMC NAND Flash
-
Kionix KXTF9 MEMS Motion Sensing Accelerometer
-
ST Ericsson CPCAP 2.2TC22 DC Power Management
-
Check out the die photo of the CPCAP 2.2TC22, courtesy of Chipworks.
-
-
-
There are 17 [!] screws holding the front panel to the magnesium framework.
-
We didn't explicitly test the metallurgical nature of the framework, but we are pretty sure it's magnesium.
-
After a little bit of prying, the front panel separates from the rest of the display assembly -- a refreshing change from some other popular devices. Although to be completely fair, Apple's iPad also doesn't have an LCD fused to the front glass.
-
-
-
The touchscreen controller is an Atmel mXT1386, a 4-chip controller designed for touchscreens up to 15.6". It supports as many as 15 distinct inputs.
-
This is a large application version of the mXT224 touchscreen controller used in the Motorola Atrix.
-
The mXT1386 is Atmel's largest application touchscreen controller. The next smallest handles screen sizes up to 10.1", suggesting that this one was designed specifically for devices like the Xoom.
-
-
-
Motorola Xoom tablet Repairability Score: 8 out of 10 (10 is easiest to repair)
-
There's no proprietary screws or fasteners in the machine -- everything comes out with a spudger and a couple of Torx screwdrivers.
-
LCD and front panel glass are not fused together. That's great news for folks unfortunate enough to drop their Xooms and crack their glass.
-
Individual components (like the cameras) are separately attached to the motherboard, allowing each component to be replaced on an individual basis.
-
By our count, there are 57 screws in the Xoom, of either the T5 or T6 Torx variety.
-
Everything is accessible but somewhat inconvenient to repair -- there's just a lot of labor involved with removing that many screws.
-


13 Comments
Those circuit boards look like Flyover, Nevada. Any thoughts why Moto designs its internals the opposite of Apple's every-square (and cubic)-millimeter matters approach?
Two T5 Torx screws located near the Micro USB and Micro-HDMI ports secure the rear case to the Xoom
I messed up by attempting to place the sd card in not realizing that there was a dummy. The SD card fell somewhere inside. I attempted to remove the case using the T5 screwdriver but the the screws don't turn. Have you encountered that problem? Must I use more pressure? nabarnes@aol.com. Thanks
After I replaced digitizer, the Xoom will only turn on and function when plugged in. When charger is removed it immediately turns off. Why is this happening??? Battery?
I'd be very curious to see how much the weight of the Xoom could be reduced by carefully reviewing the mounting points pictured and then drilling a lot of holes in it metal. Probably safe the assume the majority of the weight is battery and metal housing.
Now, is there any way we can switch out the non-standard power plug with the industry standard 3.3 mm coax plug? EIAJ-4 (D)