Introduction
We got our hands on Microsoft's new Surface, and to its credit, it lasted a good twenty minutes before we decided to tear it open.
Ready for more than just a surface-level relationship? Follow us on Twitter or like us on Friendster 3.0.
What you need
-
-
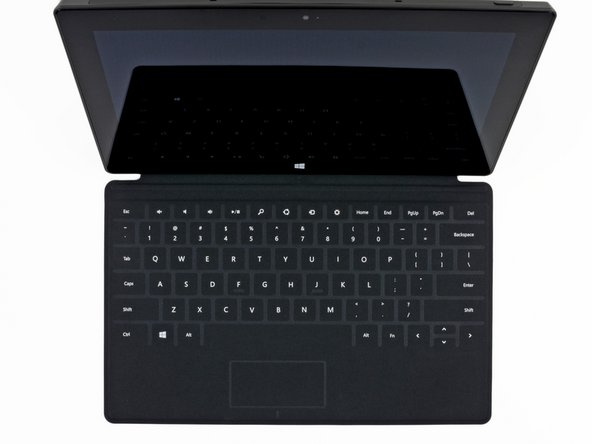
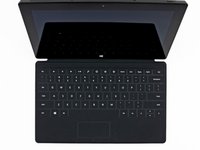
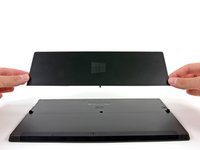
Is that the display assembly from a PC laptop? Nope, it's the new Microsoft Surface with Windows RT.
-
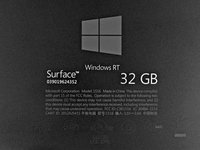
Notable tech specs:
-
10.6" ClearType HD Display (resolution of 1366x768 pixels)
-
Quad-core NVIDIA Tegra 3 processor
-
2 GB RAM
-
32 or 64 GB flash storage
-
Wi-Fi (802.11a/b/g/n) + Bluetooth 4.0
-
720p HD Front and Rear facing LifeCams
-
-
-
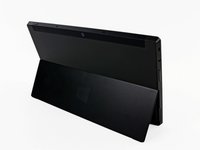
To give the Surface laptop-like connectivity, nearly every edge includes ports and buttons. They are (from left to right):
-
Magnetic charging, USB 2.0, and Micro-HDMI out on the right side
-
Magnetic connection for the Touch Cover or Type Cover on the bottom
-
Headphone jack and volume rocker on the left side
-
-
-
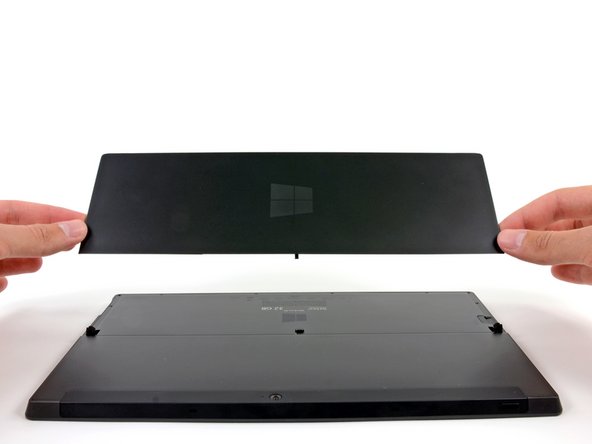
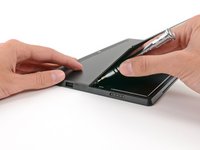
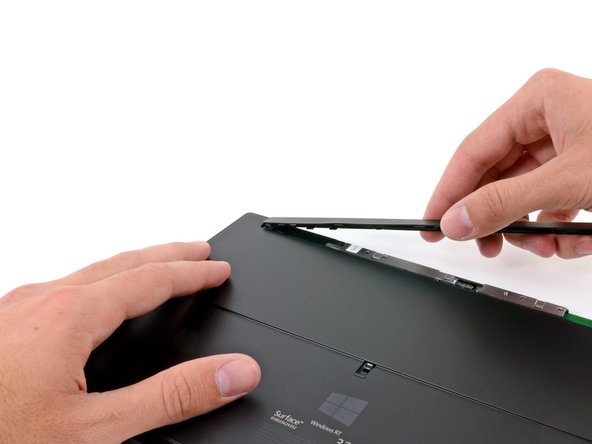
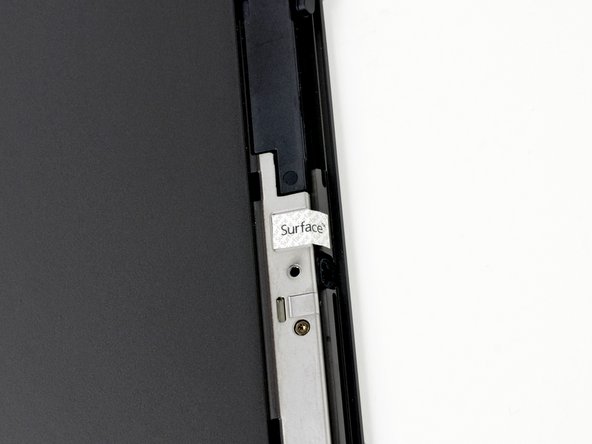
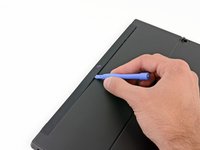
Small bezels tend to hide screws, so the first place we look to open the Surface is its long plastic camera cover.
-
Chalk it up to inexperience. This step should take less than ten minutes once we create guides for it.
-
Not only did we find the screws we were searching for, but there is also what appears to be a tamper-evident seal that simply reads "Surface."
-
-
-
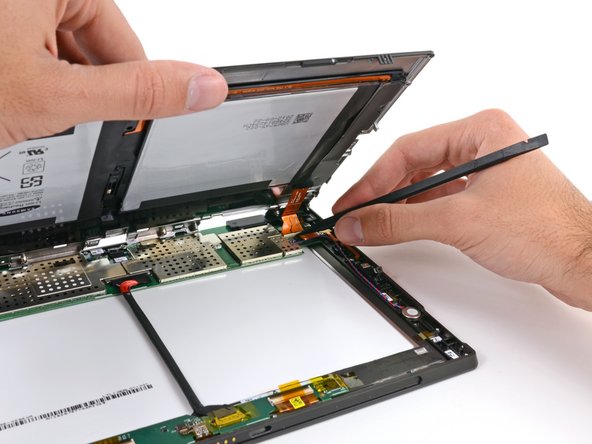
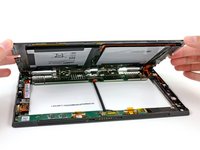
After removing a total of 17 T5 Torx screws, (10 under the kickstand and 7 under the camera cover), the rear case comes right off—almost.
-
A lone ribbon cable still tethers the battery to a ZIF connector on the Surface's motherboard, which we make quick work of with the ever-trusty spudger.
-
-
-
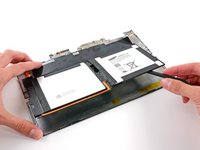
The big question of the day: is the battery easily removed?
-
Answer: Yes. It's glued in, but it's way easier to remove than on the iPad. A couple of minutes of spudging around, and it's out.
-
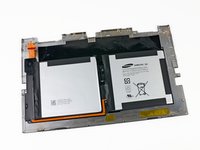
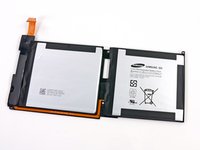
We get our first look at the battery. As is the norm, the dual battery cell is adhered to the VaporMg rear case.
-
The 7.4 V, 31.5 Wh battery is manufactured by Samsung. It fits right in between the iPad 2's 25 Wh battery, and the iPad 3's 42.5 Wh unit.
-
-
-
-
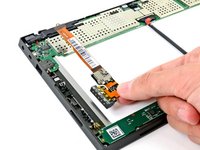
Next we find a large orange ribbon cable leading to the "Apple-esque" magnetic charging port. The microSDXC card slot that hides underneath the kickstand is also attached to this ribbon cable. And not a single bother was given that day, so we proceeded to dismantle the speakers.
-
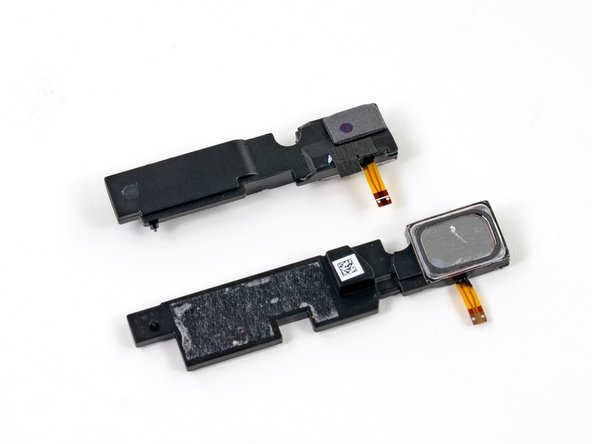
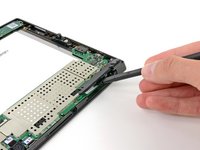
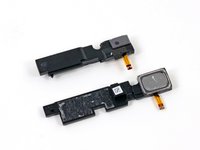
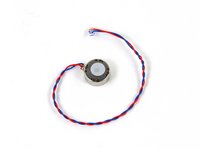
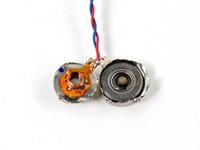
We love modular components inside tablets and smartphones, and these speakers fit that bill. A little bit of spudgering, and our Surface has gone silent.
-
-
-
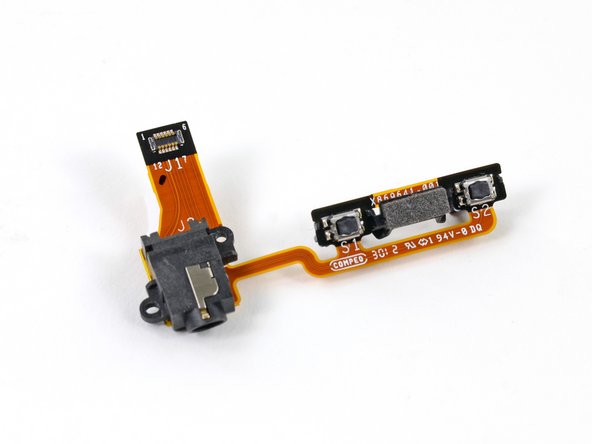
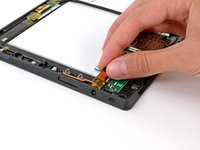
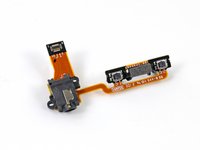
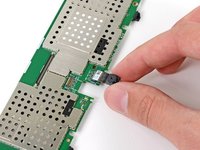
The headphone jack and volume buttons aren't holding on to their real estate too tightly, and they easily come out next.
-
We still count this as a modular component, even though it's two things on the same ribbon cable. We have certainly seen worse lately as far as modularity goes.
-
-
-
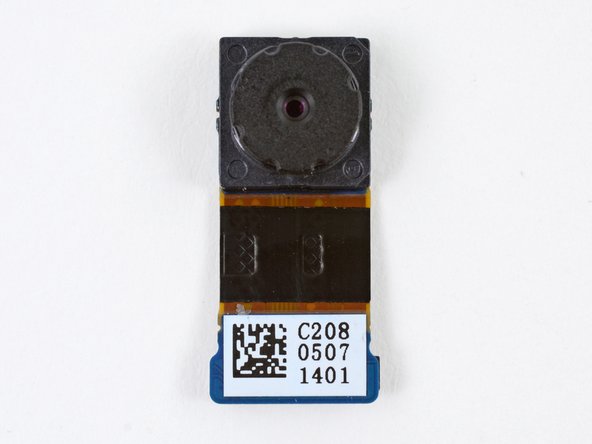
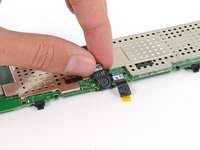
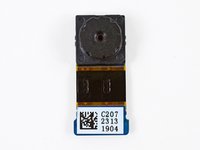
Off comes another 720p camera from the motherboard. It feels like we've done this before…
-
The exclusion of a 1080p rear-facing camera either means cost was a big concern, or that Microsoft's designers don't expect you to use the Surface as your main camera.
-
Perhaps they too realized how goofy you might look when taking pictures with a tablet.
-
-
-
Prominent ICs on the bottom of the motherboard:
-
NVIDIA 1.4 GHz Tegra 3 Processor
-
Samsung KLMBG4GE4A 32 GB NAND Flash (left) and Atmel UC3L microprocessor (top right).
-
Micron 2RE22 D9QBJ 2 GB DDR3 SDRAM
-
Texas Instruments TPS659110 power management IC
-
Marvell 88W8797-BMP2 wireless MIMO SoC
-
Wolfson 8962E low power audio codec
-
Cypress Semiconductor CY8C20466A CapSense® Controller with SmartSenseTM Auto-tuning
-
-
-
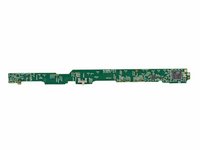
The backside of the motherboard doesn't have any chips, but it does have two Wi-Fi antennas, the ambient light sensor, a couple microphones, and a precarious wire running most of its length.
-
Ambient light sensor
-
Wolfson WM7220 Microphones
-
Precarious wire
-
The Wi-Fi antennas are labeled:
-
Antenova A10416-WIFI-A2
-
Antenova A10416-WIFI-A1
-
-
-
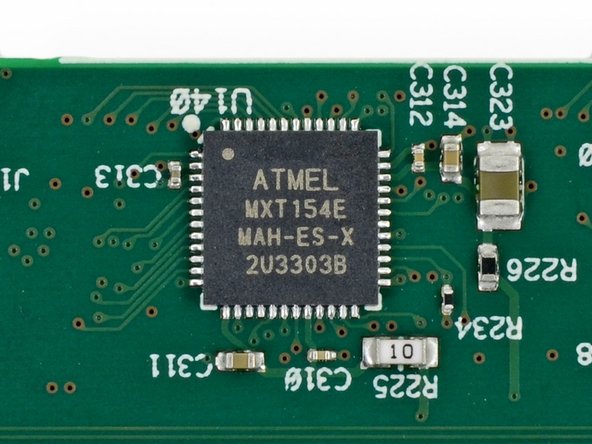
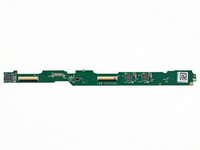
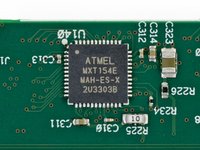
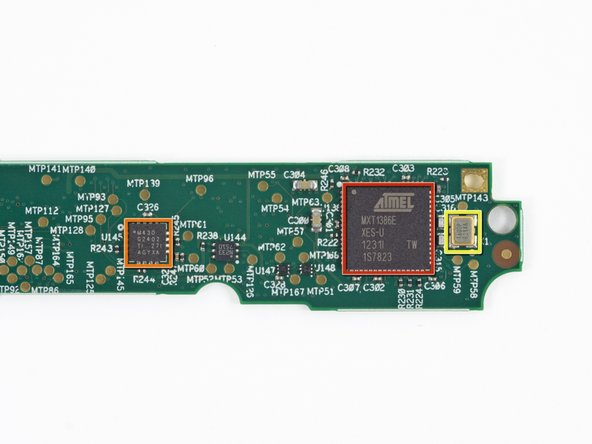
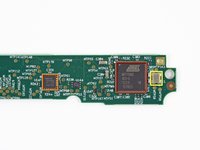
The back side of the daughterboard contains only a few prominent ICs:
-
Atmel MXT1386 touchscreen controller
-
TI MSP430G2402 Microcontroller
-
1600P E284A Crystal Oscillator
-
-
-
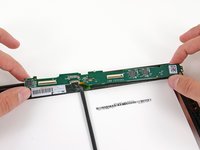
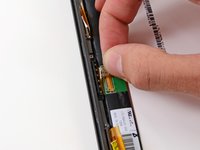
We tried to remove the keyboard connector, but were disappointed to find it's wedged firmly under the LCD. Replacing the connector will require either bending the magnesium frame or separating the display.
-
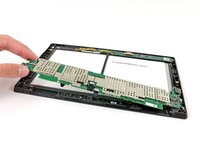
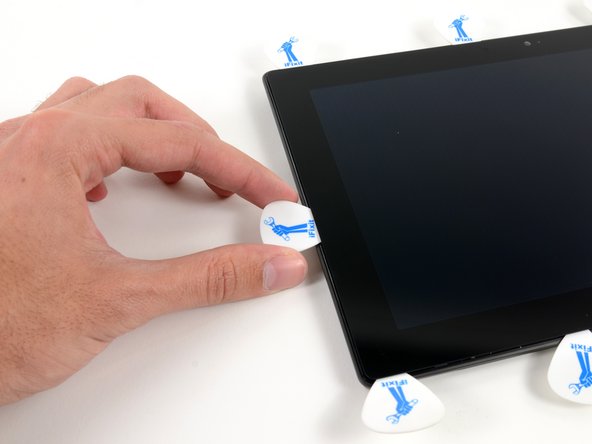
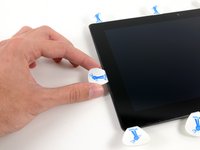
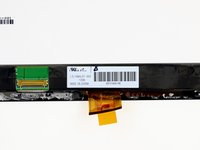
We were on a teardown roll, so we pressed on and pulled the display from the VaporMG frame, which required a heat gun, some guitar picks, and plenty of patience.
-
The display's LTL106AL01-002 label indicates Samsung as the manufacturer. Its sister panel, the LTL106AL01-001, appears to be 1280 x 800 resolution. We didn't test the Surface's display before taking it apart, and we trust Microsoft not to lie…
-
But maybe someone can do a quicky double-check on the display resolution, just for giggles?
-
-
-
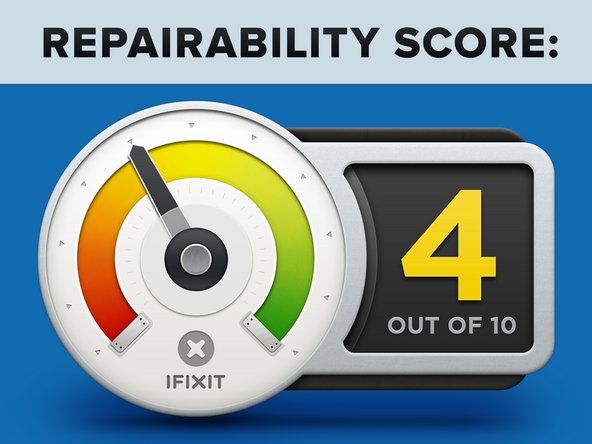
Microsoft Surface Repairability: 4 out of 10 (10 is easiest to repair).
-
Several components are modular and replaceable without requiring desoldering.
-
You can remove the battery pretty easily—once you've suffered through the opening procedure.
-
It's pretty difficult to remove the rear panel and gain access to the device.
-
It is impossible to remove the keyboard connector without first removing the display from the frame.
-
LCD and glass are fused together and strongly adhered to the case, increasing cost of replacement.
-
You'll have to use a heat gun and lots of patience to gain access to the glass and LCD.
-


28 Guide Comments
This site says the display LTL106AL01-002 has the 1280 x 800 resolution also...
This site states the proper resolution: http://xingkong.en.alibaba.com/product/6...
Life's the same, except for the shoes...
What's the keyboard connector pinout?
This is cool. Eagerly waiting for a teardown of the touch and type covers as well...