Introduction
Our MacBook Pro 17" Unibody arrived on February 17. We immediately got to work disassembling it and posting teardown photos here. We comment on interesting changes and show some comparisons with other MacBook parts.
What you need
-
-
We have it! Our patience has been severely tested by the month-long wait for this MacBook Pro 17".
-
We'll post updates on twitter about interesting things that we discover as we go. We'll also post interesting notes in our blog over the next few days.
-
Feel free to comment on specific steps as we go. If you have requests to see specific parts, we'll do our best to accommodate.
-
-
-
Look at all the accessories you get for $2799!
-
An 85-watt power adapter
-
An 87 page user's manual
-
Two software restore DVDs
-
One small black cleaning cloth
-
We were half-expecting Tim Cook to jump out of the box. Didn't happen.
-
There is NO Mini DisplayPort adapter included. That'll be $29, please.
-
-
-
Physical dimensions: 0.98 x 15.47 x 10.51 inches and 6.6 pounds.
-
For comparison, the 15" model measures 0.95 x 14.35 x 9.82 inches and 5.5 pounds.
-
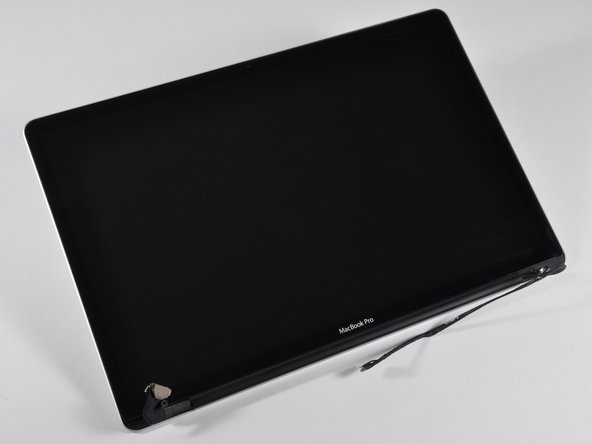
There's something almost spiritual about the blackness of that screen. Much to our dismay, it is not full of stars and David Bowman is nowhere to be found.
-
-
-
Tidbits from Apple System profiler:
-
12,820 mAh capacity. Yes, that's 12.8 AMP HOURS. Let's hope it actually lasts the 1,000 discharge cycles that Apple claims.
-
Our battery already had 3 cycles on it! I wonder if the famous factory girl tested ours.
-
A 2 GB DDR3 1067 MHz RAM chip is installed in each slot, as expected.
-
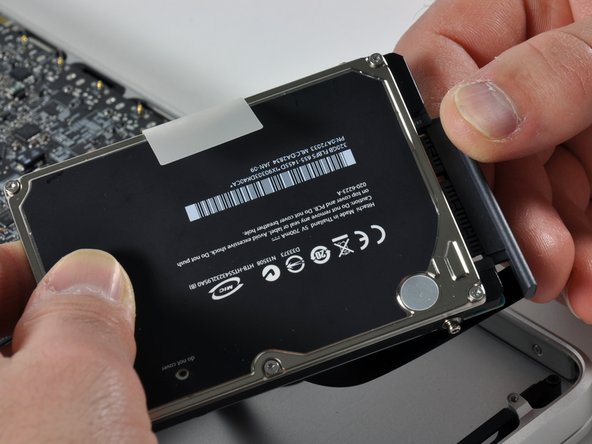
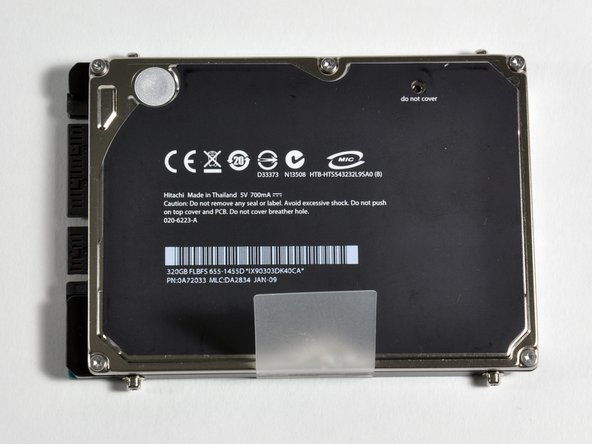
The hard drive is a 320 GB Hitachi HTS543232L95A02 SATA drive using the NVIDIA MCP79 AHCI controller.
-
The model that we bought has the 'low-end', 2.66GHz Intel Core 2 Duo processor with 6MB on-chip shared L2 cache.
-
-
-
The lower case. Apple's using wide, thin black rubber feet on the Unibody Pros, a departure from the small stubby bumpers on the Aluminum revisions.
-
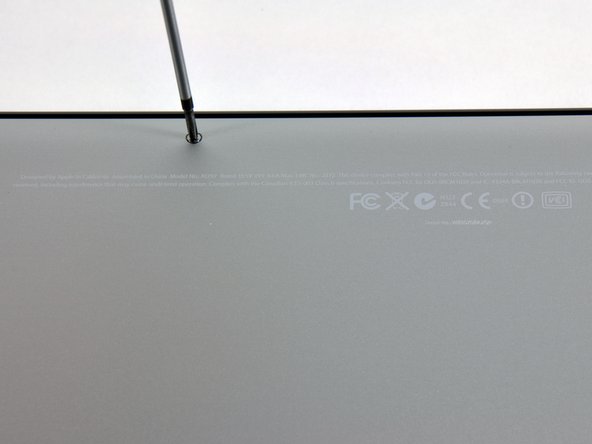
There are ten Phillips screws around the perimeter of the lower case to remove:
-
Seven 3 mm screws
-
Three 14 mm screws
-
The computer's serial number is engraved in the aluminum lower case, not the upper case like the other Unibody machines.
-
-
-
-
Removed the battery! That was pretty easy.
-
It's only a matter of time until you'll be able to buy this battery online from companies like us.
-
Removing the battery in the 17" is reminiscent of the MacBook Air-- several screws to remove the lower case, a few screws on the battery, and it's free.
-
The battery is Apple model #A1309, 7.3V 95Wh (12820 mAh).
-
Tree huggers everywhere will be relieved to know that it "contains no Mercury (Hg)."
-
The battery weighs 20.1 ounces (1.25 pounds or 570 grams). That's 20% of the computer's weight!
-
-
-
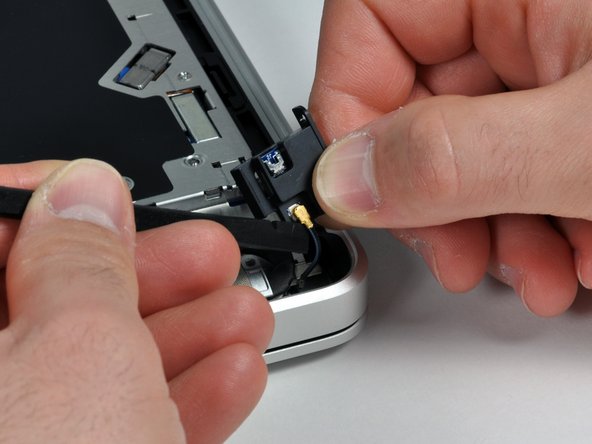
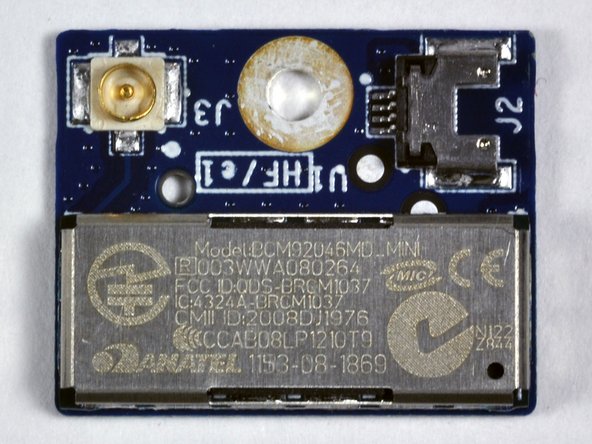
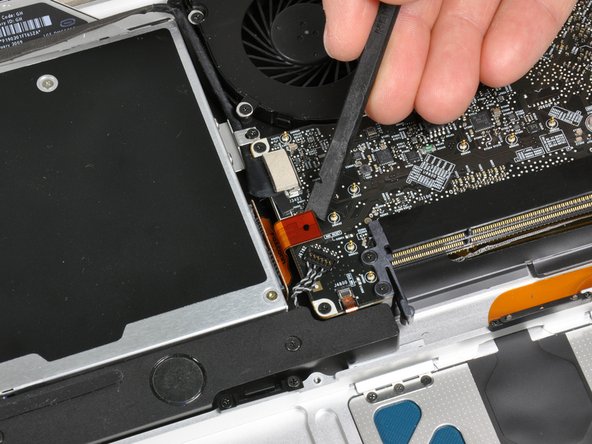
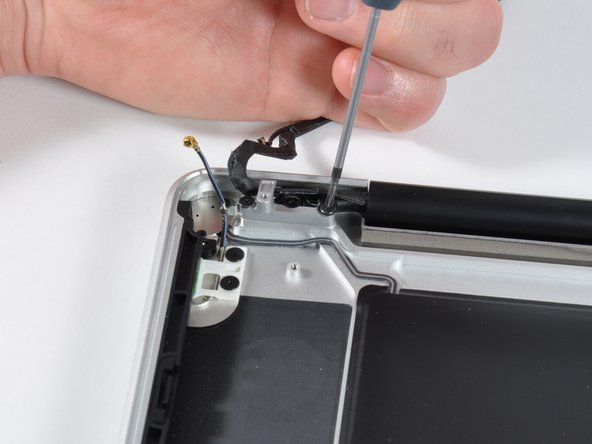
The Bluetooth board is right behind the optical drive, next to the hinge.
-
It's very nice that Apple moved this out of the display assembly (where it is located in the MacBook Unibody and 15" MacBook Pro Unibody). No longer does a Unibody owner need to replace their entire display assembly ($$$) when their Bluetooth goes out.
-
It has an Anatel logo on it: BCM93046MD MINI 003WWA080264 FCC iD:QDS-BRCM1037.
-
Like the other Unibody machines, the Airport card is in the display assembly clutch cover.
-
-
-
On left: 15" Unibody fan. On right: 17" Unibody fan. Below: A North Carolina 'first-flight' quarter.
-
The Sunon manufactured fan says 'MagLev' on it. That's interesting! Part #: MG45070V1
-
Sunon's site says, "By using magnetic levitation force (MagLev), these fans feature zero friction with no contact between shaft and bearing. With excellent rotational stability, the MagLev fan eliminates vibration and typical wobble and shaking typically experienced in fan motors."
-
"MagLev also provides excellent high temperature endurance that results in long life."
-
Apple's used similar fans in MacBooks in the past.
-
-
-
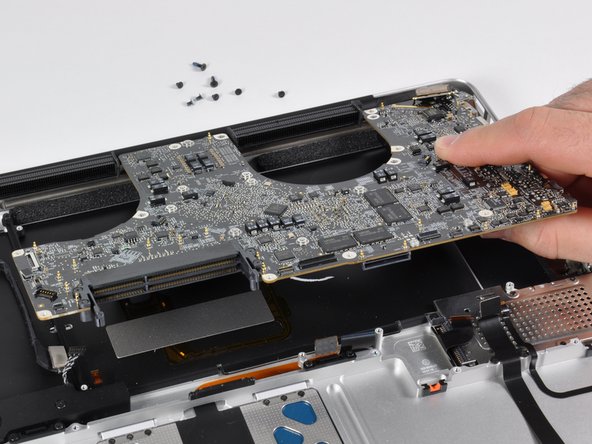
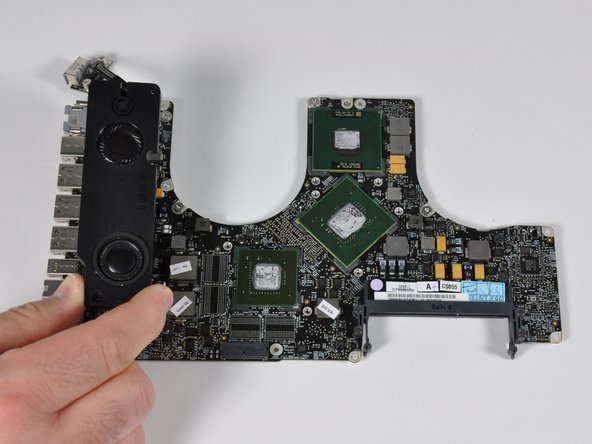
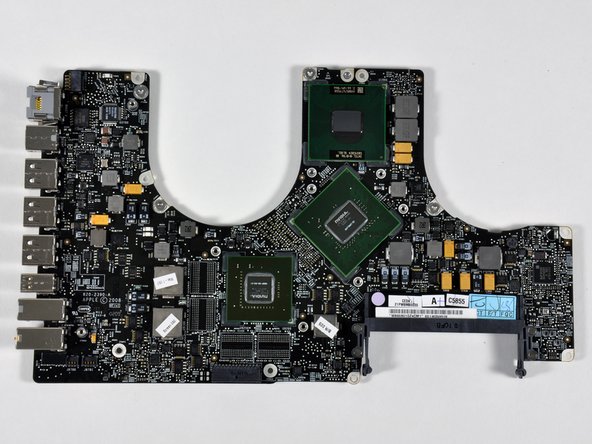
Top of logic board.
-
The speakers are mounted on the left next to the ports.
-
The heat sink covers the two NVidia chipsets and the processor.
-
This machine has 512 MB video memory for the NVidia 9600M. The 9400M chipset shares 256 MB of system memory. You have to log out to switch between graphics chipsets.
-
-
-
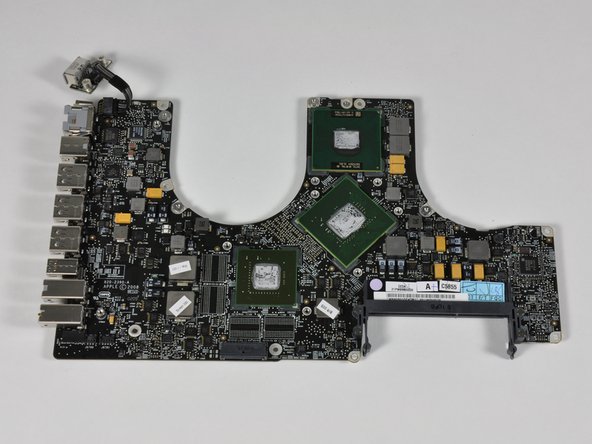
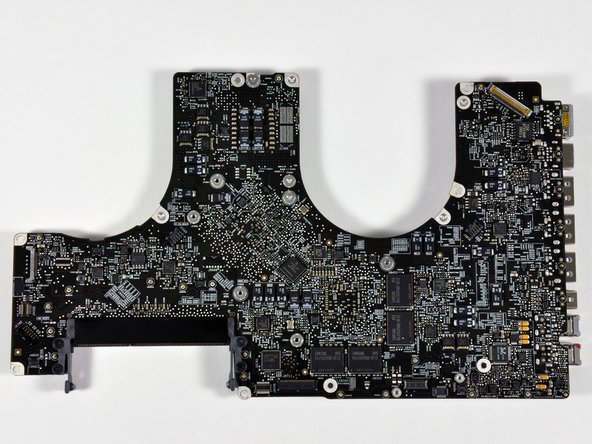
Left: 15" Unibody logic board
-
Right: 17" Unibody logic board
-
What's different? The biggest difference to you is the additional USB port. Oh, and $800.
-
The low-end 15" board that we took apart in October only has 256 MB video memory (Samsung RAM soldered onto the board). The high-end 15" and this 17" have 512 MB video RAM.
-


8 Comments
I wonder if the battery can be fitted to the 15" by moving the harddrive to where the superdrive is located and completely removing the superdrive. I would rather have more battery life than the superdrive. Anyone up for the challenge? Can someone please measure the dimensions of the battery?
Where are the accelerometers located?
Quote from ccfman2004:
Where are the accelerometers located?
There are none! the only ones are the hard drive sensor which park it for impact but people also use it as accelometers!
Quote from apple4life:
There are none! the only ones are the hard drive sensor which park it for impact but people also use it as accelometers!
not true, idk where it is, but i removed my HDD, and booted from usb SSD( which stays stationary) and the accelerometer still works
I am trying to replace the memory on a new (2010) MacBook Pro 17". After removing all the screws on the bottom, the bottom still does not want to come off. It feels like something is holding it on underneath the touch pad. Any hints on how to get the bottom off of it? Thanks.