Introduction
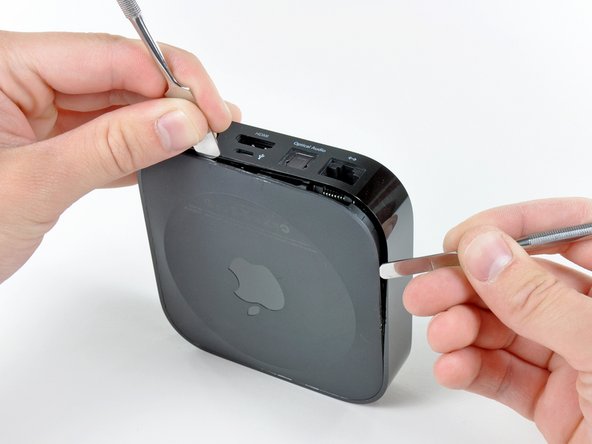
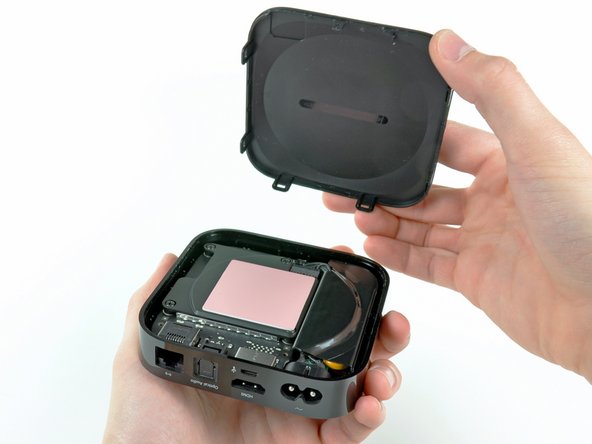
The Logitech Revue is the first set-top box device on the market with Google TV. We took a gander inside this little box to see how it stacks up with its recently-exposed rival, the Apple TV.
Want to stay up-to-date with the hardware world? Follow @ifixit!
What you need
-
-
The Logitech Revue with Google TV finally makes its way into the hands of iFixit.
-
Although other options exist, the Revue ships with a custom keyboard controller, with built-in multi touch trackpad.
-
Things you can do with the Logitech Revue and Google TV:
-
Watch Television
-
Watch Movies
-
Browse the Internet
-
Use Apps
-
Combine any of the above options any way you like.
-
-
-
Some of the ports found on the Revue:
-
HDMI In / HDMI Out
-
2x IR Blasters
-
2x USB
-
Ethernet
-
SPDIF
-
Vents on the sides of the Revue help keep the motherboard nice and cool.
-
Up and Atom! Looks like today's teardown will feature an Intel chip.
-
-
-
The cover comes off just like that, revealing a beautiful blue motherboard within.
-
There's a fan approximately twice the size of the new MacBook Air's fan on the top cover of the
Google TVLogitech Revue. -
The internal fan is attached to a nifty duct that directs the air flow across the CPU heat sink (located in the area shaded in red when the device is assembled) toward the vents on the side of the top cover.
-
Compare this to the fanless Apple TV that relies on conduction and natural convection to dissipate its internally generated heat.
-
-
-
-
It's a very simple layout inside -- just one large motherboard, brought to you by Gigabyte.
-
There's tons of unused space inside. The extra room should keep the Revue pretty cool and prevent any serious overheating from taking place.
-
Still, it is quite the departure from the "as small as possible" route Apple has chosen to take with the Apple TV.
-
-
-
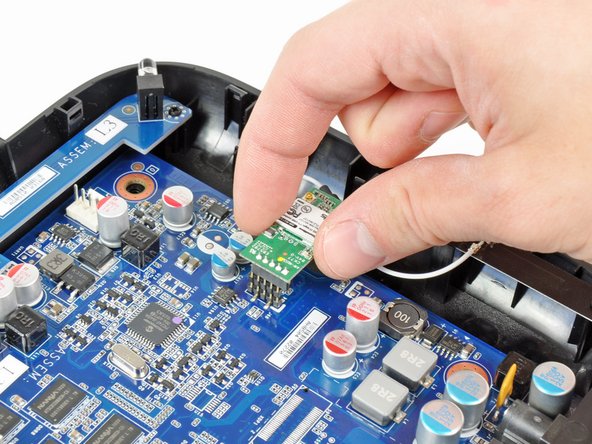
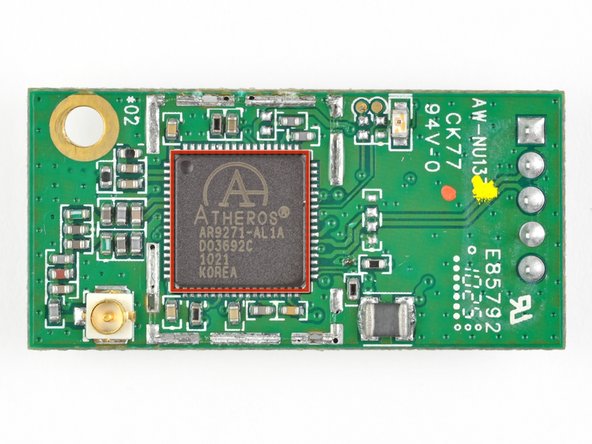
The 802.11 b/g/n Wi-Fi board is manufactured by AzureWave.
-
De-soldering the protective cap reveals an Atheros AR9271 featuring an on-board CPU and RAM to run WLAN functions on the chip itself, taking load off other components on the main board.
-
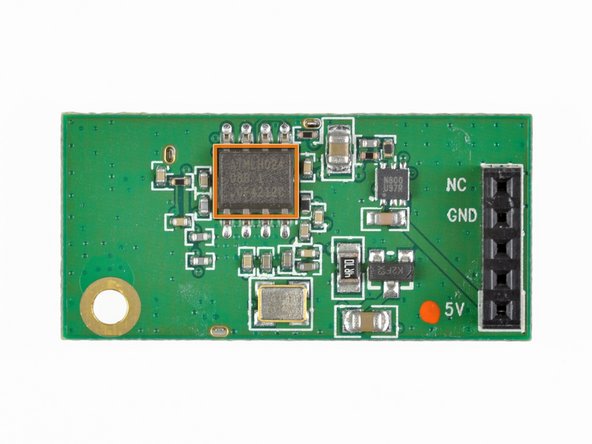
On the back of the Wi-Fi board lies an Atmel H024 IC.
-
-
-
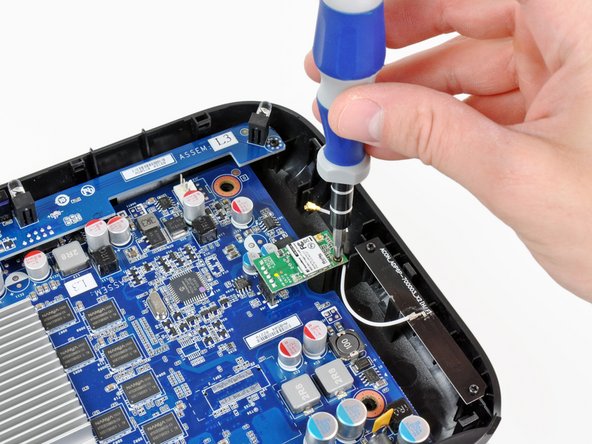
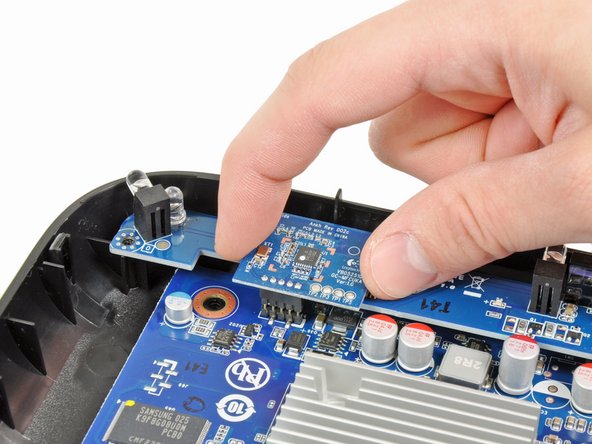
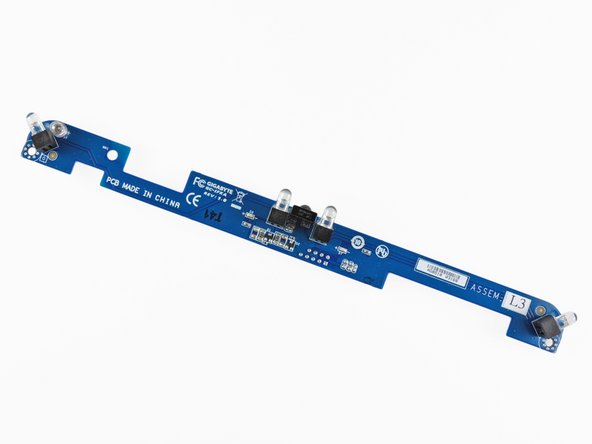
A couple Phillips screws secure the IR sensor and RF transceiver boards to the lower case.
-
Before the IR sensor board can be removed, the RF transceiver board must be lifted off the pins connecting it to the main board.
-
A Nordic Semiconductor RF24LU1 transceiver is attached to the top of the board. This chip is responsible for receiving and transmitting signals with the wireless keyboard.
-
-
-
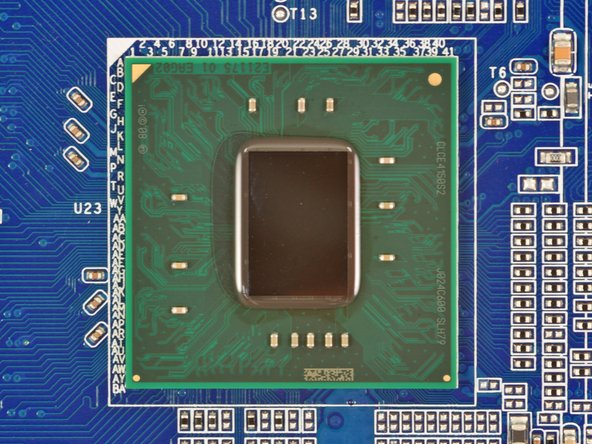
We take off the heatsink to reveal the Atom processor. The heatsink is held in place by two Phillips screws -- no need to reinvent the wheel here...
-
The Intel Atom CE4150 1.2 GHz processor.
-
So how does the Atom CE4150 stack up against the A4 processor?
-
The Intel CE4150 is clocked at 1.2 GHz, whereas the Apple A4 processor is capped at 1.0 GHz.
-
The architecture of the Apple A4 revolves around its package-on-package (PoP) design, encompassing both processor and RAM into one design. The Atom CE4150 design relies on external RAM chips.
-
-
-
Contents of the Gigabyte GA-SBKAN2:
-
Intel Atom CE4150 1.2 GHz processor, with a 400 MHz GPU
-
Samsung K9F8G08U0M 1 GB NAND Flash
-
Hynix H27UBG8T2ATR 4 GB NAND Flash
-
Silicon Image Sil9135 HDMI 1.3 Receiver
-
Nanya NT5CB128M8CN-CG 1 GB DDR3 SDRAM (1 Gb X 8)
-
Realtek Semiconductor RTL8201N 10/100M PHYceiver
-
Microchip PIC24FJ64GA004-I/PT 16-bit microcontroller
-
-
-
Being the tinkerers that we are, we had to take a look inside the keyboard.
-
On the reverse of the touch pad is a Synaptics T1021A touch controller, also found in the Microsoft Kin Two and the Sony Ericsson Xperia X10 Mini E10i.
-
A Nordic Semiconductor nRF24LE1 found near the batteries most likely provides wireless connectivity to the Revue base station.
-
-
-
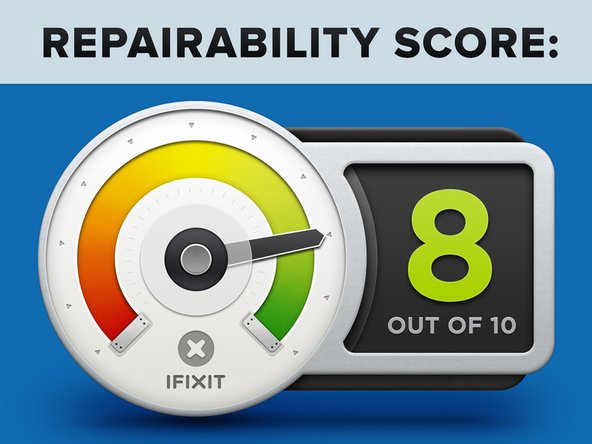
Logitech Revue Repairability: 8 out of 10 (10 is easiest to repair).
-
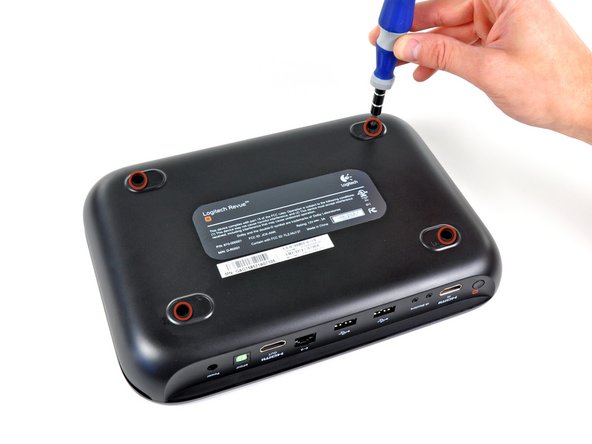
Opening the case is super-simple -- only 4 screws and a bunch of clips stand in your way.
-
Only standard Phillips screws are used.
-
Daughterboard connectors easily disconnect from the motherboard sockets.
-
The fan is very easy to replace, should it ever fail.
-
If you have to replace anything on the motherboard, you have to replace the entire board.
-


4 Comments
Do not take the keyboard apart. I did, and ruined it. Somehow the ribbon never aligned again and the keys were useless.
anyway of fixing this?
Don't know why but our Revue's fan is now constantly running as long as it's plugged in. I took it apart and blew away all the dust in it. The fan seems to turn without hitting anything, but the sound of the fan running all the time is annoying. Do you think maybe it's a firmware problem? Seems to me that it's not getting the message that the unit is cooled down enough to stop the fan and it continues to run.
se puede instalar un programa Android