HTC Evo 4G Teardown

Teardown

Teardown

Teardowns provide a look inside a device and should not be used as disassembly instructions.

We pulled a couple of strings to acquire the most desirable Android phone today, the HTC Evo 4G!

Check out Wired's video of our HTC Evo 4G disassembly!

Image #1 Image #2

Add Note Edit Step 1 — HTC Evo 4G Teardown  ¶ 

  • Today is a glorious day in the history of teardowns. We welcome the HTC Evo 4G to grandest stage of them all.

  • The Evo 4G's technical highlights include:

    • 1 GHz Qualcomm Snapdragon processor

    • 4.3 inch LCD Display

    • 512 MB RAM

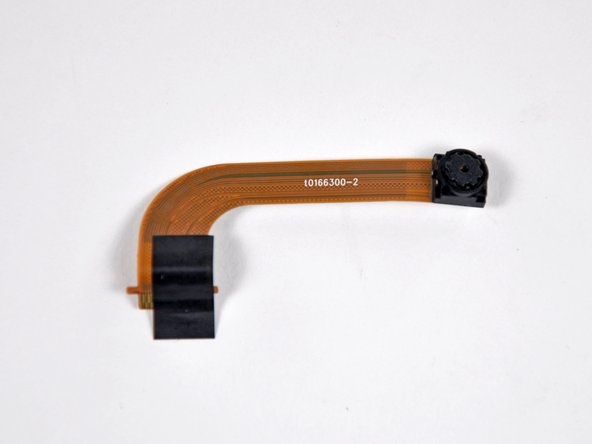
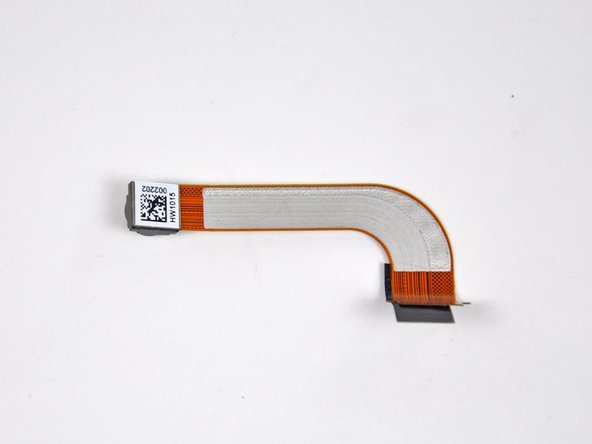
    • Dual cameras (1.3 MP front and 8MP back)

    • HDMI output (requires adapter)

    • Android 2.1

Image #1

Add Note Edit Step 2  ¶ 

  • The top of the Evo's smooth-contoured rear case is dominated by an 8 Megapixel camera and its two LED flashes.

  • A flip-out stand on its bottom edge allows the Evo to sit horizontally for watching videos on the 4.3" behemoth of a display.

Image #1

Add Note Edit Step 3  ¶ 

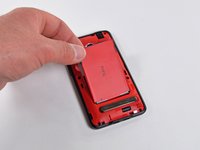
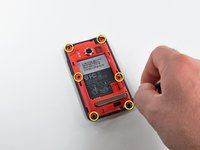
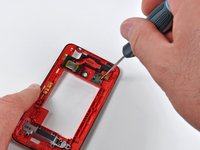
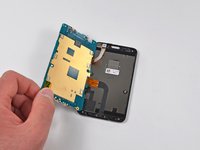
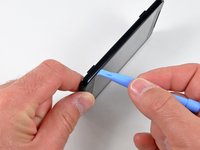
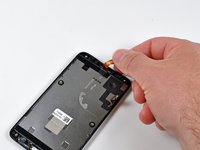
  • After a bit of careful prying, the rear case easily pops off the Evo.

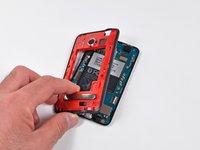
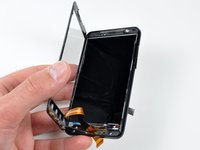
  • Holy red innards! Maybe it's because the Republic of China's flag is 3/4 red?

Image #1 Image #2 Image #3

Add Note Edit Step 4  ¶ 

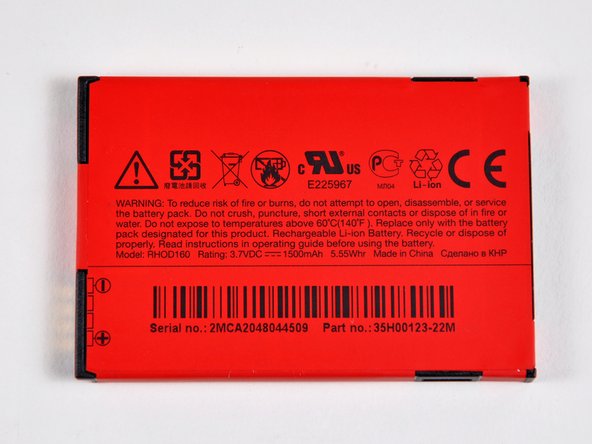
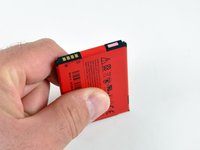
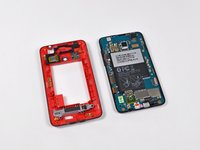
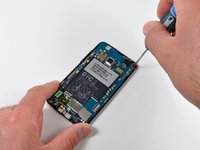
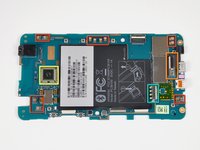
  • Like most reasonable phones, changing the Evo's battery is a snap.

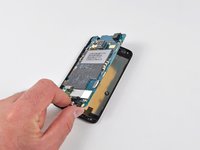
  • The 3.7 V, 1500 mAh rechargeable Li-ion battery weighs in at 31 grams.

    • That's 23% more capacity than an iPhone 3GS, 15% more than a Droid Incredible, and 7% more than a Nexus One.

  • Look out! There's a liquid damage indicator on the battery's top edge.
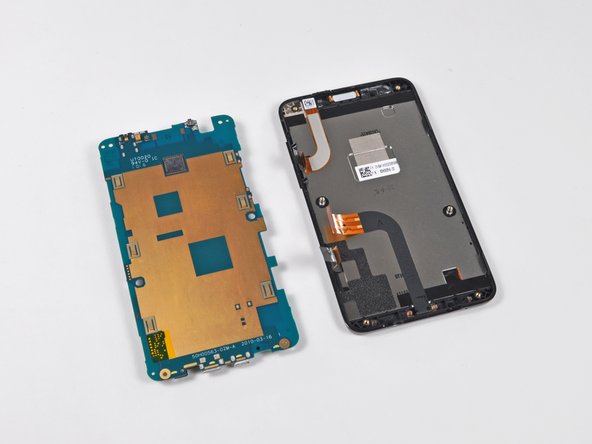
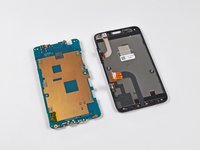
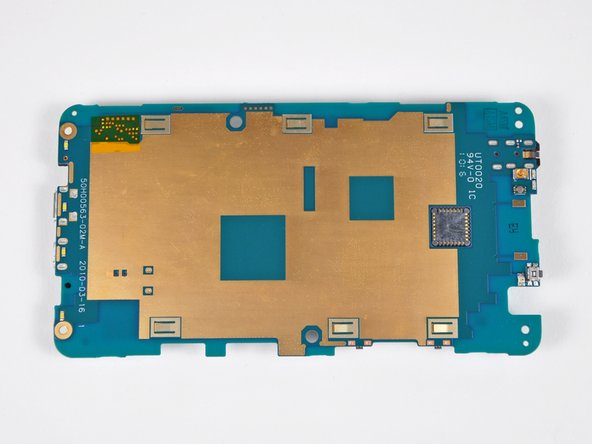
Image #1 Image #2

Add Note Edit Step 5  ¶ 

  • We delve deeper into the Evo 4G by removing six T5 Torx screws and carefully prying off the internal frame with an iPod opening tool.

Image #1 Image #2

Add Note Edit Step 6  ¶ 

  • The internal frame is easily removed from the rest of the Evo.

  • It houses the stand, antennas, LED flashes, and speaker.

Image #1 Image #2

Add Note Edit Step 7  ¶ 

  • Two small Phillips screws secure the LED flash to the internal frame.

  • The dual LED flash assembly consists of no more than two LEDs soldered to a small interconnect board.

Image #1 Image #2 Image #3

Add Note Edit Step 8  ¶ 

  • A small Phillips screw near the top left corner of the Evo is all that keeps the left side of the logic board snug in its cradle.

Next » « Previous

Required Tools

Phillips #00 Screwdriver

$4.95 · 50+ In stock

T5 Torx Screwdriver

$6.95 · 50+ In stock

Plastic Opening Tools

$2.95 · 50+ In stock

Recommended Tools

Universal Drive Adaptor

$29.95 · 50+ In stock

iFixit Lock Pick Set

$29.95 · 27 In stock

Inspection Scope

$39.95 · 40 In stock

Frictionless Ratchet

$24.95 · 49 In stock

Portable Anti-Static Mat

$24.95 · 19 In stock

Popular Products

1 TB SATA Desktop Hard Drive

$129.95 · 16 In stock

iPhone 4S Rear Glass Panel

$44.95 · 50+ In stock

iPhone 3G Replacement Battery

$14.95 · 50+ In stock

Detailing Brush

$2.95 · 23 In stock

Dust Blower

$7.95 · 28 In stock

Comments Add Note Comments are offturn on