Hero Status Again — By Resurrecting My Daughter's iPhone 5
gstanton -


My Problem
My daughter was taking a photo of her twin sister when a passerby knocked her elbow and her phone fell to the ground. It landed on the front edge and subsequently cracked it. She was very distraught and the fissures pretty severe. Having twins makes buying an new iPhone very difficult on our meager budget. I needed to save money, so I chose to ventured into the iFixit program.
My Fix
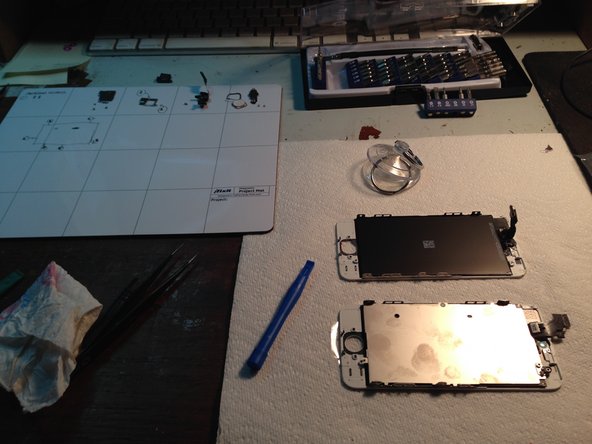
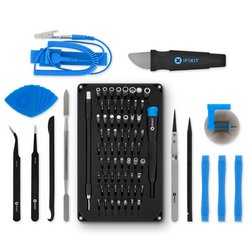
This repair job was a mind-numbing exercise on patience and dexterity. I was extremely nervous I wouldn't get though it. I just took my time and concentrated on what I was doing at each step in the procedure. I meticulously kept track of each and every piece using the magnetic project mat I purchased from iFitix. It securely held all the metal pieces in place. I was able to make notes where every part went in each step.
Do not force anything. Use a soft touch to remove and assemble screws and use the plastic tool to gently pry and push parts on and off.
Get some magnifying glasses. These pieces are tiny and make sure there is abundant lighting to see what you're doing.
Oh, don't plan on anything for a few hours.
My Advice
I found the suction cup method DID NOT WORK. If your screen is severely cracked there will be no way to get a good suction on the screen from all the various cracks to pull it apart. The air is drawn through all the fissures causing the cup to release before enough resistance can be maintained to pull the face apart.
My solution was to wedge an Ex-Acto knife between the housing and the glass to pry enough of an opening to allow the plastic tool to work. Doing this I slightly nicked the edge, but there was no alternative to get the face to open up. After reviewing some other notations to the guide, a person suggested to use clear packing tape applied to the top of the cracked screen.
When heat was needed to loosen parts around the home button I simply held the iPhone up against a lamp with a 75 watt bulb I was using for extra lighting. I was afraid to use a hair dryer with so many minuscule pieces exposed.
I wish the descriptions offered insight on other items that are important, such as the little plastic square set-screw spacer washer made to prevent the thin camera/mic shield from bending when the screw is tightened. It fell out when I remove the mic and camera and I have no idea how it went back together. I just left it out. The absence of this piece doesn't appear to have any affect on the phone's functionality.
The clear plastic camera mount was removed from the old face and place in the new — also not mentioned. This looks more like formed hot glue. I removed it and placed it on the new screen to help secure the camera.
There are no foam pieces attached on the connector ribbons of the new screen. I wish that was included in the kit. I tried to remove them, but was unsuccessful due to the thinness of the material.
Don't forget to take the red protective plastic shield off the new screen. This step wasn't very clear in the description.
Getting the ribbons in place is a very tedious procedure. Much care should be taken to secure these back into their sockets. DO NOT RUSH this process. Make sure they snap into place or you'll be opening the iPhone up again. Lining them up is difficult as your eyes strain to focus where they go. I gently pushed with my plastic tool until I felt the end pop into place. Get good lighting to illuminate this area as the multiple ribbons can cast a lot of shadow on the sockets.

0 Comments