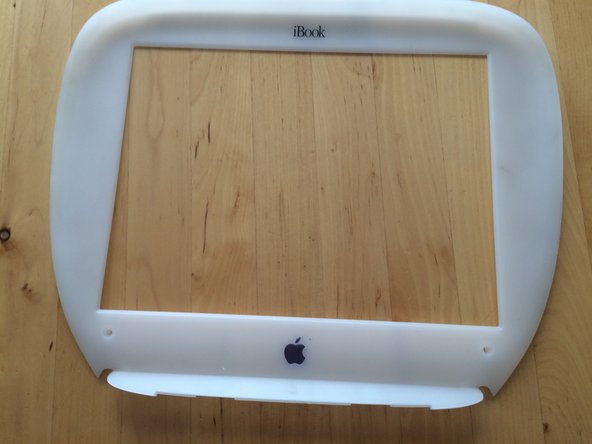
iBook G3 Clamshell LCD Bezel Replacement

What you need

  1. iBook G3 Clamshell LCD Bezel Replacement, Battery Cover: step 1, image 1 of 1
    • Use a coin to unscrew the battery cover, and remove battery.

  2. iBook G3 Clamshell LCD Bezel Replacement, Back Cover: step 2, image 1 of 2 iBook G3 Clamshell LCD Bezel Replacement, Back Cover: step 2, image 2 of 2
    • Use a t8 Torx driver to unscrew the two screws holding in the back cover, then remove the cover.

  3. iBook G3 Clamshell LCD Bezel Replacement: step 3, image 1 of 1
    • Open the screen, and remove the two t8 Torx screws holding the bezel in place.

  4. iBook G3 Clamshell LCD Bezel Replacement: step 4, image 1 of 2 iBook G3 Clamshell LCD Bezel Replacement: step 4, image 2 of 2
    • Use a flat tip screw driver to unsnap the bezel from its place.

    • When at the top rubberized area, pry the bezel down.

Conclusion

To reassemble your device, follow these instructions in reverse order.

One other person completed this guide.

aidan

Member since: 02/26/16

101 Reputation

1 Guide authored

0 Comments

Add Comment

View Statistics:

Past 24 Hours: 1

Past 7 Days: 17

Past 30 Days: 38

All Time: 3,355