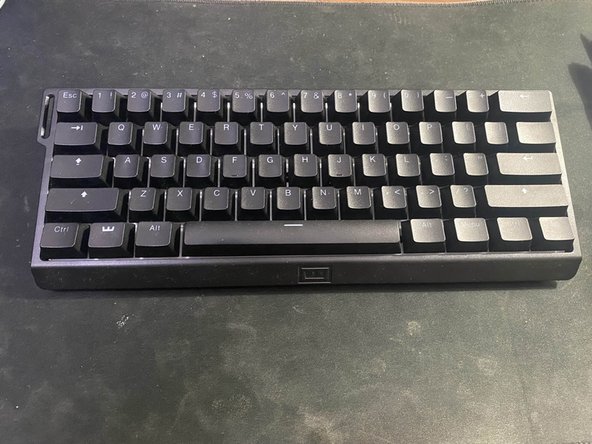
Often times with many keyboards, especially this one, certain keys may experience a lag, or may just not register at all. The majority of the time, it is due to debris being present inside the keyboard, preventing the proper connection when a key is pressed. In this guide, we will be going through a detailed step-by-step process on how to replace a Wooting 60HE keycap.
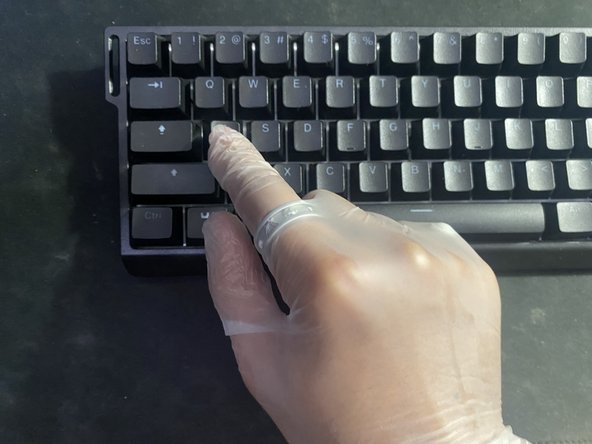
Wear gloves at all times during this replacement to help prevent the oils from your skin coming into contact with the keyboard's lubricant.