Introduction
This is a guide on how to replace the NAND storage chip in an iPhone X. Do not attempt to do this without the special tools I used. It is a highly difficult process and the risk of damaging something on the motherboard or chip itself is high.
Video Overview
-
-
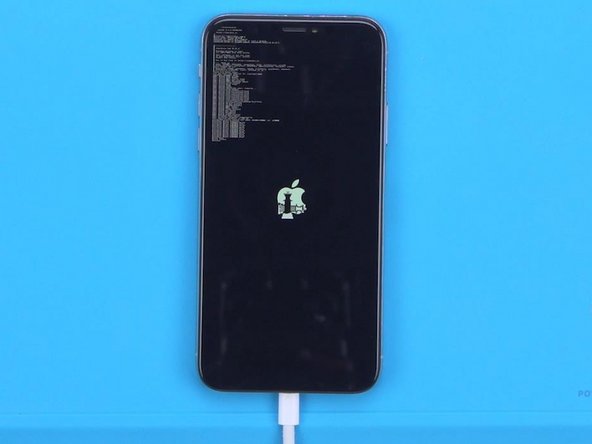
Press the power button and the phone is stuck on recovery mode.
-
Then we try to flash the phone. Open 3uTools to flash. The progress bar of flashing appears on the phone and the flashing gets stuck at 20%. An error also appears.
-
-
-
Getting stuck at different progress bar can initially tell us the corresponding repair solution.
-
11 % with an error and failure to enter recovery mode from DFU indicate that the CPU malfunctions. 13 % with an error means that the connecting port is faulty while 20% with an error always come with a NAND fault. So it can be preliminarily judged that the NAND fault has caused the problem.
-
-
-
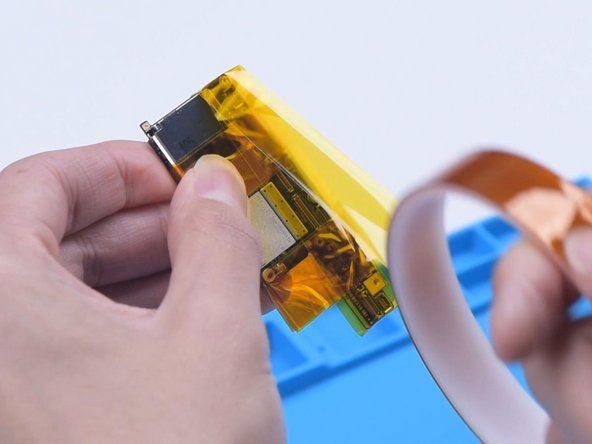
Then we disassemble the phone. Remove foam on the motherboard. Wrap high-temperature tape around the motherboard.
-
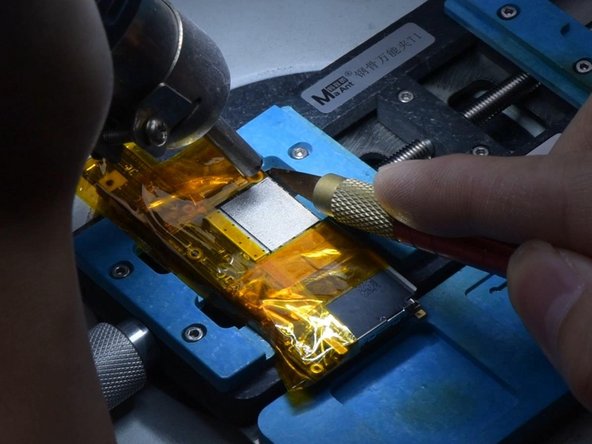
Attach the motherboard to the holder. Heat with Hot Air Gun at 260 °C to remove adhesive around the NAND. Then heat the NAND evenly at 380 °C. Remove the NAND with a Pry Blade.
-
-
-
-
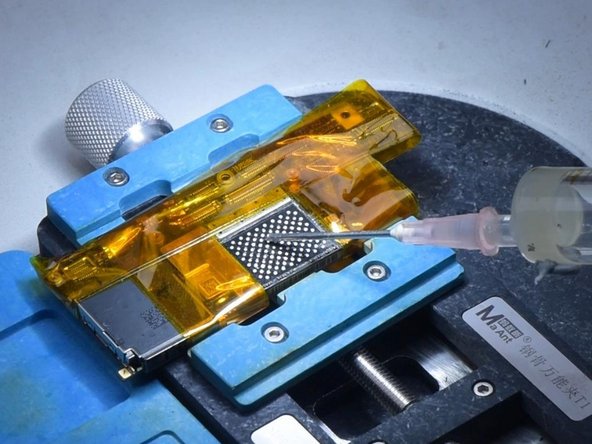
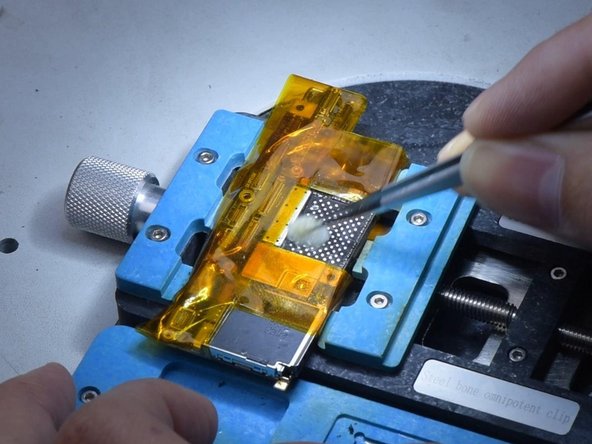
Apply some Paste Flux to the bonding pads. Apply some middle-temperature Solder Paste to the bonding pads with Soldering Iron at 360 °C. This is to neutralize the temperature of the bonding pads.
-
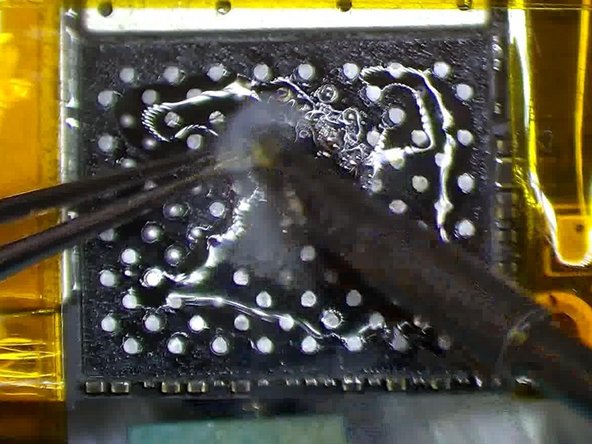
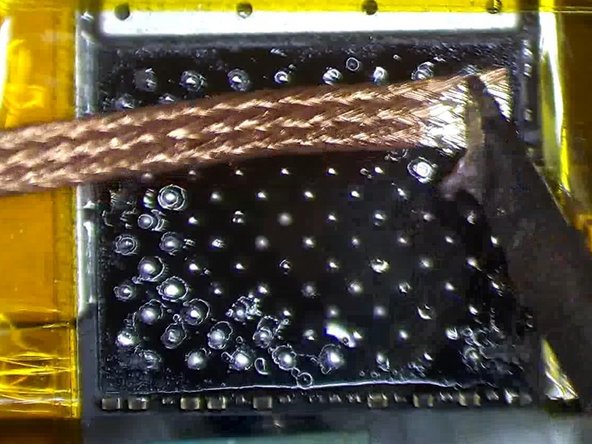
Clean the bonding pads with Solder Wick. Remove residual black adhesive with Hot Air Gun at 280 °C.
-
-
-
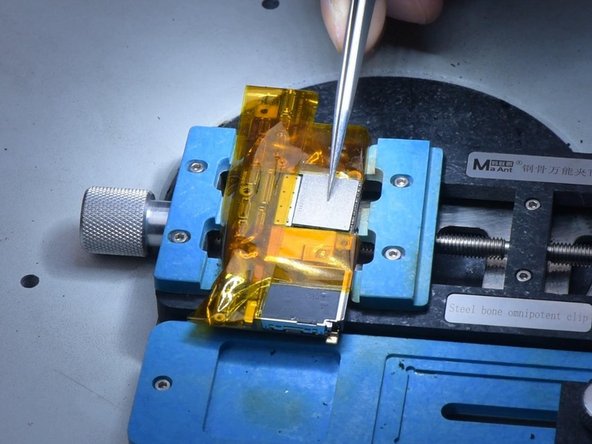
Heat with Hot Air Gun at 340 °C. Push the NAND gently with Tweezers. When the NAND automatically resets, soldering is complete.
-
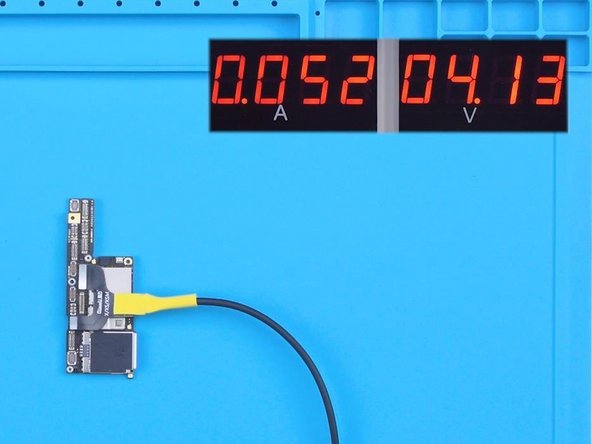
Tear off high-temperature tape. Connect the motherboard with a Power Cable. Measure the current of the motherboard. The current is 52 mA, which is normal.
-
Connect the phone with computer to keep flashing. The phone is successfully flashed. The not turning on issue is now confirmed to be caused by the NAND fault.
-
-
-
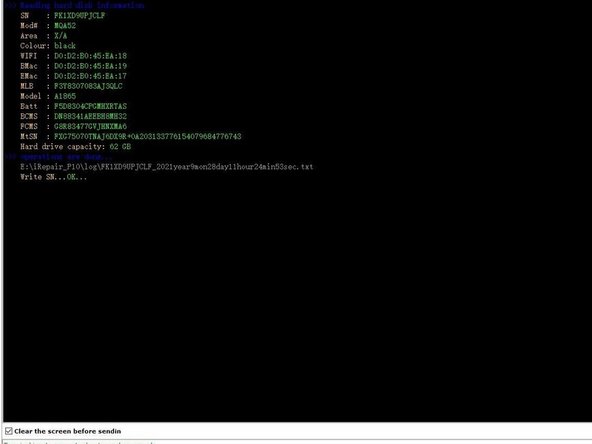
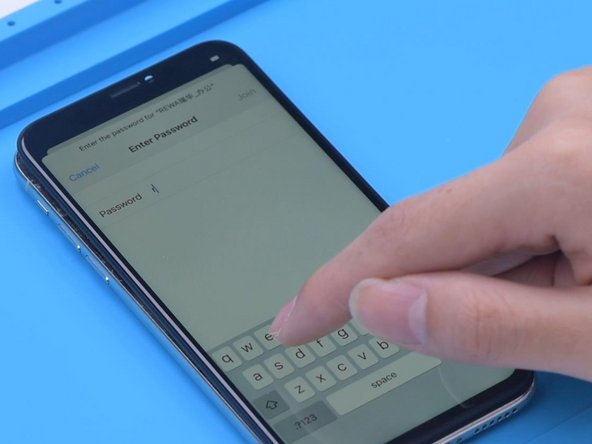
Turn on the phone for testing. Since WiFi and Bluetooth addresses are stored on the NAND, and the new NAND doesn't match the WiFi and Bluetooth addresses on the motherboard, we need to read the data of the original NAND. In the first place, jailbreak the phone.
-
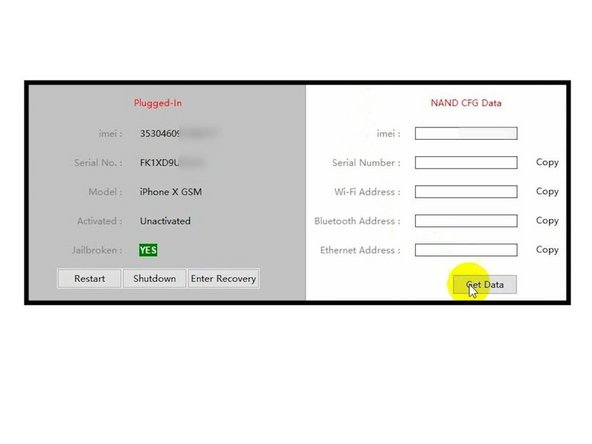
After jailbreaking, connect the phone with computer and open 3uTools. Open the software to read the original data.
-
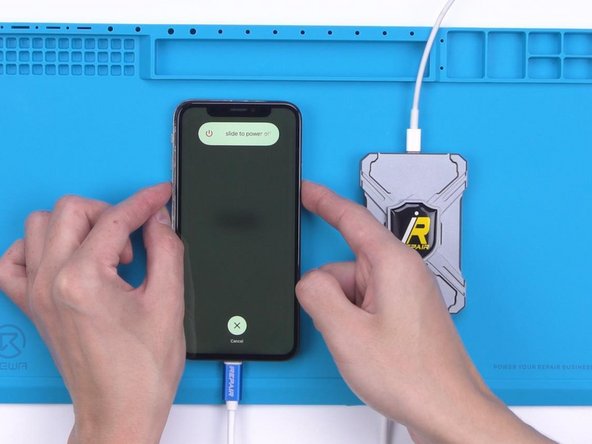
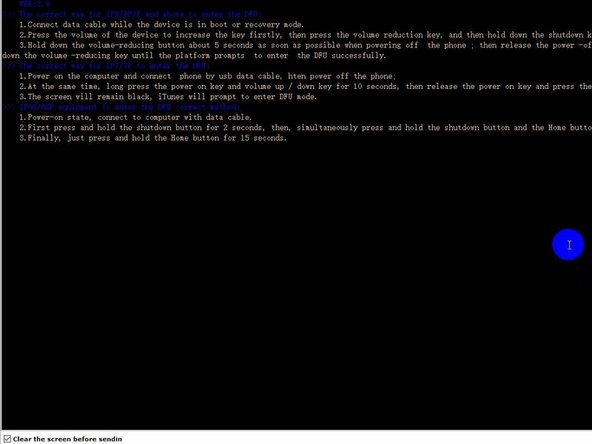
Then we use P10 to write the data. Connect the phone to P10. Get the phone into DFU mode.
-
To reassemble your device, follow these instructions in reverse order.
To reassemble your device, follow these instructions in reverse order.
Cancel: I did not complete this guide.
3 other people completed this guide.


