
How to troubleshoot Sony ECM-MS907 sound distortion

What you need

  1. How to troubleshoot Sony ECM-MS907 sound distortion, Windscreen Removal and Inspection: step 1, image 1 of 3 How to troubleshoot Sony ECM-MS907 sound distortion, Windscreen Removal and Inspection: step 1, image 2 of 3 How to troubleshoot Sony ECM-MS907 sound distortion, Windscreen Removal and Inspection: step 1, image 3 of 3
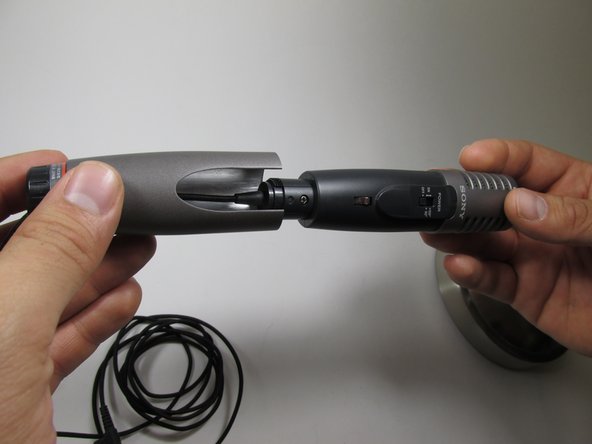
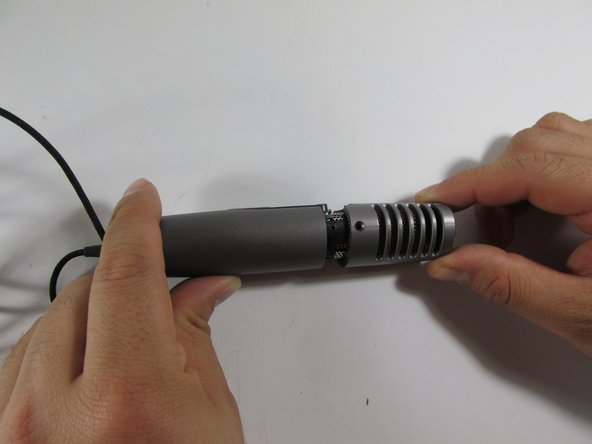
    • Remove the windscreen from the top of the microphone.

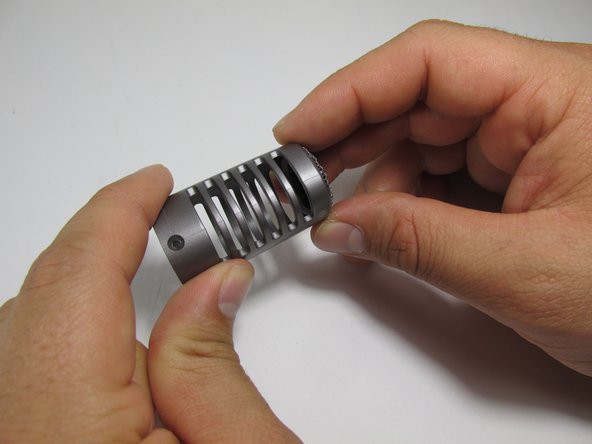
    • Once the foam windscreen is removed, examine the windscreen looking for thinning, holes, tears, or discoloration. Any of these issues may be the cause of the sound distortion.

  2. How to troubleshoot Sony ECM-MS907 sound distortion, Examine the Jack: step 2, image 1 of 2 How to troubleshoot Sony ECM-MS907 sound distortion, Examine the Jack: step 2, image 2 of 2
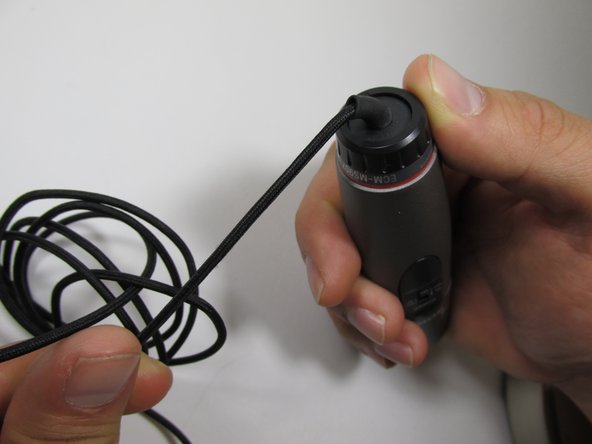
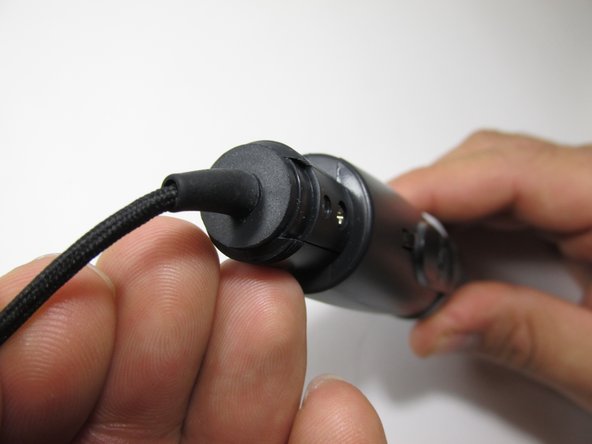
    • Locate the jack of the microphone and look for: discoloration, rust, breaks in the piece, as well as making sure the jack is not bent or torn from the power cord.

  3. How to troubleshoot Sony ECM-MS907 sound distortion, Examining the Cord: step 3, image 1 of 2 How to troubleshoot Sony ECM-MS907 sound distortion, Examining the Cord: step 3, image 2 of 2
    • Inspect the cord for splits, breaks, or loose wires. Check the cord from one end to the other, making sure the cord is attached to the microphone.

  4. How to troubleshoot Sony ECM-MS907 sound distortion: step 4, image 1 of 3 How to troubleshoot Sony ECM-MS907 sound distortion: step 4, image 2 of 3 How to troubleshoot Sony ECM-MS907 sound distortion: step 4, image 3 of 3
    • To check the cord further by unscrewing the bottom piece of the microphone from the top. Rotate clockwise to unscrew the bottom and examine.

  5. How to troubleshoot Sony ECM-MS907 sound distortion: step 5, image 1 of 3 How to troubleshoot Sony ECM-MS907 sound distortion: step 5, image 2 of 3 How to troubleshoot Sony ECM-MS907 sound distortion: step 5, image 3 of 3
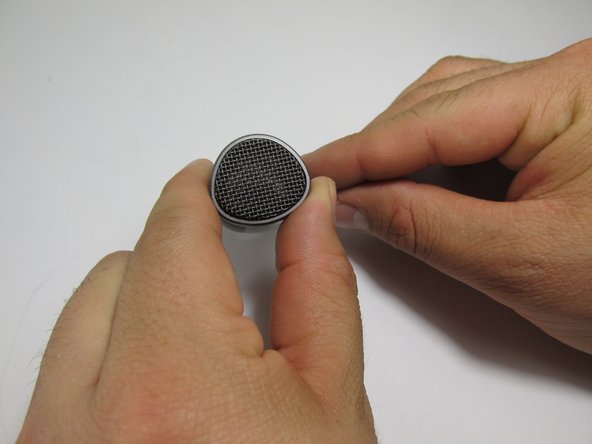
    • Another to assessing distortion is to inspect the diaphragm. For further information, see the Diaphragm Examination Guide

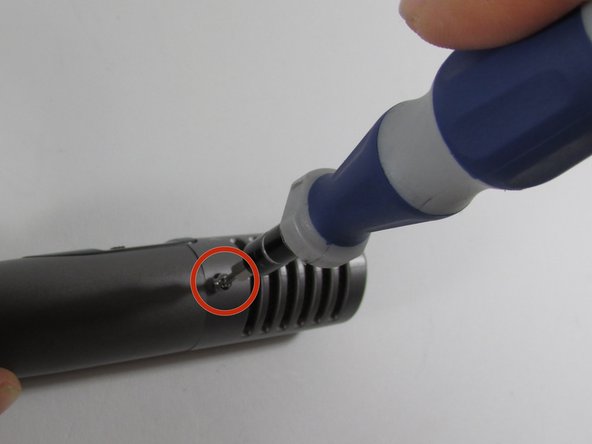
    • Use a Phillips head (#00) screwdriver, to remove the diaphragm and separate the diaphragm from the base of the microphone.

  6. How to troubleshoot Sony ECM-MS907 sound distortion: step 6, image 1 of 3 How to troubleshoot Sony ECM-MS907 sound distortion: step 6, image 2 of 3 How to troubleshoot Sony ECM-MS907 sound distortion: step 6, image 3 of 3
    • Inspect the diaphragm checking to see if the piece is dirty, bent, or has holes. If it is bent or has holes, it may need to be replaced.

    • If the diaphragm is dirty, clean it with a dry towel or cotton swab by gently brushing dirt and/or rust off the piece.

Conclusion

To reassemble your device, follow these instructions in reverse order.

One other person completed this guide.

Justin Lewis

Member since: 01/23/14

242 Reputation

2 Guides authored

0 Comments

Add Comment

View Statistics:

Past 24 Hours: 0

Past 7 Days: 1

Past 30 Days: 2

All Time: 896