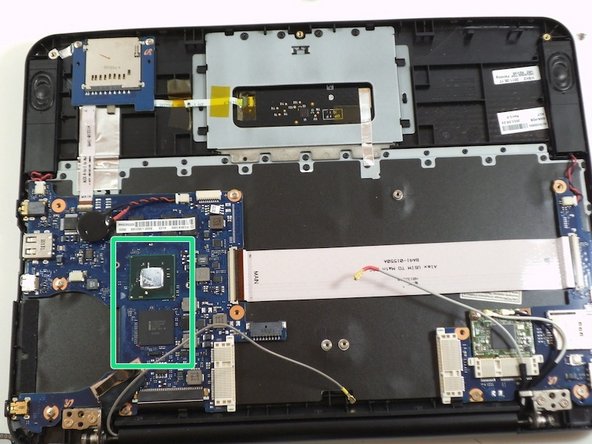
Samsung Series 5 3G Chromebook CPU Replacement

Archived Guide
This guide is retained solely for historical purposes. Use the updated version of the guide to perform your repair.

What you need

  1. Samsung Series 5 3G Chromebook CPU Replacement, Back Cover: step 1, image 1 of 2 Samsung Series 5 3G Chromebook CPU Replacement, Back Cover: step 1, image 2 of 2
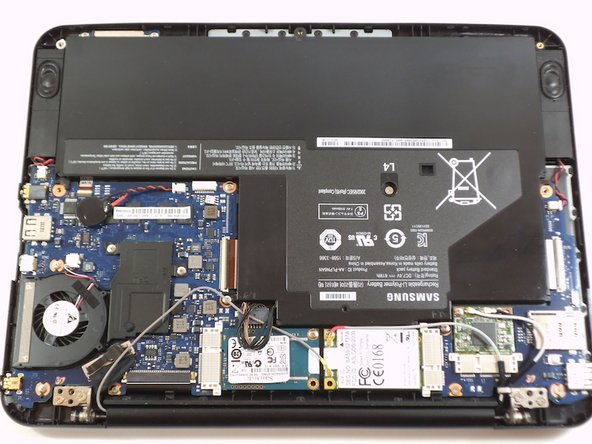
    • Place the laptop on a flat surface with the bottom side facing up.

    • Remove the rubber feet from the bottom of the panel using your fingernails.

    • Remove all the seven screws from the bottom panel.

  2. Samsung Series 5 3G Chromebook CPU Replacement: step 2, image 1 of 2 Samsung Series 5 3G Chromebook CPU Replacement: step 2, image 2 of 2
    • Loosen the back cover panel using a spudger.

  3. Samsung Series 5 3G Chromebook CPU Replacement: step 3, image 1 of 2 Samsung Series 5 3G Chromebook CPU Replacement: step 3, image 2 of 2
    • Once you work your way around, you can remove the panel.

  4. Samsung Series 5 3G Chromebook CPU Replacement, CPU: step 4, image 1 of 3 Samsung Series 5 3G Chromebook CPU Replacement, CPU: step 4, image 2 of 3 Samsung Series 5 3G Chromebook CPU Replacement, CPU: step 4, image 3 of 3
    • Remove the two Phillips screws on the fan.

  5. Samsung Series 5 3G Chromebook CPU Replacement: step 5, image 1 of 3 Samsung Series 5 3G Chromebook CPU Replacement: step 5, image 2 of 3 Samsung Series 5 3G Chromebook CPU Replacement: step 5, image 3 of 3
    • Unplug the wires from the motherboard

    • You can now see the CPU attached to the motherboard.

    • The CPU cannot be removed from the motherboard.

Conclusion

To reassemble your device, follow these instructions in reverse order.

One other person completed this guide.

0 Comments

Add Comment

View Statistics:

Past 24 Hours: 0

Past 7 Days: 0

Past 30 Days: 0

All Time: 2,350