Introduction
Use this guide to replace the battery.
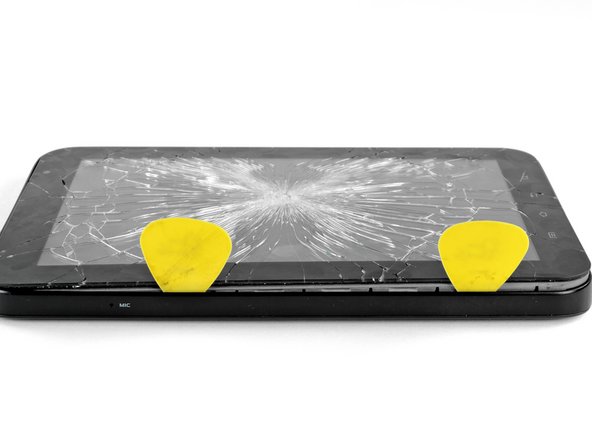
What you need
-
-
Use the flat end of a metal spudger to pry the two plastic tabs near the dock connector off the rear case.
-
-
-
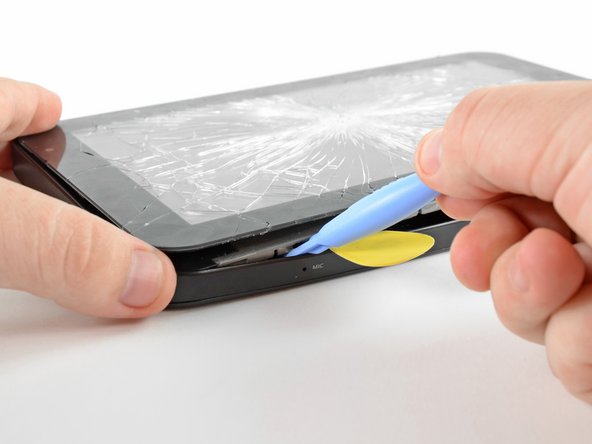
Insert a plastic opening tool near the bottom left edge of the rear case.
-
Use your plastic opening tool to gently create a small gap between the front panel and the rear panel near the bottom left edge.
-
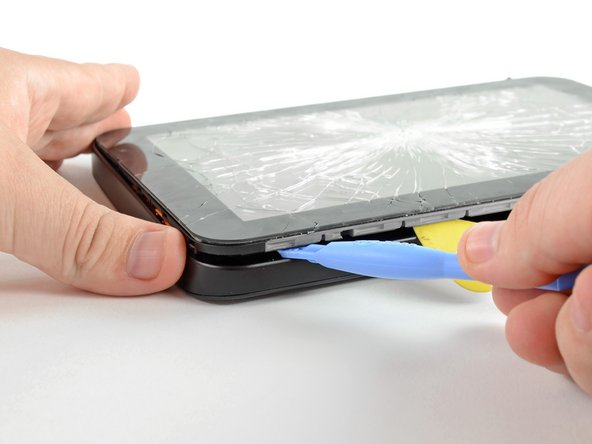
Run the plastic opening tool along the left side of the perimeter to create a bigger gap between the front panel and the rear panel.
-
Insert two guitar picks into the small gap created by the plastic opening tool.
-
-
-
-
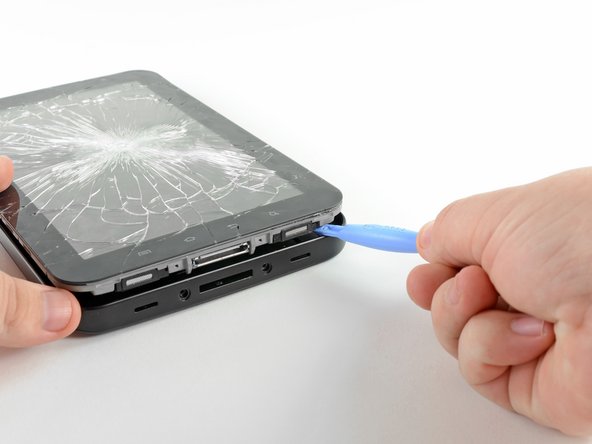
Insert the plastic opening tool into the dock connector and wedge it underneath the front panel/motherboard assembly.
-
Thrust the plastic opening tool downwards to create a gap near the lower left corner of the front panel assembly.
-
Insert a guitar pick into the newly created gap near the lower left edge of the Galaxy Tab.
-


To reassemble your device, follow these instructions in reverse order.
To reassemble your device, follow these instructions in reverse order.
Cancel: I did not complete this guide.
33 other people completed this guide.

3 Comments
Early-release Asian models of the Galaxy Tab may have battery problems 6 months to a year after heavy usage - the battery life from 50 to 70 % charge suddenly drops to zero after a mysterious temperature spike to 65 to 70 degree Celcius (battery temperature).
One of the fixes, aside from throwing the Tab at your telco and demanding a replacement, is to open it up and disconnect the battery, then put it back together again.
This procedure is actually quite easy to do - if you aren't going to resell your Tab and can tolerate some cosmetic damage to the soft plastic casing, then you can field-strip the Tab and put it back together in just a few minutes thanks to the lack of screws. Everything snaps together intuitively.
The Asian Galaxy Tab appears to have minor differences from the specimen photographed in this article. I bought mine in Singapore and it appears to be able to come apart at the front and the back (you can access the battery by just pulling away the back cover - no screws). It doesn't have the vulnerable mic connector and display connector as indicated by some teardown articles. Everything is flush to the chassis and indestructible... even if you pry it apart with a screwdriver and substitute guitar picks with paper clips .. .don't try it at home :)
Very important: Remove the sd card and sim card otherwise they migth keep the right hand site of the tab locked into place.
How do u remove it what tolls to used?