
Samsung Galaxy A72 Screen with Frame Replacement

What you need

Video Overview

  1. Samsung Galaxy A72 Screen with Frame Replacement, Back cover removal: step 1, image 1 of 3 Samsung Galaxy A72 Screen with Frame Replacement, Back cover removal: step 1, image 2 of 3 Samsung Galaxy A72 Screen with Frame Replacement, Back cover removal: step 1, image 3 of 3
    • Warm the device to soften the adhesive.

    • To separate the back cover, use plastic tools, a suction cup and a little ethanol alcohol.

  2. Samsung Galaxy A72 Screen with Frame Replacement: step 2, image 1 of 3 Samsung Galaxy A72 Screen with Frame Replacement: step 2, image 2 of 3 Samsung Galaxy A72 Screen with Frame Replacement: step 2, image 3 of 3
    • Remove the SIM Tray.

    • Unscrew the silver Phillips screws and remove the motherboard plastic cover.

  3. Samsung Galaxy A72 Screen with Frame Replacement, Motherboard removal: step 3, image 1 of 3 Samsung Galaxy A72 Screen with Frame Replacement, Motherboard removal: step 3, image 2 of 3 Samsung Galaxy A72 Screen with Frame Replacement, Motherboard removal: step 3, image 3 of 3
    • Disconnect the battery.

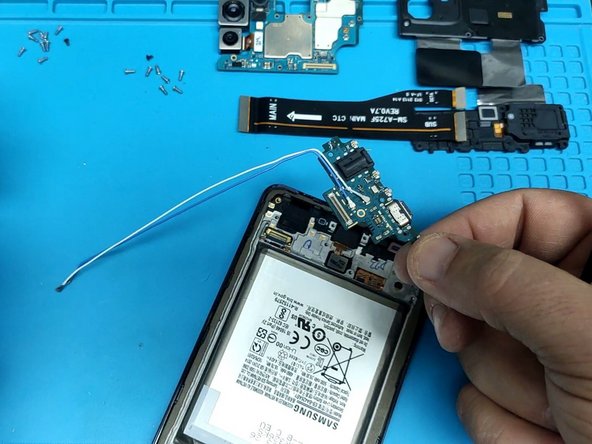
    • Disconnect the main flex cable.

    • Disconnect the Coaxial antenna cables.

    • Remove the black Philips screw securing the motherboard to the display frame.

    • Keep in mind this screw is different from the others.

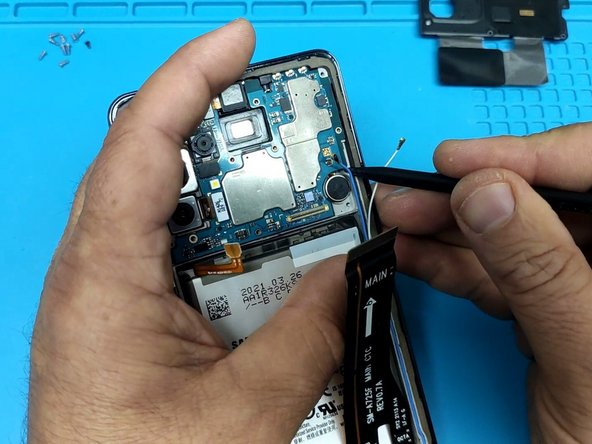
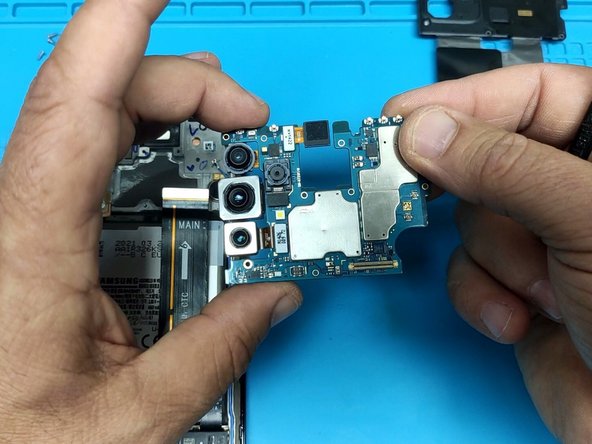
    • Use a plastic tool to remove the Motherboard.

  4. Samsung Galaxy A72 Screen with Frame Replacement, Daughter board part 1: step 4, image 1 of 3 Samsung Galaxy A72 Screen with Frame Replacement, Daughter board part 1: step 4, image 2 of 3 Samsung Galaxy A72 Screen with Frame Replacement, Daughter board part 1: step 4, image 3 of 3
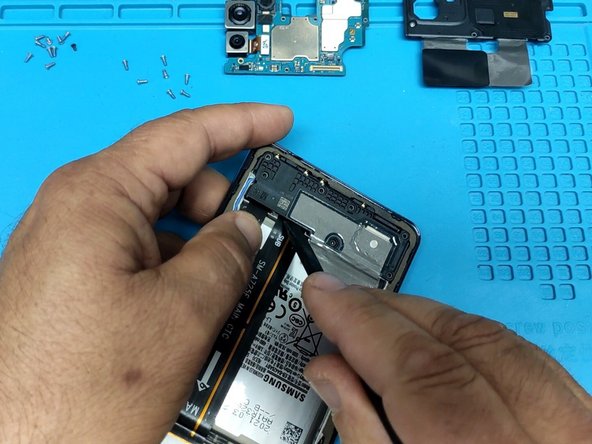
    • Remove the silver Phillips screws and with a plastic tool lift up the plastic cover.

  5. Samsung Galaxy A72 Screen with Frame Replacement, Daughter board part 2: step 5, image 1 of 3 Samsung Galaxy A72 Screen with Frame Replacement, Daughter board part 2: step 5, image 2 of 3 Samsung Galaxy A72 Screen with Frame Replacement, Daughter board part 2: step 5, image 3 of 3
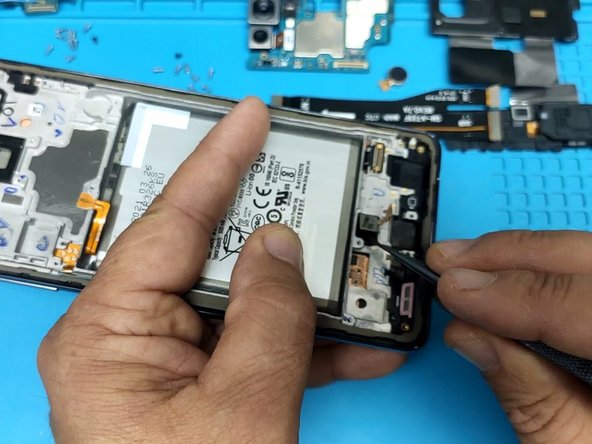
    • Disconnect the fingerprint sensor.

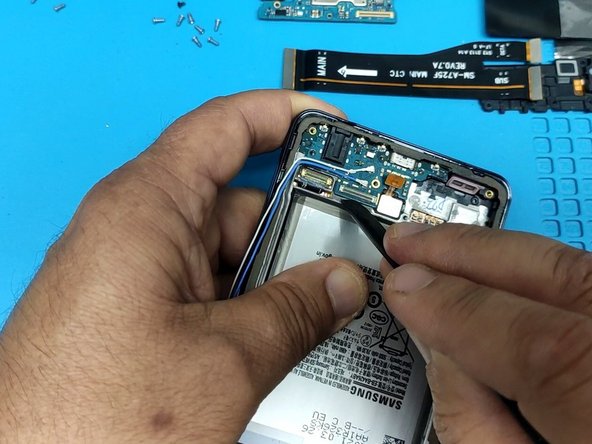
    • Disconnect the Main flex cable.

    • Remove the black screw securing the Charging board.

    • Keep in mind that this screw is different from the others.

    • Use a plastic tool and gently pick up the Daughter board.

    • Be carefully for the Fingerprint sensor flex cable.

  6. Samsung Galaxy A72 Screen with Frame Replacement: step 6, image 1 of 3 Samsung Galaxy A72 Screen with Frame Replacement: step 6, image 2 of 3 Samsung Galaxy A72 Screen with Frame Replacement: step 6, image 3 of 3
    • Remove the Motor Vibrator.

    • Remove the Fingerprint sensor.

    • Do it slowly and carefully.

    • Before assembling the phone, test the new display using this code:

    • *#0*#

Conclusion

To reassemble your device, follow these instructions in reverse order.

3 other people completed this guide.

ZFix

Member since: 12/09/13

191,341 Reputation

330 Guides authored

Team

Master Techs Member of Master Techs

Community

322 Members

2,540 Guides authored

0 Comments

Add Comment

View Statistics:

Past 24 Hours: 1

Past 7 Days: 24

Past 30 Days: 99

All Time: 4,548