
Repairing an FJ-3LED Globe Electric Push Light

What you need

  1. Repairing an FJ-3LED Globe Electric Push Light, Repairing an FJ-3LED Globe Electric Push Light: step 1, image 1 of 3 Repairing an FJ-3LED Globe Electric Push Light, Repairing an FJ-3LED Globe Electric Push Light: step 1, image 2 of 3 Repairing an FJ-3LED Globe Electric Push Light, Repairing an FJ-3LED Globe Electric Push Light: step 1, image 3 of 3
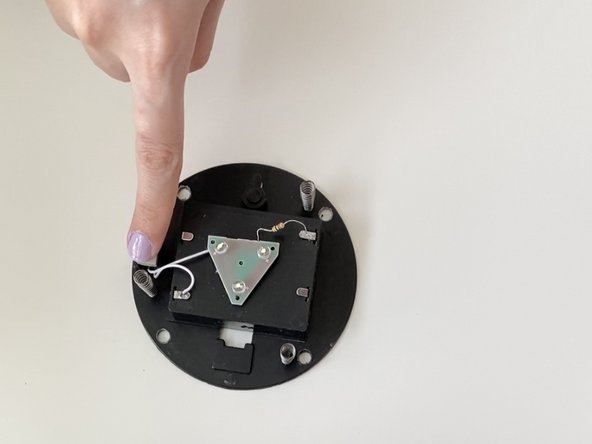
    • Lift the black lid off of the battery slot and remove the batteries.

  2. Repairing an FJ-3LED Globe Electric Push Light: step 2, image 1 of 3 Repairing an FJ-3LED Globe Electric Push Light: step 2, image 2 of 3 Repairing an FJ-3LED Globe Electric Push Light: step 2, image 3 of 3
    • Use the Phillips #1 screwdriver to remove four 1.4 mm screws from the back of the light.

    • Take the black part out and separate it from the white case.

  3. Repairing an FJ-3LED Globe Electric Push Light: step 3, image 1 of 1
    • Identify which part of the lamp is broken.

    • in this case, one of the connections in the circuit had been disconnected.

  4. Repairing an FJ-3LED Globe Electric Push Light: step 4, image 1 of 1
    • For tips on Soldering, see How to Solder and Desolder Connections.

    • Attach the disconnected wire to its joint using solder and iron tip. Place the tip of the soldering iron against the solder pad.

    • Melt enough solder onto the solder pad.

    • Remove both the solder and the soldering iron tip from the connection as soon as enough solder melts onto the pad.

    • Don't forget to use gloves.

  5. Repairing an FJ-3LED Globe Electric Push Light: step 5, image 1 of 2 Repairing an FJ-3LED Globe Electric Push Light: step 5, image 2 of 2
    • Push the circuit into its place.

    • Click the button to see if the wires are connected .

  6. Repairing an FJ-3LED Globe Electric Push Light: step 6, image 1 of 2 Repairing an FJ-3LED Globe Electric Push Light: step 6, image 2 of 2
    • If the lights turn on, the connection is perfect in the circuit and the disconnected joint is now connected.

    • Place the white case on top of the circuit and close it with the Phillips #1 screwdriver.

Conclusion

To reassemble your device, follow these instructions in reverse order.

Rojina Saberi

Member since: 05/11/21

133 Reputation

1 Guide authored

0 Comments

Add Comment

View Statistics:

Past 24 Hours: 3

Past 7 Days: 3

Past 30 Days: 20

All Time: 336