
Dell Streak Display Replacement

What you need

  1. Dell Streak Display Replacement, Display: step 1, image 1 of 3 Dell Streak Display Replacement, Display: step 1, image 2 of 3 Dell Streak Display Replacement, Display: step 1, image 3 of 3
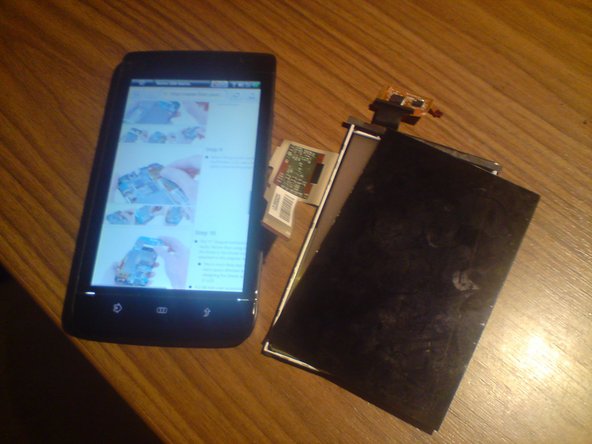
    • Loosen any clamps that hold the LCD screen in place. Some of the clamps may not be loosened yet, leave them attached for now.

  2. Dell Streak Display Replacement: step 2, image 1 of 2 Dell Streak Display Replacement: step 2, image 2 of 2
    • The gorilla glass is pinned to the case. You must take a slotted screwdriver to go around the case and separate the gorilla glass from the case.

    • In some instances the gorilla glass may seperate from the LCD fairly easily, or it maybe hard to release.

    • (Don't feel sorry for the broken display, it doesn't deserve to be treated gently..)

  3. Dell Streak Display Replacement: step 3, image 1 of 3 Dell Streak Display Replacement: step 3, image 2 of 3 Dell Streak Display Replacement: step 3, image 3 of 3
    • Lift the new display out of the case. You should fold the LCD ribbon cable to do this.

  4. Dell Streak Display Replacement: step 4, image 1 of 2 Dell Streak Display Replacement: step 4, image 2 of 2
    • Really good, the display is out of the case.

    • Remember the lifted display is no longer for use. For example, i brought the touchscreen ribbon cable even though i was careful.

  5. Dell Streak Display Replacement: step 5, image 1 of 1
    • Insert the brand new display! Remind, you must do step 3 to 2 in reversed direction. The hardest part for me was to fold the LCD ribbon cable of the new display, but don't be shy, do it!

    • Reassemble your Phone

  6. Dell Streak Display Replacement: step 6, image 1 of 2 Dell Streak Display Replacement: step 6, image 2 of 2
    • Perfect, it's done!

    • Don't be alarmed if the screen is black when you re-start your phone for the first time and the buttons are only glowing. This may happen, but removing and reinserting the battery should restart it and cause it to function properly!

Conclusion

To reassemble your device, follow these instructions in reverse order.

One other person completed this guide.

Fix my problems myself

Member since: 12/10/10

71 Reputation

1 Guide authored

0 Comments

Add Comment

View Statistics:

Past 24 Hours: 0

Past 7 Days: 0

Past 30 Days: 2

All Time: 23,267