Introduction
The motherboard/battery assembly is sold together.
What you need
-
-
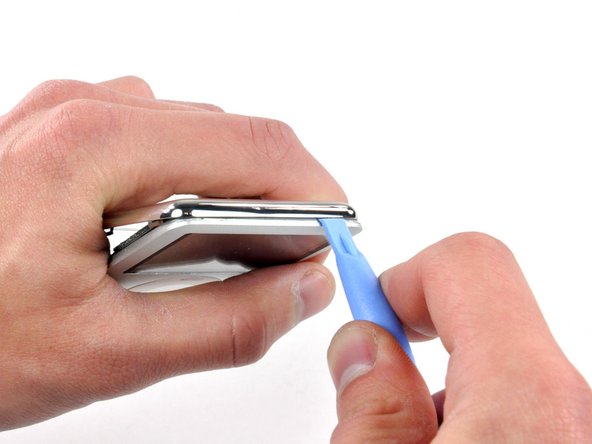
Insert a small iPod opening tool into the seam on the headphone jack side of the Nano, with the edge of the tool pointing toward the rear panel.
-
Gently enlarge the existing gap by pressing/wiggling the small iPod opening tool into the gap near each of the the two tabs attached to the rear case, pushing the clips toward the center of the Nano until both have been freed.
-
-
-
-
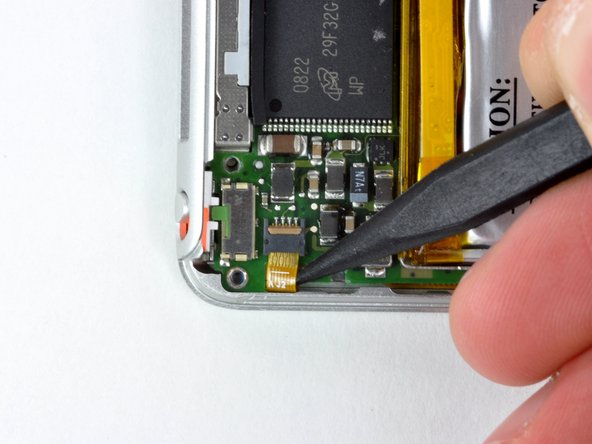
With the rear case removed, the back side of your Nano should now look like this.
-


To reassemble your device, follow these instructions in reverse order.
To reassemble your device, follow these instructions in reverse order.
Cancel: I did not complete this guide.
31 other people completed this guide.

2 Comments
http://www.ebay.com/itm/251624194311?ssP... some for sale on here that would be great to do this too!