Introduction
The motherboard/battery assembly is sold together.
What you need
-
-
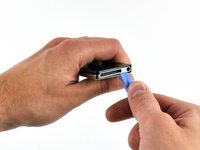
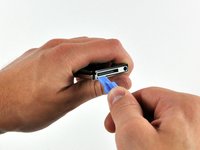
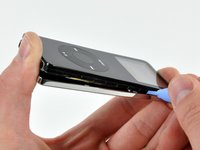
Insert the large iPod opening tool into the seam between the front case and rear panel of the iPod, below the dock connector. Run the tool back and forth to create an opening. The tool's edge should point toward the rear panel to prevent any accidental scratching of the aluminum front case.
-
-
-
-
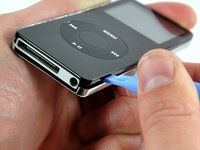
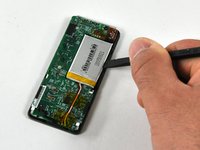
Remove the following 3 screws:
-
Two 3 mm Phillips screws near the dock connector.
-
One 4 mm Phillips screw along the edge of the logic board.
-
-
-
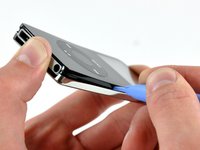
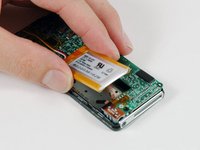
Insert the flat end of a spudger between the battery and the headphone jack side of the front case to pry the battery up off the adhesive securing it to the front case.
-
Rotate the battery out of the iPod and lay it next to the iPod. The battery is still soldered to the logic board by three wires, so don't remove it entirely.
-


To reassemble your device, follow these instructions in reverse order.
Cancel: I did not complete this guide.
17 other people completed this guide.

1 Guide Comment
Okay this was really tough for me. Heck give me an iPod video or an iPhone 3 anytime compared to the Nano. I used tweezers as well as a magnifying work lamp, still not an easy task. Just had to remember " Haste makes Waste"